Wednesday 29 September 2021

A Fun Morning of Craft & Connection - Join Me Online Saturday 2 October at 10am for World Card Making Day

10am - 11am Sydney, Australian Eastern Standard Time
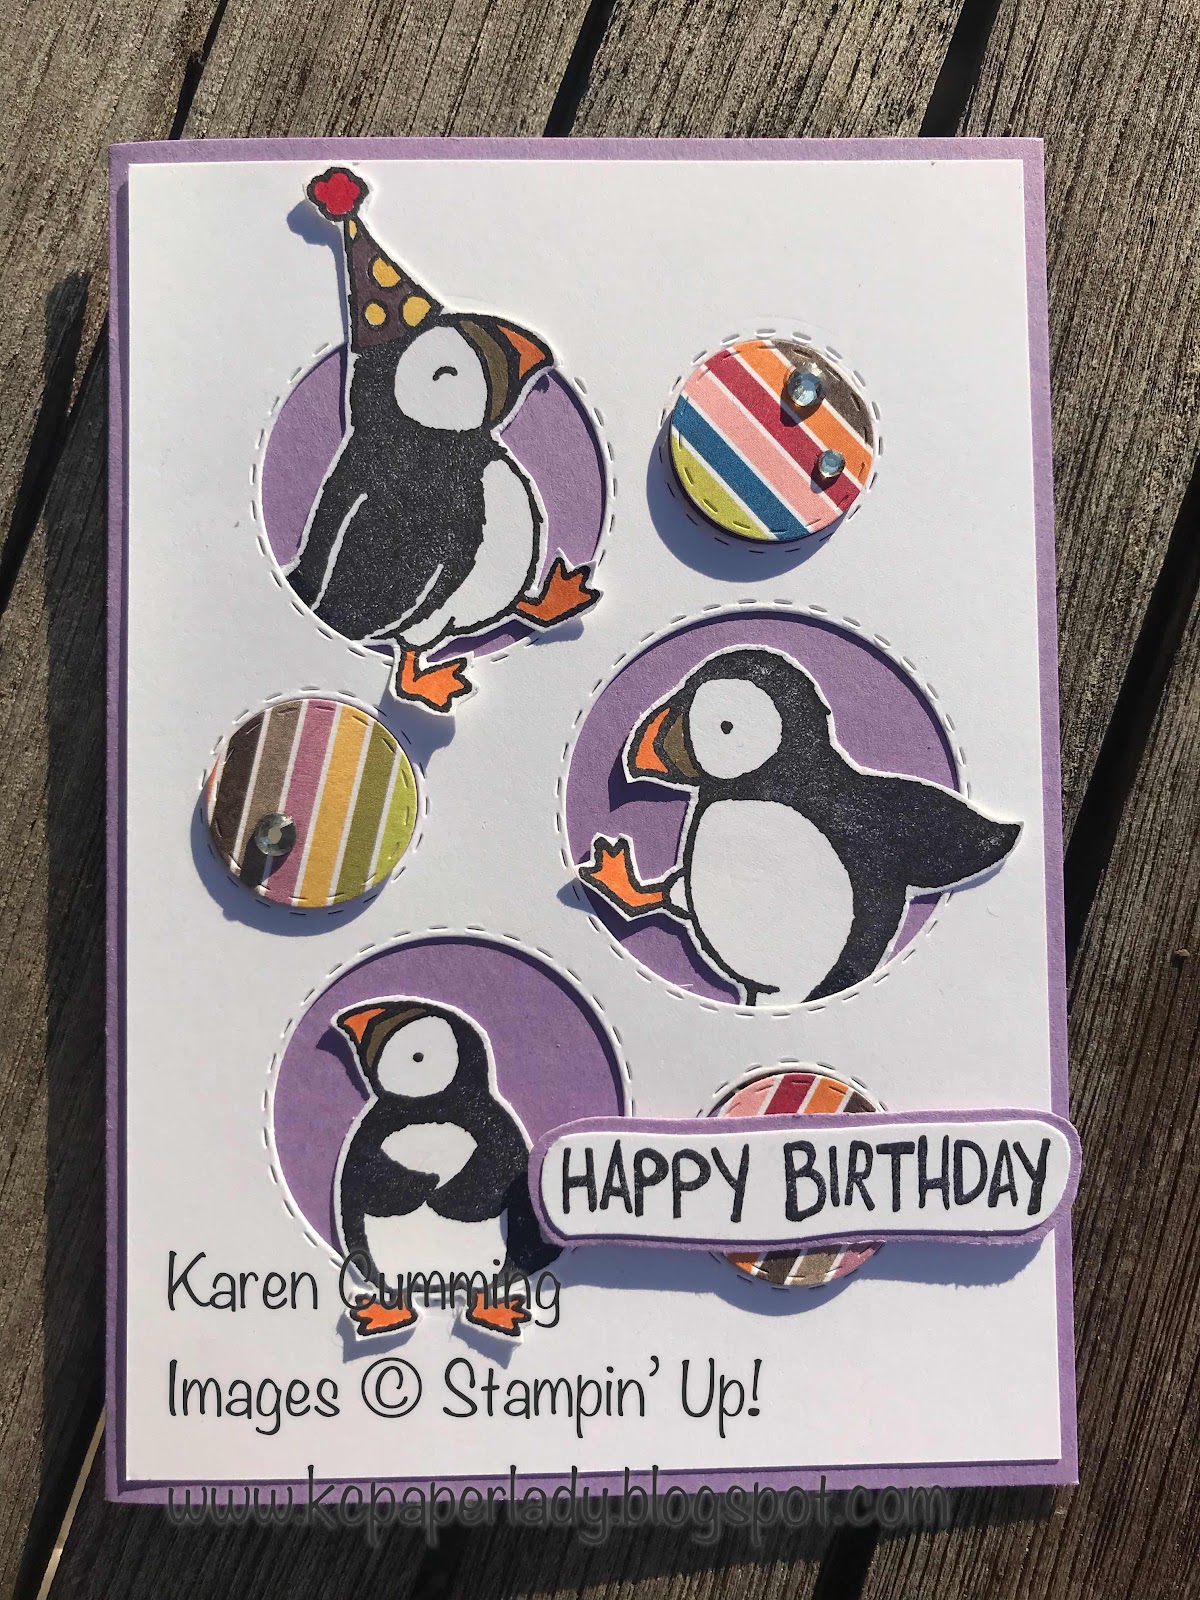
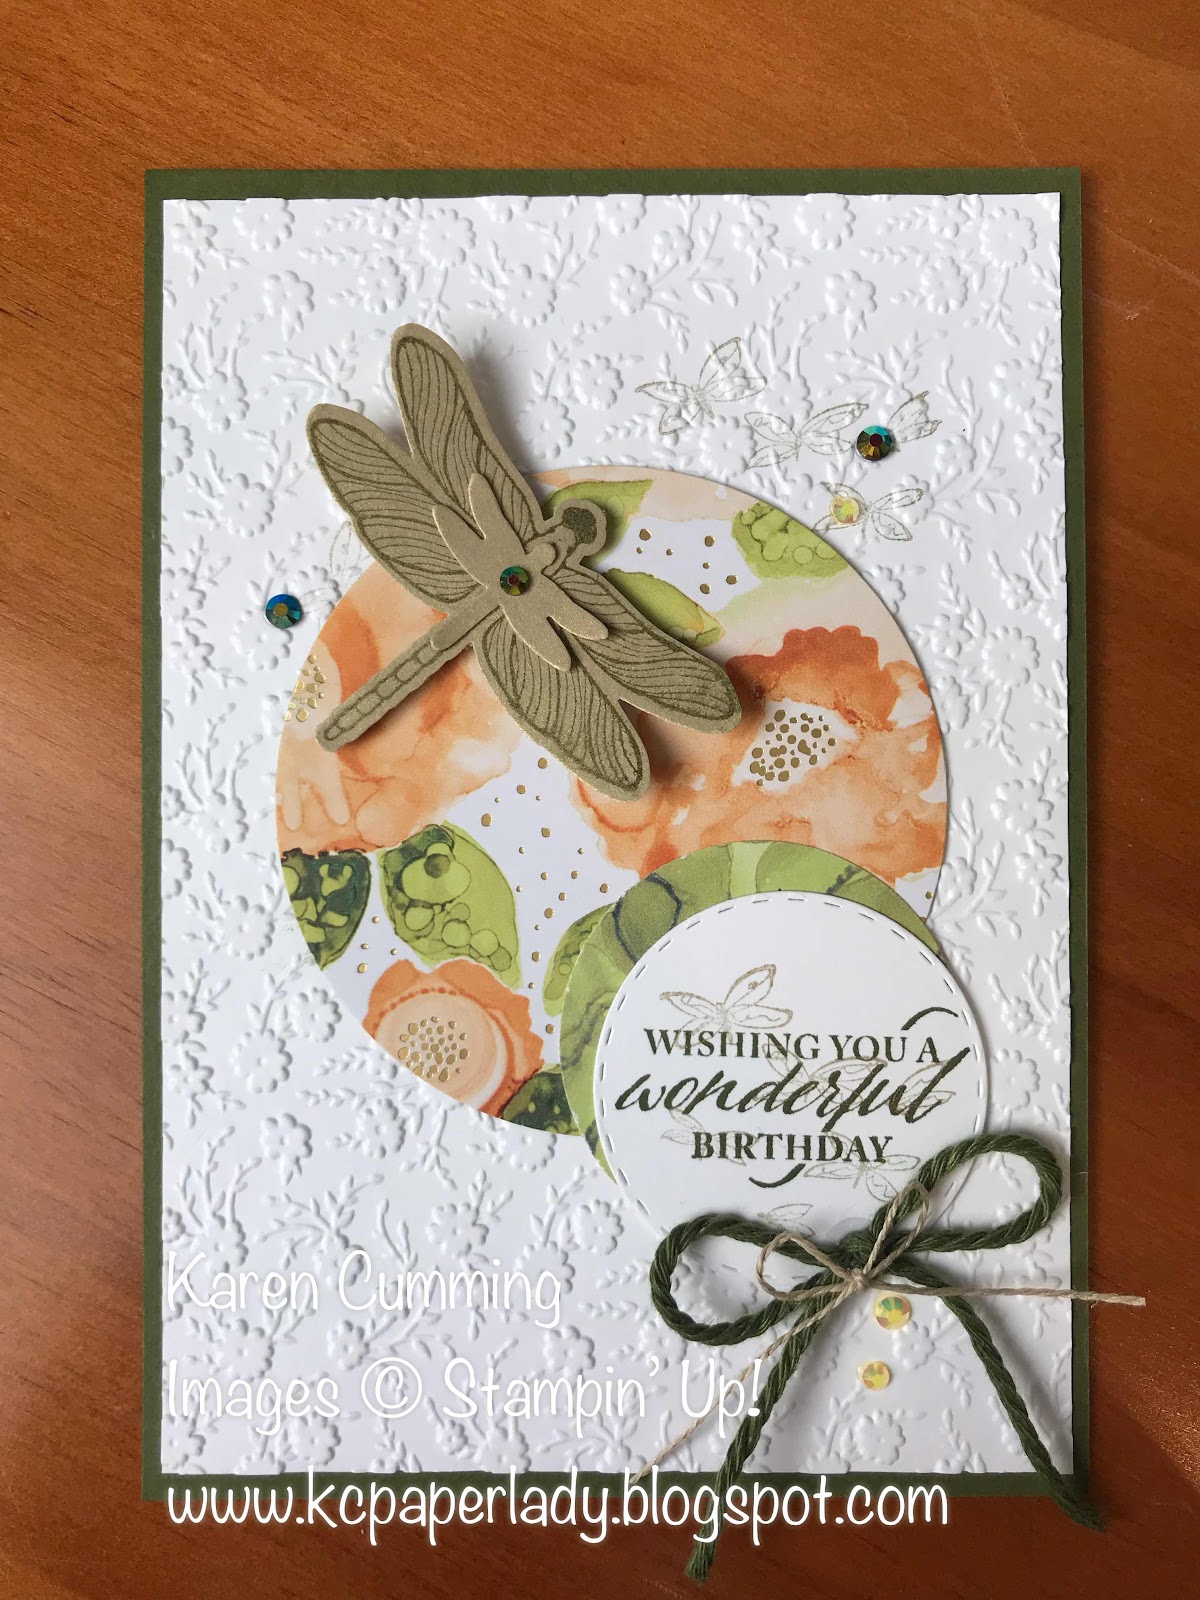
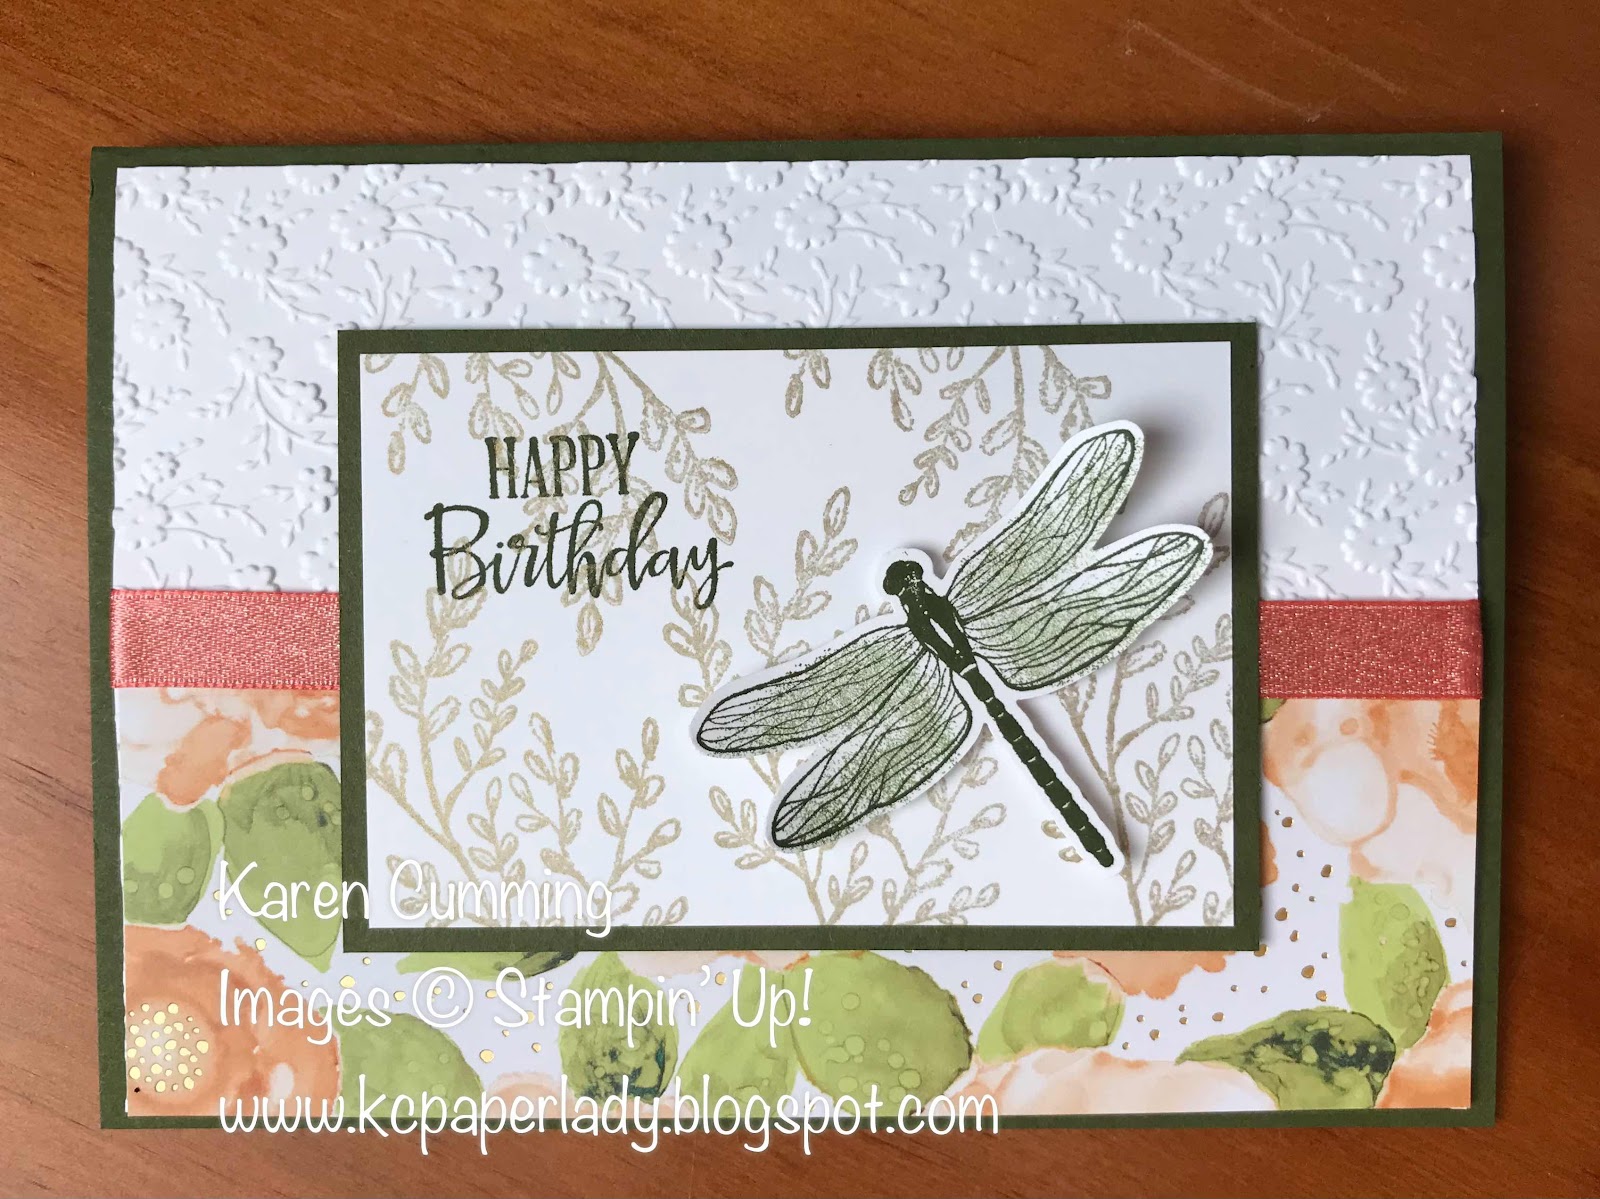
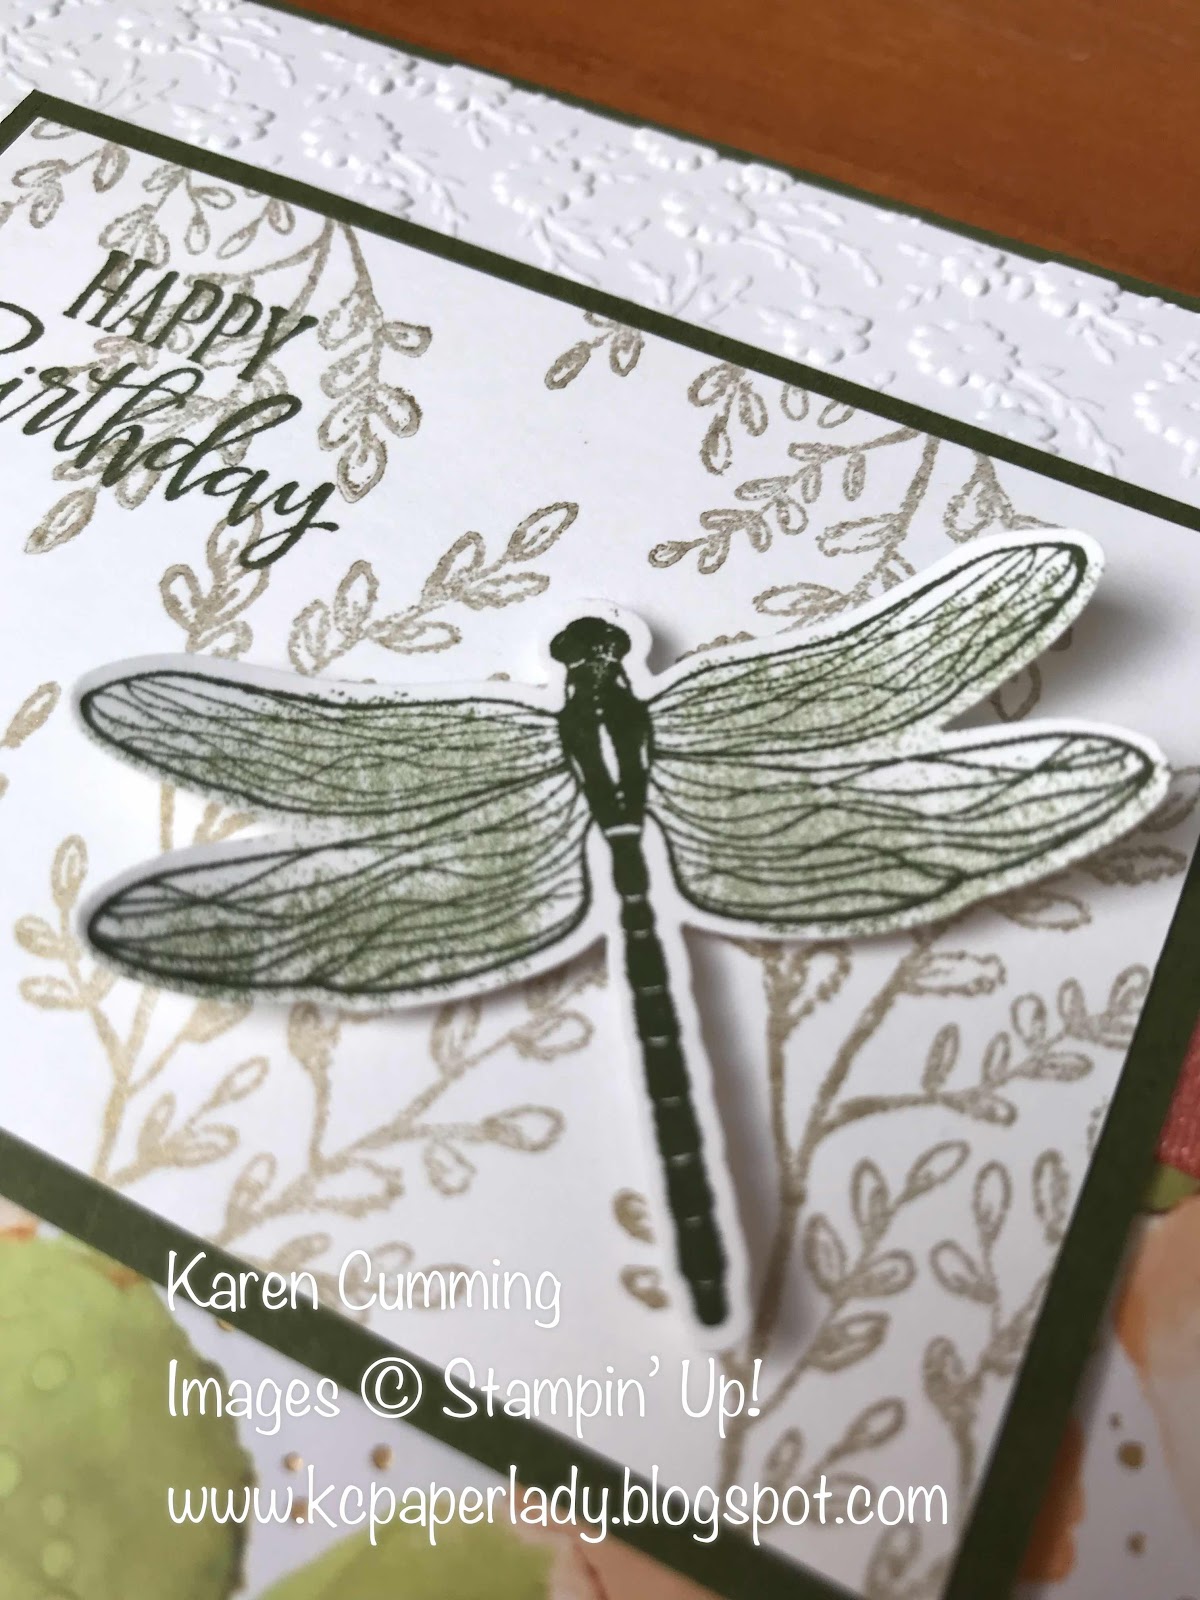
WCMD is a special time of the year when crafters all over the globe celebrate and share the art of card making - while recognising the power that handmade cards with personal messages have to touch lives for good.  This is particularly important at the moment and especially as we strive to stay connected during the pandemic.

But you don't have to be an avid crafter to enjoy the celebration.  I can show you how easy it is to put together a card for that special person (or people!), so please join me online to craft a card and send a little sunshine to someone you love.

Join me on Saturday 2 October, 10am - 11am online via Zoom.

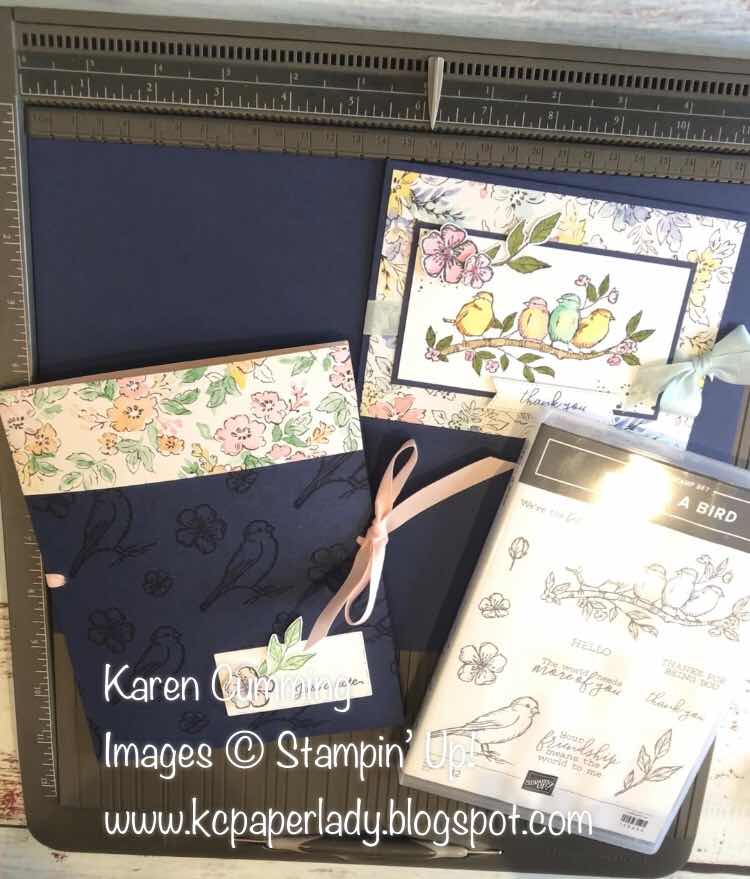
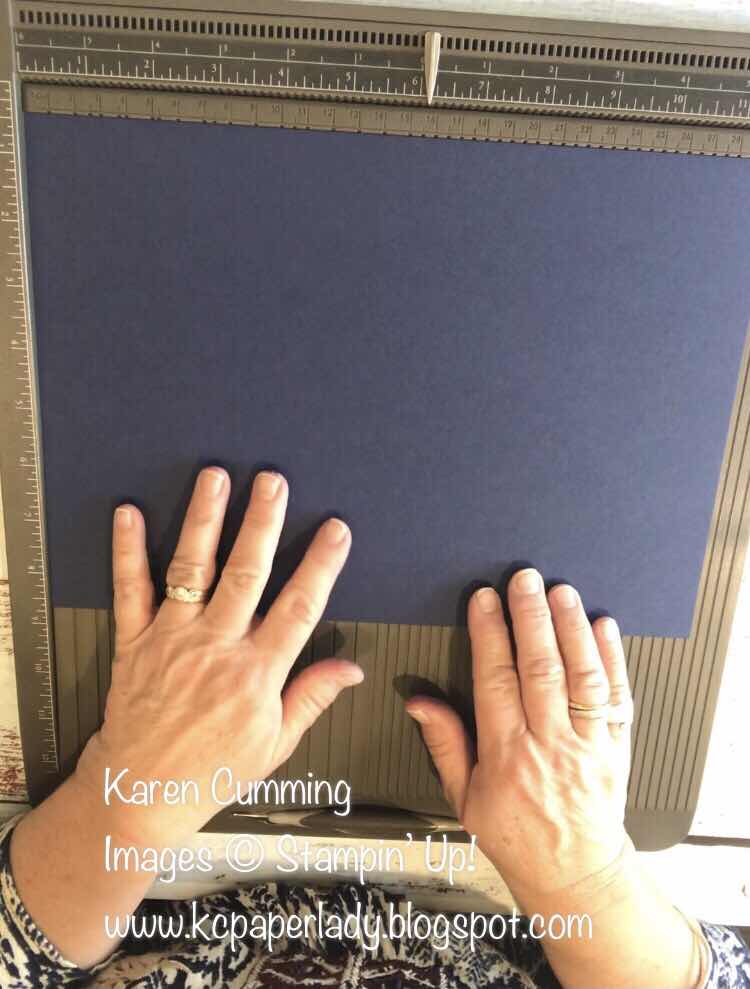
Gather your supplies - keep it simple!  And remember you can substitute with items you have.  The goal is just a simple, handmade card to show someone you care.  
  • Cardstock for the base
  • Coordinating cardstock to make a mat layer to frame your image
  • Ink & Stamps
  • Patterned paper - use wrapping paper, recycle a nice bag etc
  • Embellishments/ribbon - optional.  Think buttons, dried flowers, ribbon scraps - I once cut the ribbon "hanger" things off a t-shirt because it was the perfect colour for a project....hahahahaha!  I'm not joking.  I was on holidays with limited supplies!
  • Paper trimmer/scissors/adhesive
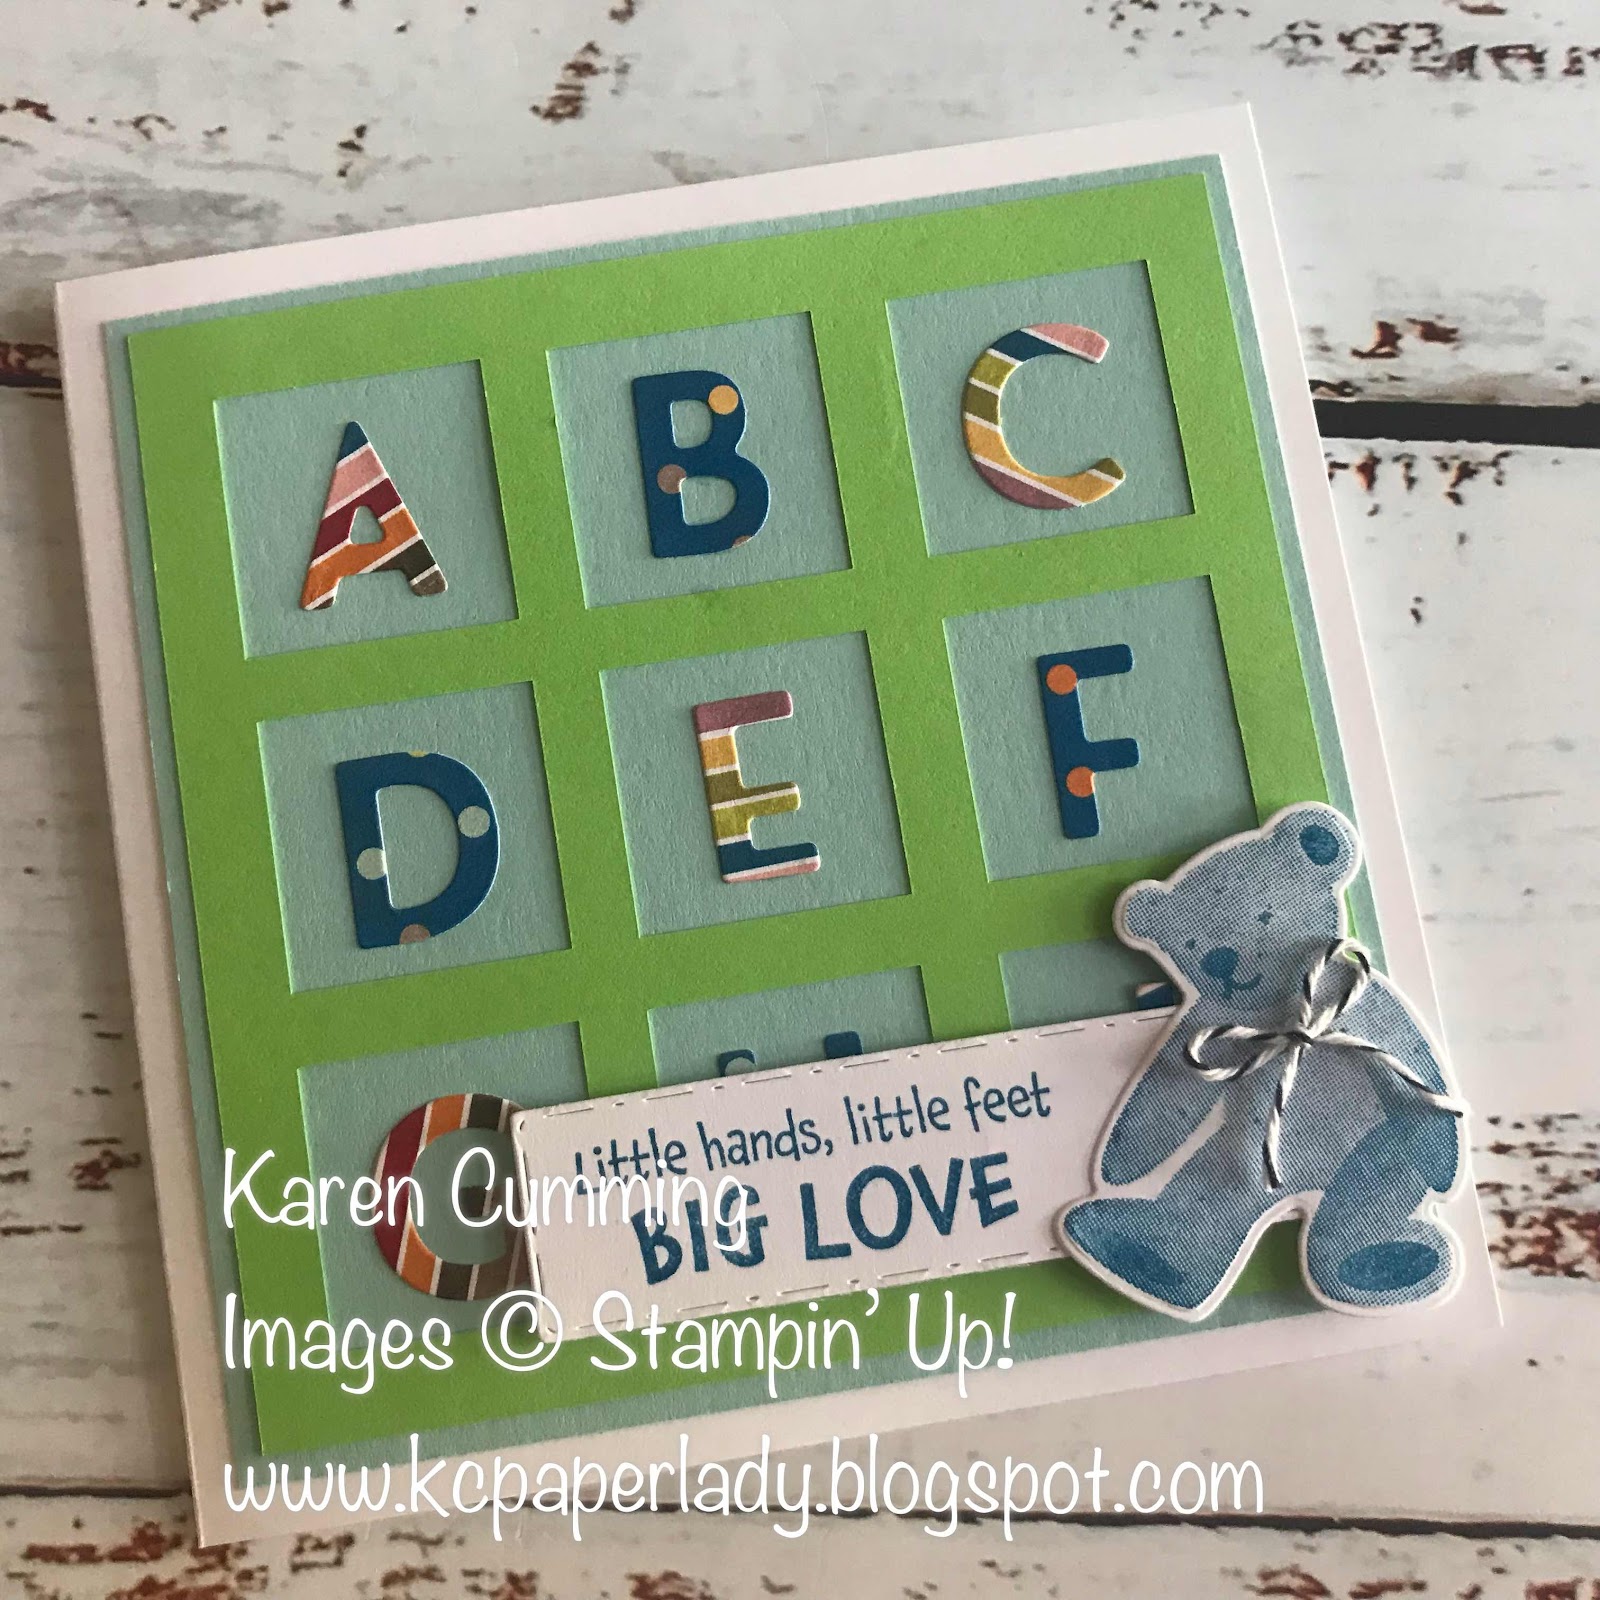
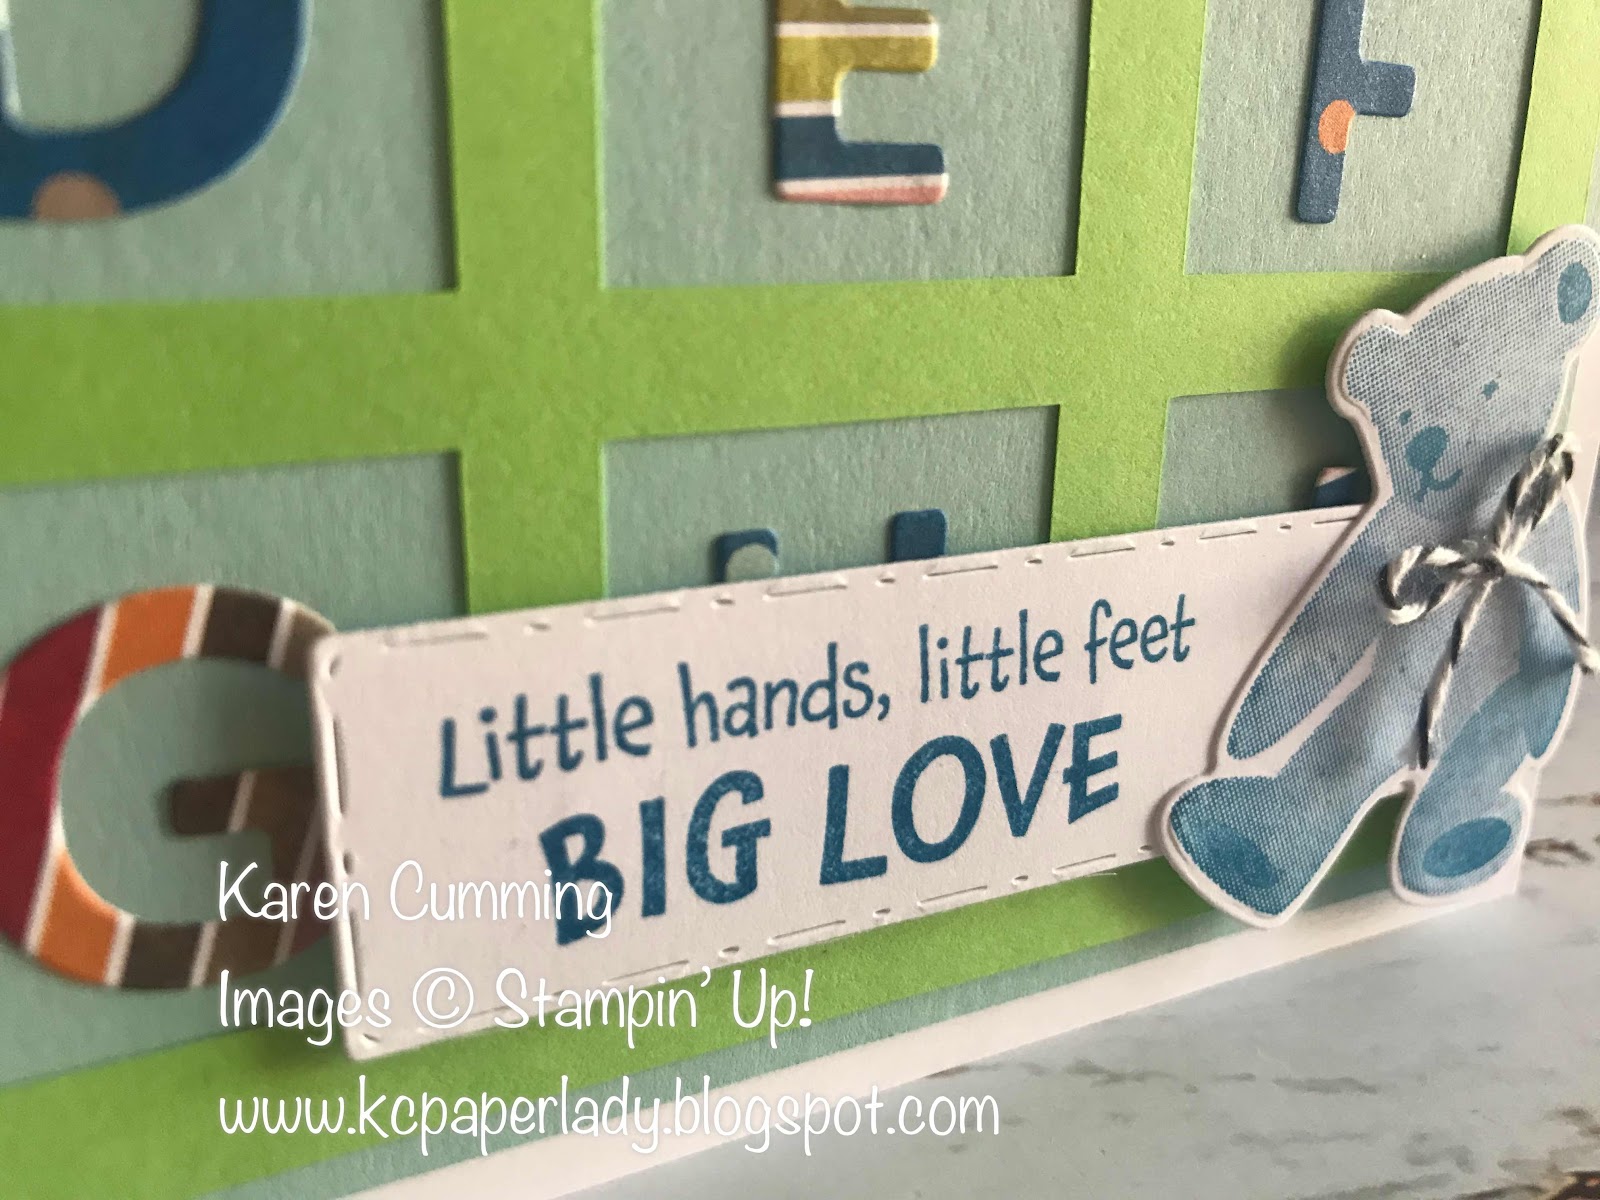
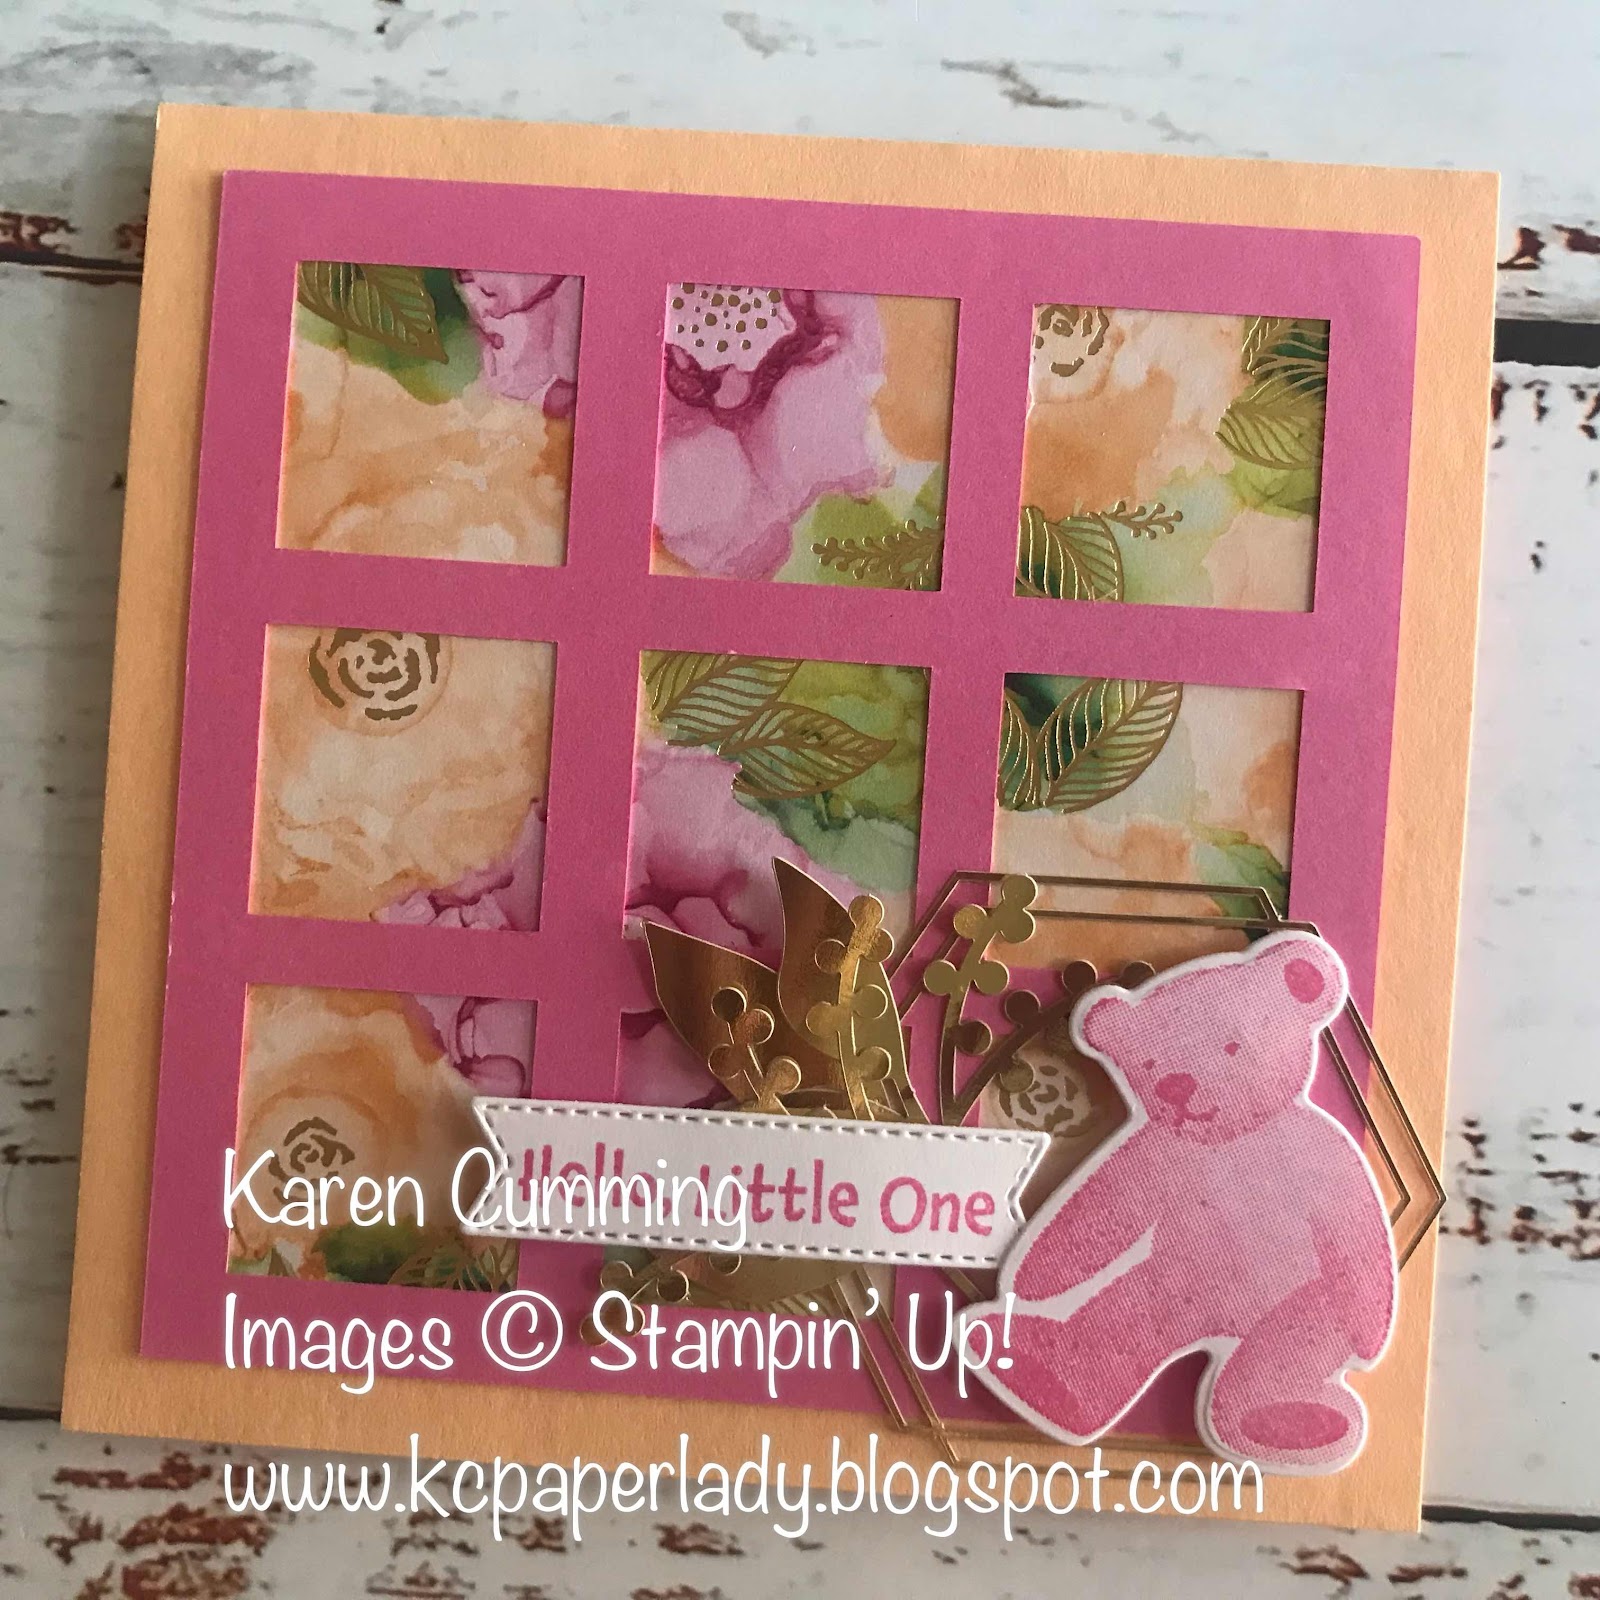
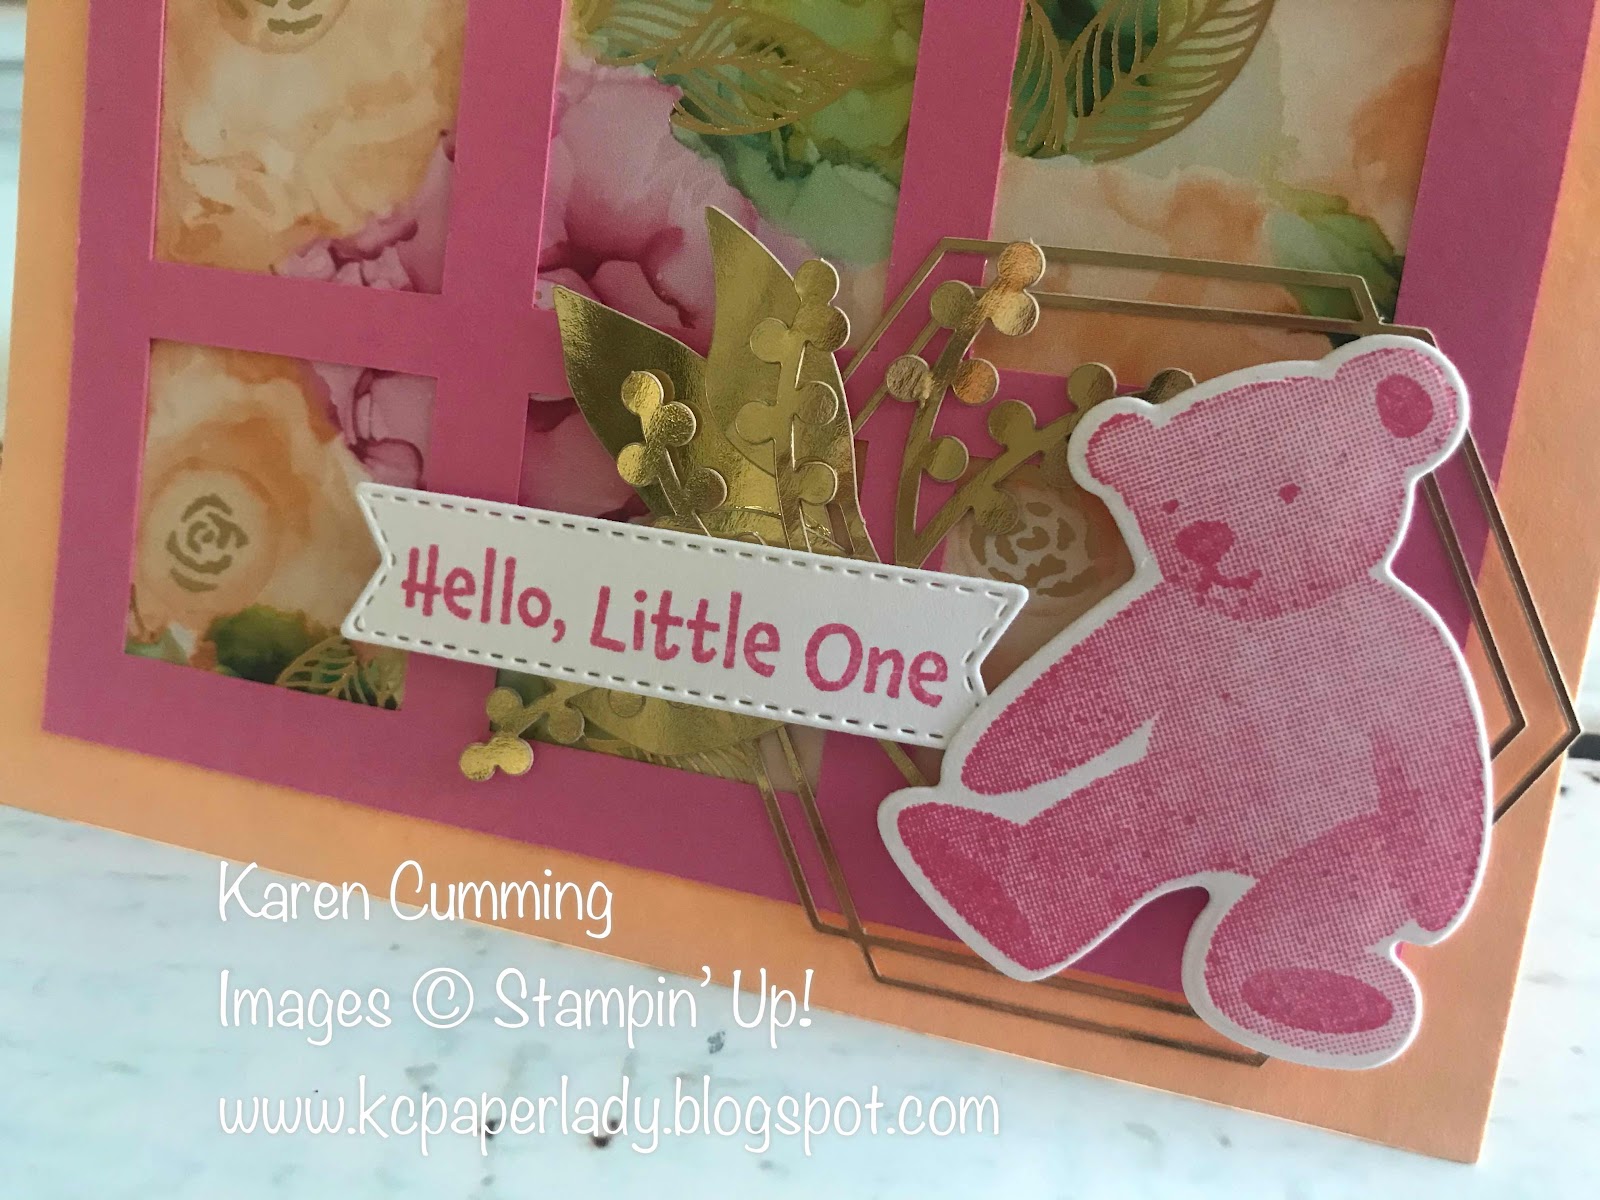
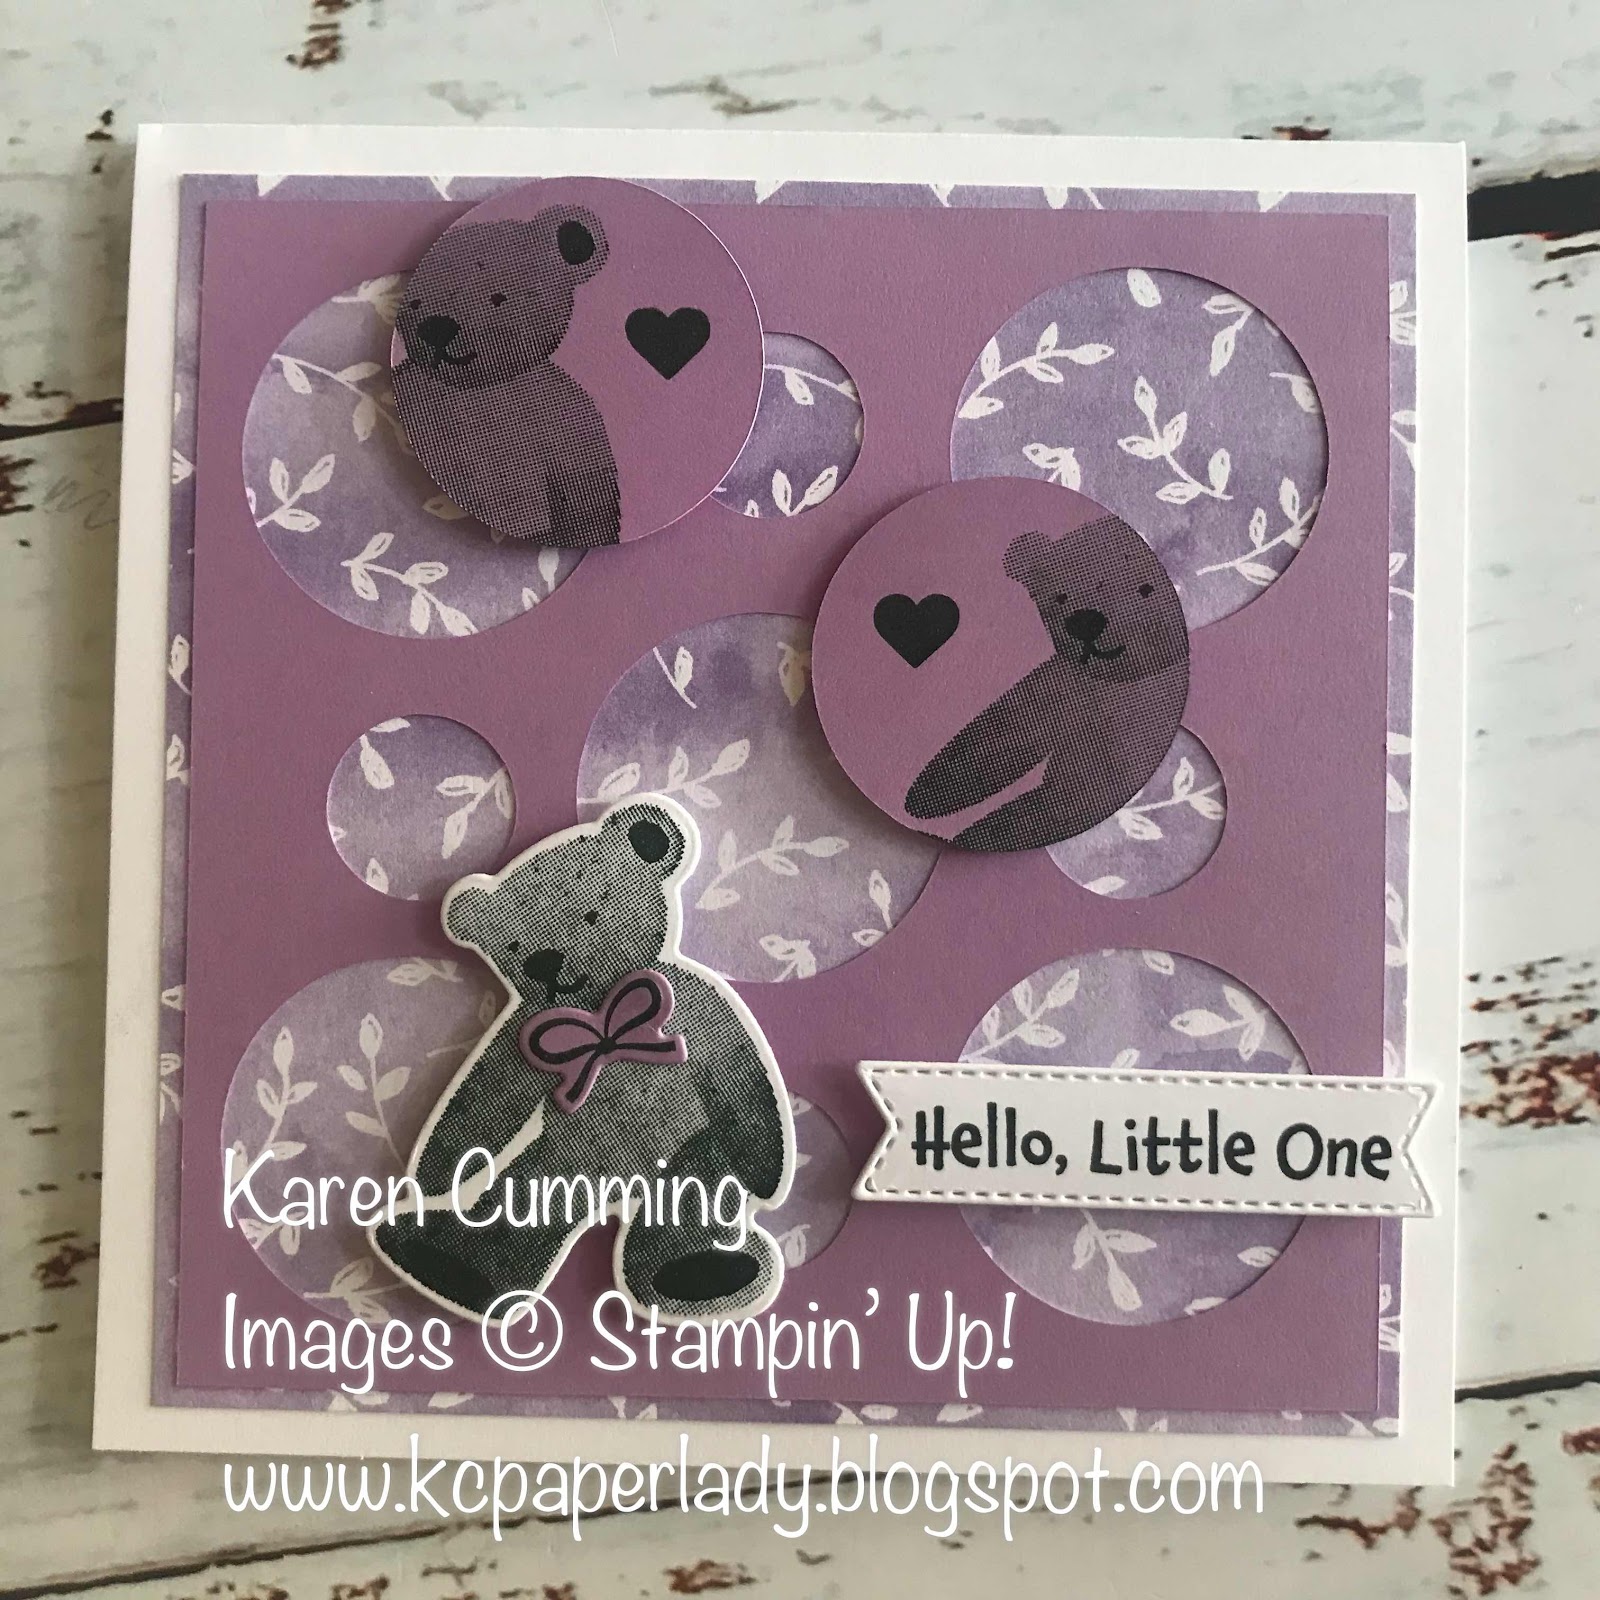
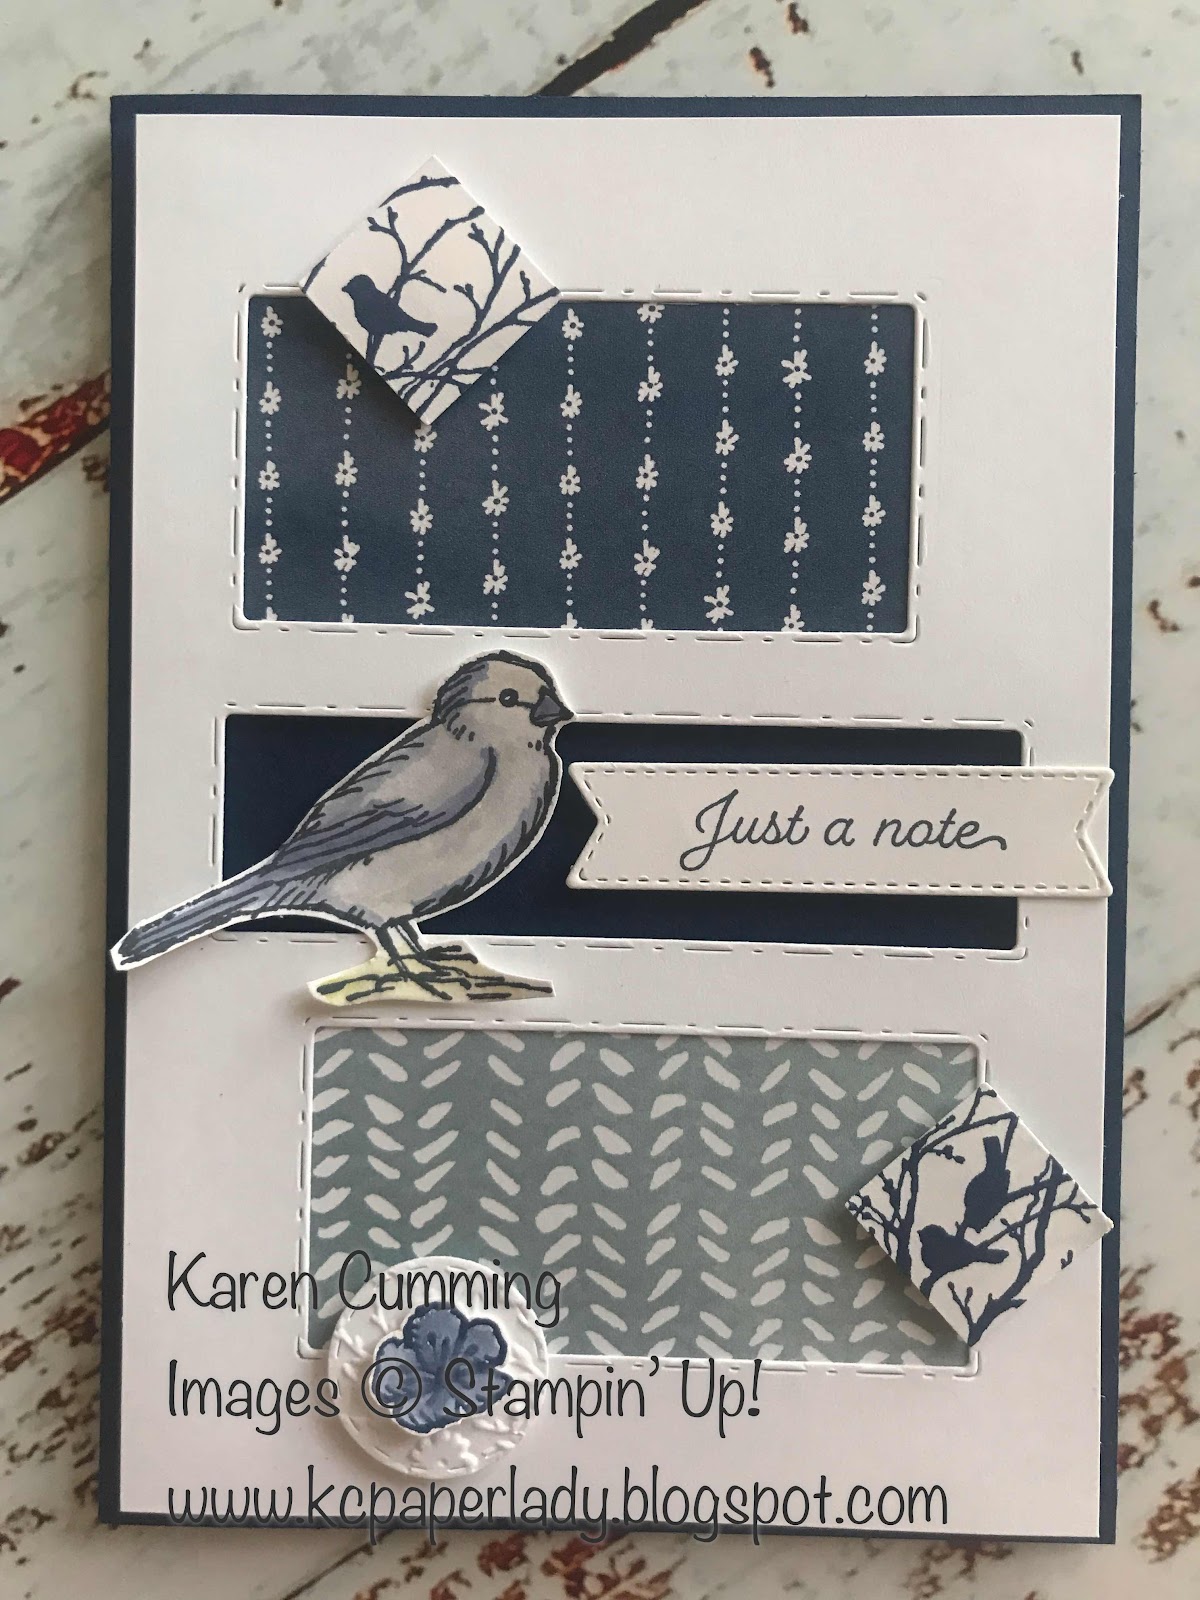
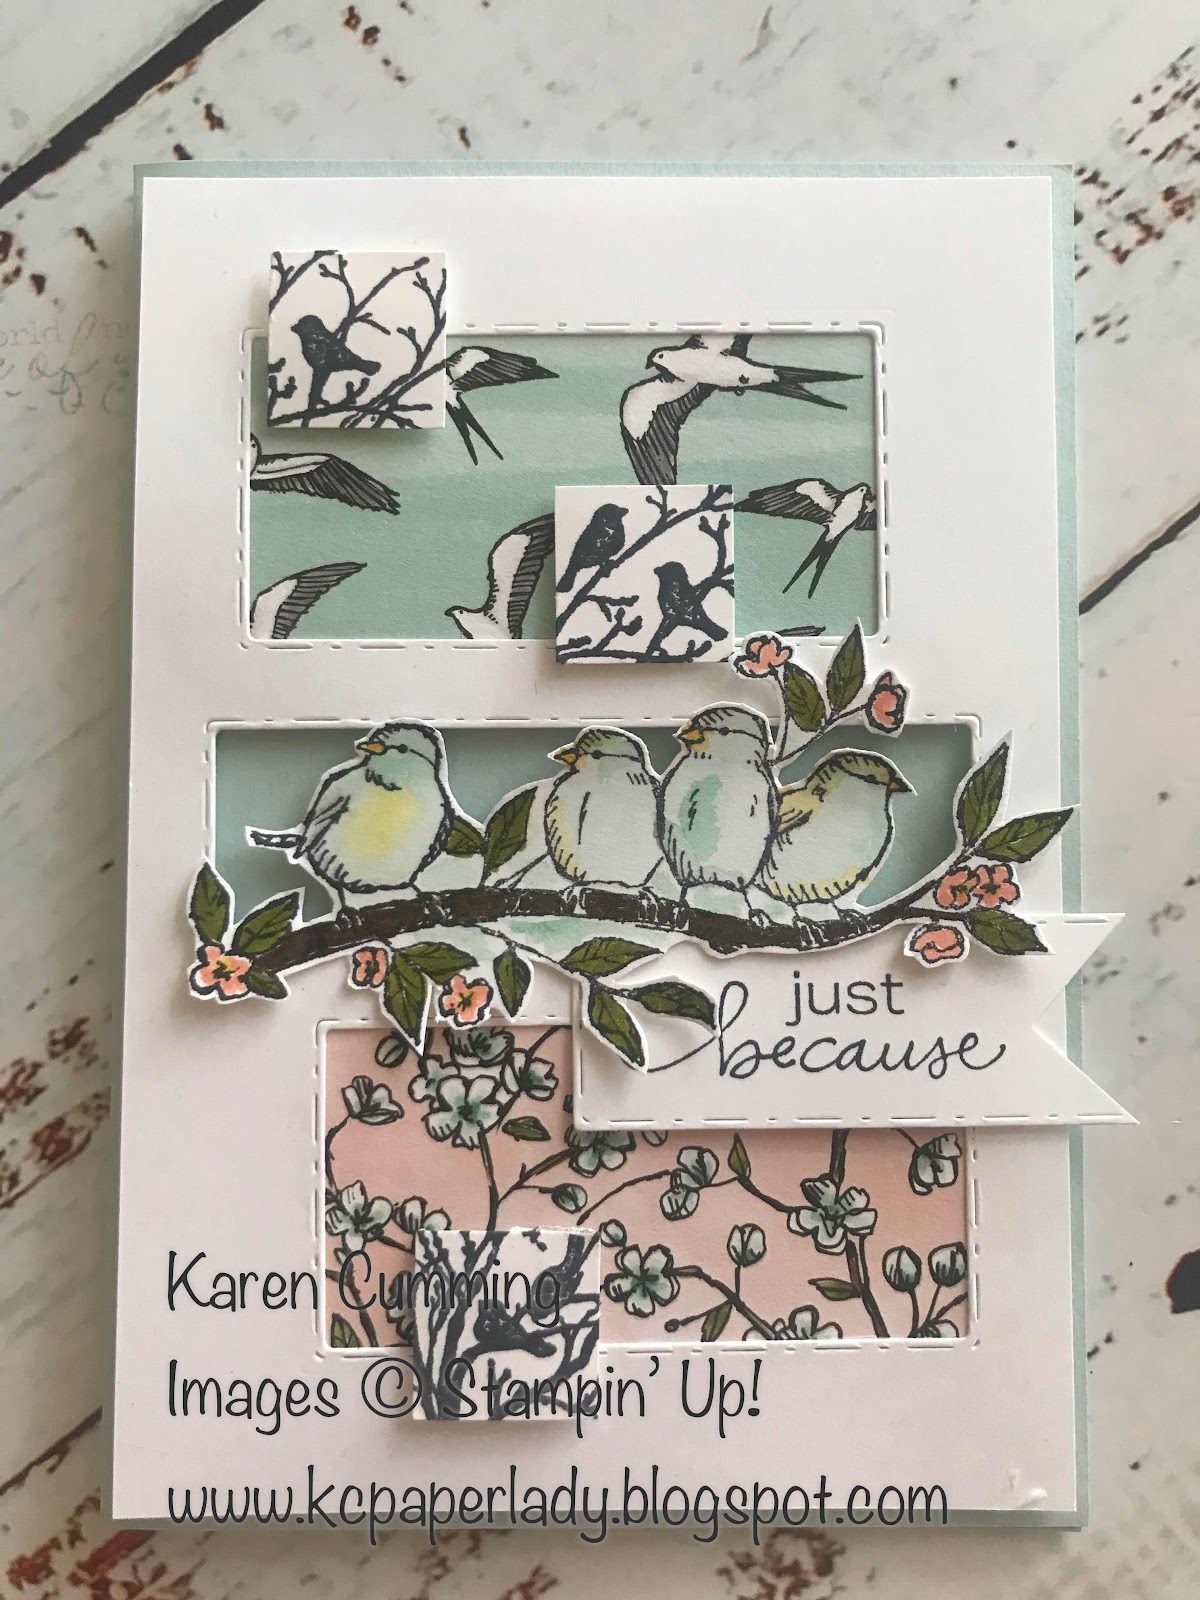
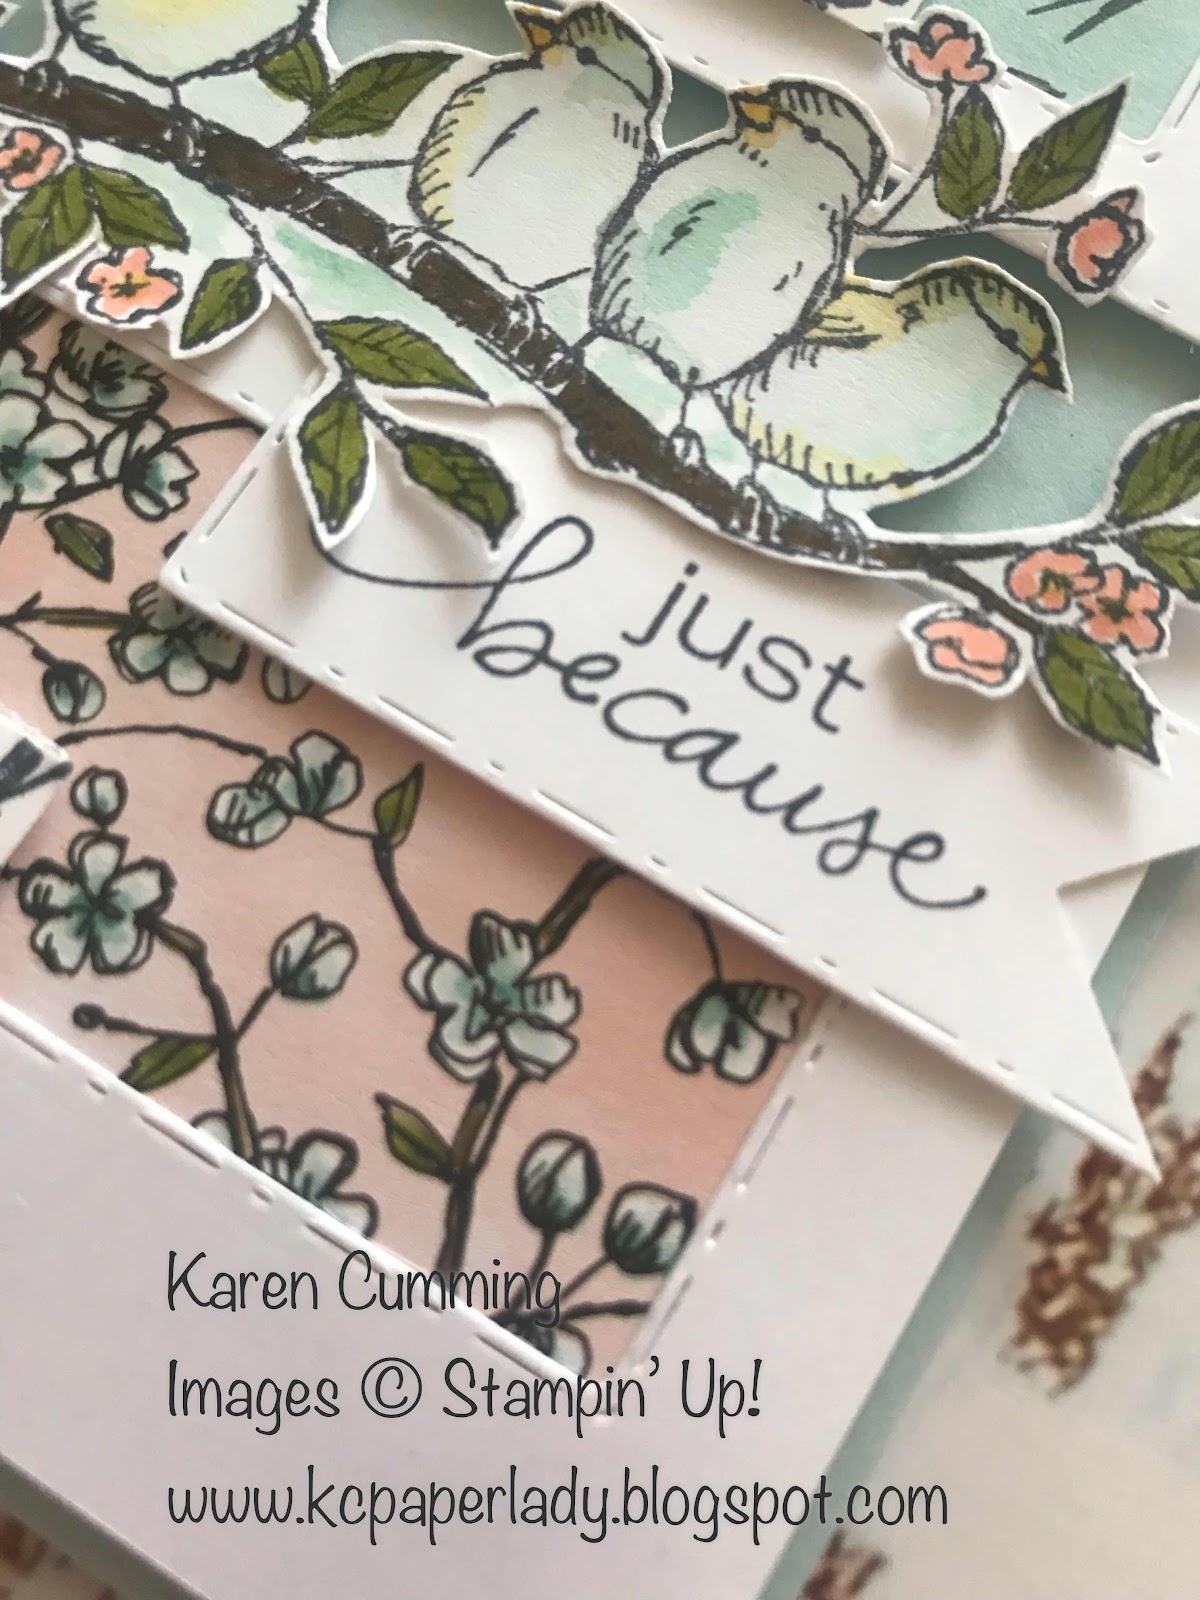
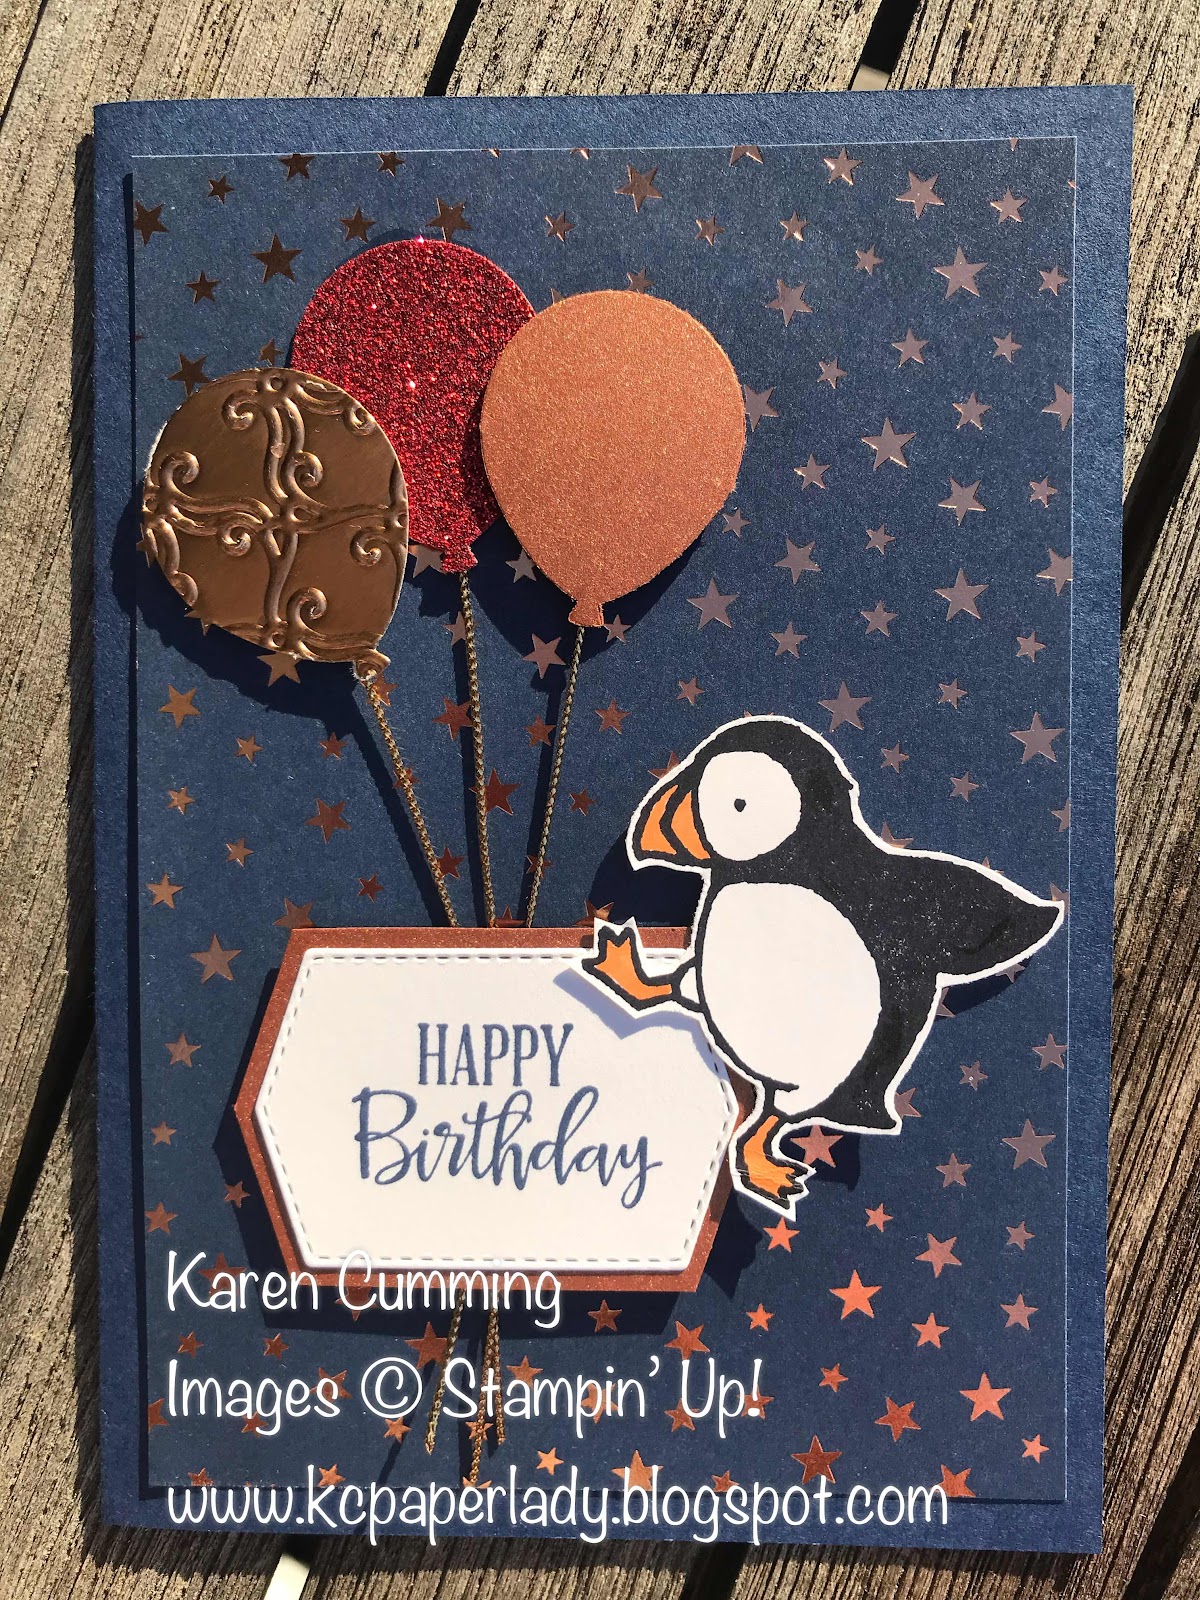
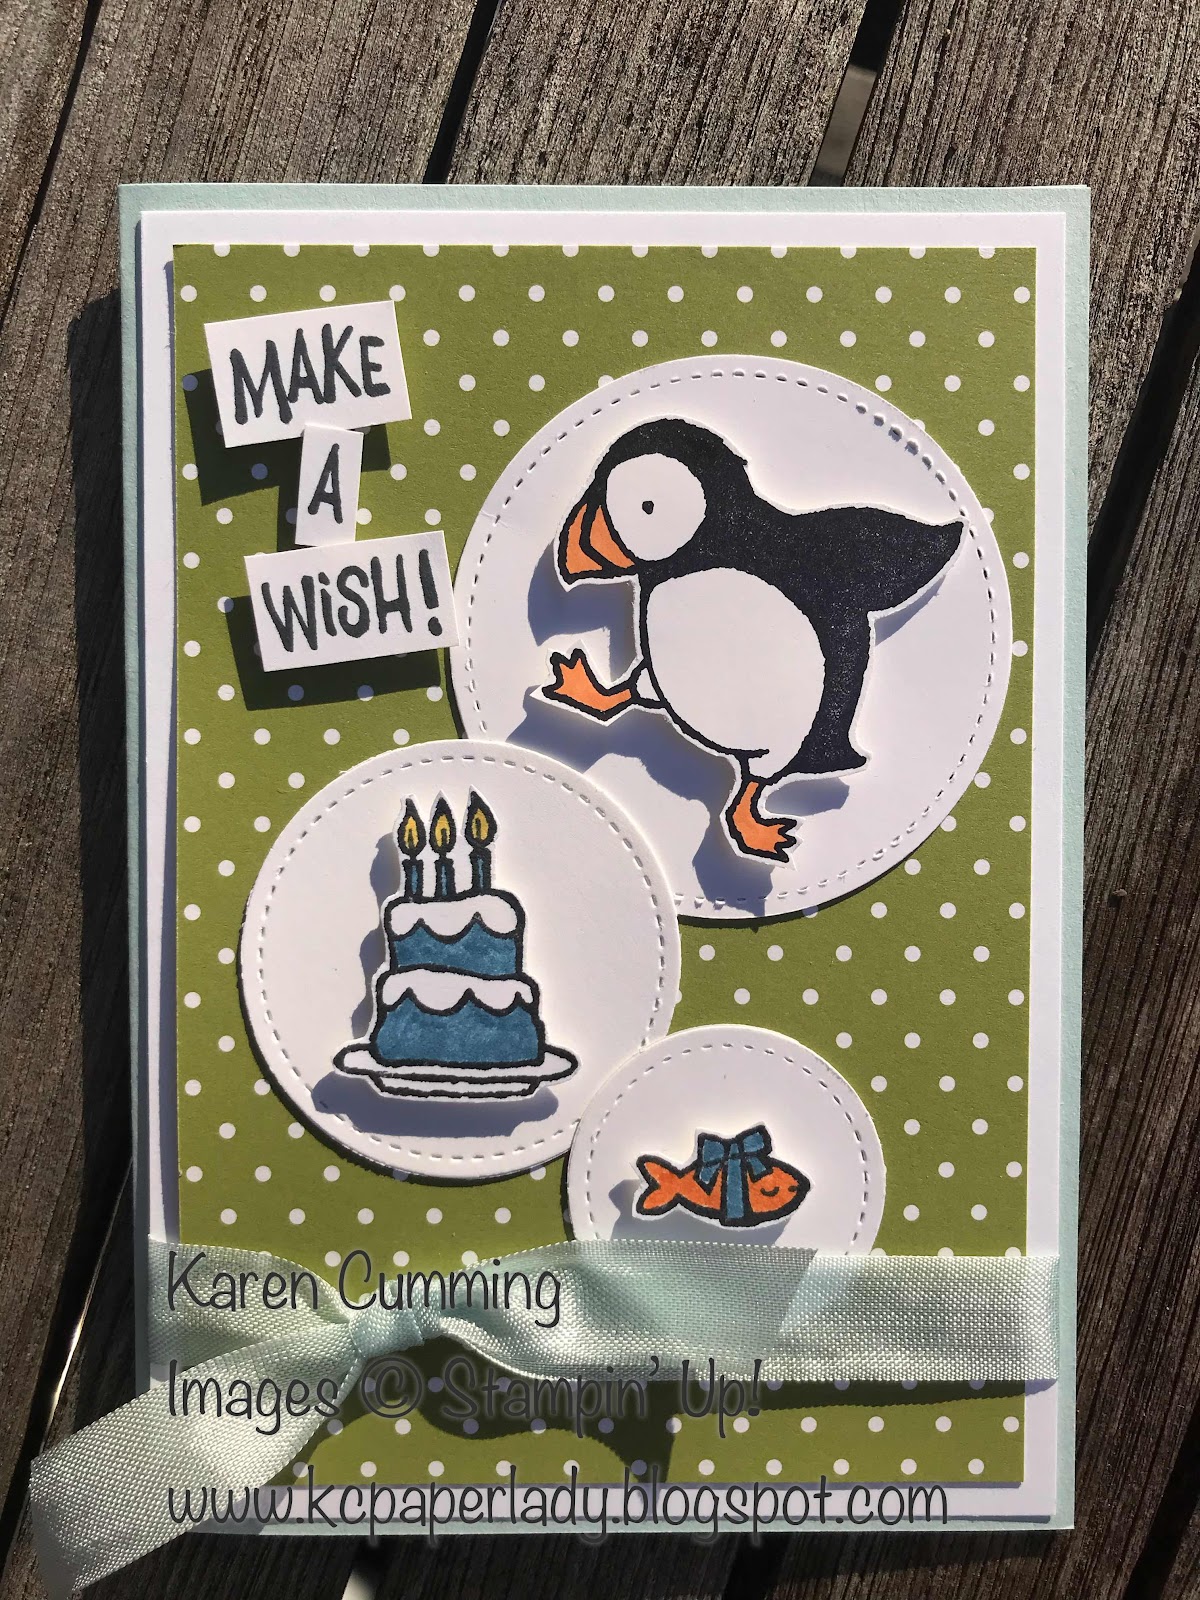
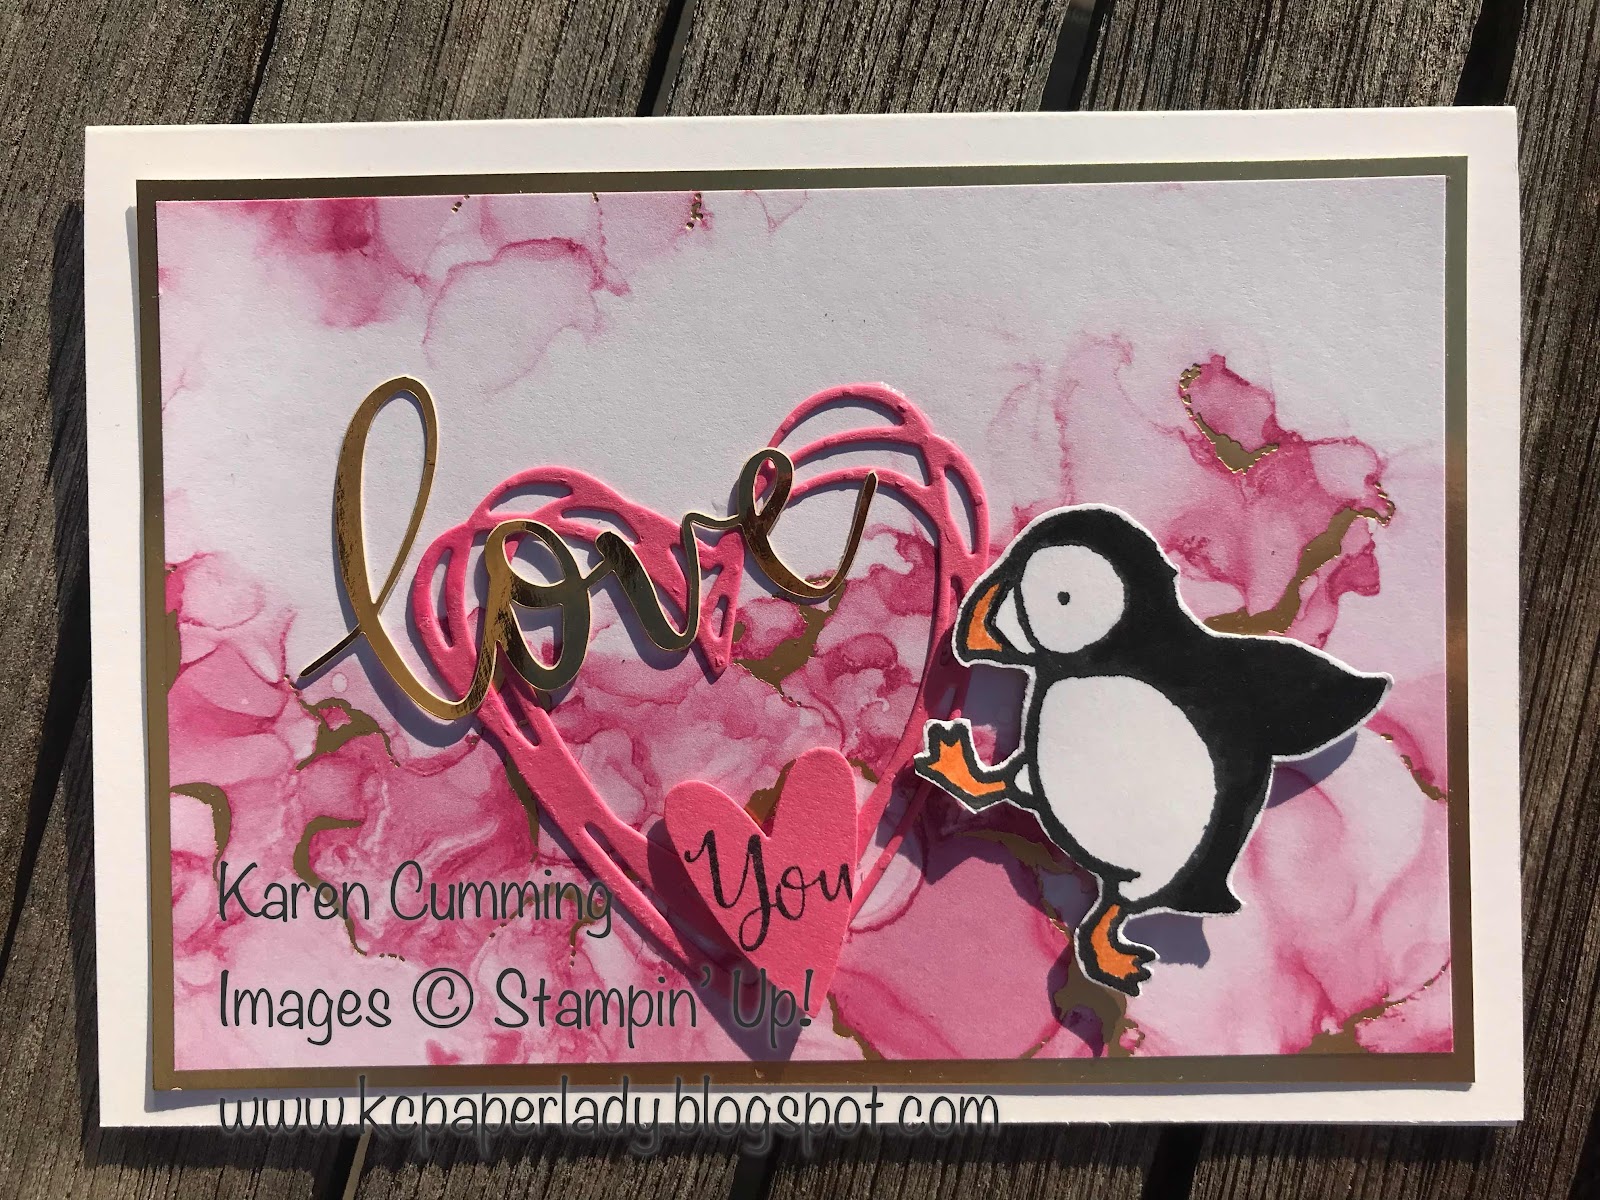
To keep it simple, here's a card sketch to use as a guide. 

And here's a card I made with an interpretation of the sketch.


Of course you can do more, or less.  It's up to you.

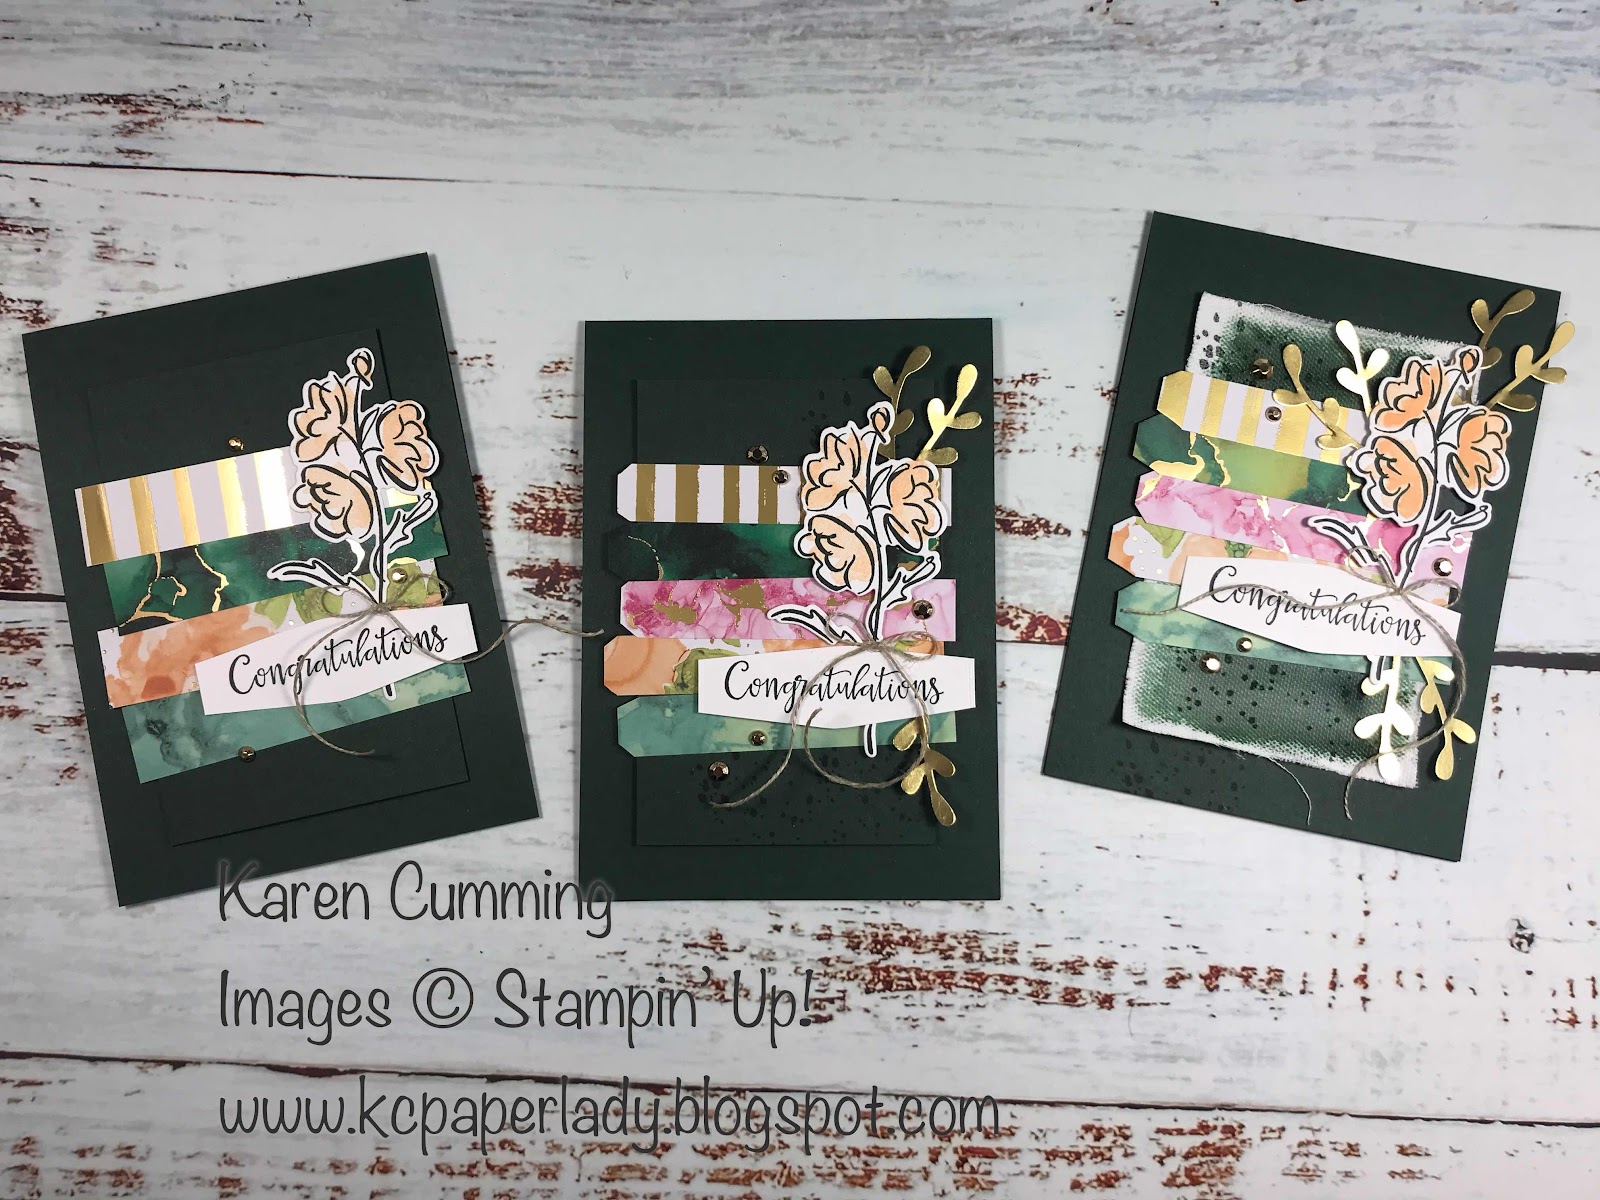
So what do you think?  Are you ready?  Can we do it?  I thought we'd have a goal of making 3 cards each in the hour and we'll take a vote at the end to see which card we like best.  The maker will receive the Textures & Frames Photopolymer Stamp Set from the current Sale-A-Bration offering.

Please let me know that you're coming so I can send you the zoom link to join the session.
Email me at kecumming@gmail.com

Cheers


Friday 24 September 2021

Where Do You Get Your Inspiration?

 It's Friday, and another week in lockdown ticks by.  

There's no question that this long spell of minimising activities has been made easier because of my card making community.  I have been very fortunate to have a group of people join me on zoom each week, and we've chatted and laughed at everything from the ridiculousness of the world right now to the state of our hair!!   There's no doubt that I am inspired by each of you, so thank you!

I've also been very spoiled with a lot of happy mail.  Yes.  The card makers dream is to receive handmade cards that they didn't make themselves!!  Here's my display.  You may recognise a card you've made and sent to me.  And I'm truly grateful and blessed to have you in my life.  


Please share where you get your inspiration from.  Leave a comment below, and let's brighten eachother's day.

Here's cheers to seeing you in person in the not too distant future.


Wednesday 22 September 2021

Little Hands, Little Feet, Big Love Card

These two cards use the teddy bear from the All For Baby stamp set and coordinating Baby Clothes Dies.  But the card styles are polar opposites.


I've cut out the letters using the Playful Alphabet Dies, which has 58 dies including letters, numbers, punctuation and symbols.  I particularly like that there's a few of the same letter so you can make multiples quickly with just one pass through your die cutting machine.


This card feels super stylish with it's gold accents and Expressions In Ink DSP.  The accents are part of the Ephemera pack from the bundle.  Love the colour combo of Polished Pink and Pale Papaya.  What do you think?

More thanks go to Carole for sending me the two frames used in these cards.  There's something very pleasing about a square card with square windows.

Swing by tomorrow to see a completely different look using the same stamp set!


Tuesday 21 September 2021

Hello Little One

I received a lovely surprise in the mail last week from craft buddy Carole, who has recently joined our 'virtual' craft session on Wednesdays during Covid lockdown.  Let me know if you'd like to join us sometime and I'll send you the link.  

Anyway, thank you Carole for sending these really cute cardstock frames in some lovely colours.  

I'm really happy with the way they turned out.  And Carole also inspired the design of this first card after I saw how she'd stamped and layered an image in her design. 


This card used the stamp set All For Baby.  There is a coordinating die set called Baby Clothes Dies and that's how I cut out the teddy bear.  The DSP is Hand Penned and I've layered it onto a square card of Basic White.  Square cards are not as economical because you can only get one decent sized card out of a piece of A4 - this one measures 13 x 26cm to give a 13cm square card.  I will probably make my envelopes using the matching DSP so it'll look stunning!  Carole cut out the window piece with her Cricut machine.  And she sent the circles as well, which I love with the little bear and hearts stamped on them.  The main bear has a bow that I stamped and cut out using the Baby Clothes dies.

The second card uses a square window frame.  This one looks lovely with the Pleased As Punch Specialty DSP (retired) behind it. The hearts were punched out of the same paper, and I used a stamp from Under My Umbrella - also sadly retired, to stamp the umbrella and handle. This time, I stamped the bow directly onto the bear.  

Pop back tomorrow for some more ways to use this bundle of products.  You can buy the bundle here.

Have a great day!  Stay well and warm - has Spring done another runner?!


Sunday 19 September 2021

Step It Up Saturday with Color & Contour

 One of the many advantages of being a Stampin' Up! demonstrator is access to so many amazing design ideas and a fantastically talented craft community.

This week in our demo-only email there was a beautiful step it up project that I just had to CASE.  They used the Nature's Harvest set that I don't have - oh dear, I might have to splash out....hahahahaha!   

Anyway, I re-created the project using the Color & Contour bundle.  Take a look:


CASUAL

To make the casual card, stamp the image once in Evening Evergreen, then use the two-step method to ink in the flowers in Pale Papaya.  I stamped the greeting and cut out using a die from Tasteful Labels - there I go getting more bang for my buck again!

AVID

I love the Expressions in Ink DSP, and added an extra strip to make the panel pop a bit more & trimmed the corners on one end.  The gold accents were made using the Sprig punch.  There's a bit of background stamping on the back panel too.

ARTFULLY AVID

My artfully avid version includes a wash of colour across a piece of canvas - I really wanted to use the linen paper from the catalogue, but I don't have any and this layer called for texture. I used my aqua painter and Evening Evergreen ink to create the wash.  You have to let it dry - preferably for an hour or so and weight it down so it doesn't curl when it's drying.  Use a distressing tool, or your scissor blade to "rough up" the edges.

I hope you like this project, and feel inspired to have a go at stepping it up.


Friday 17 September 2021

What's on the Desk Wednesday

This week's What's on the Desk card was a quickie!  Do you end up with a lot of bits and pieces lying around after a good crafting session?  Yes, I thought so!

Unfortunately not all the bits work well together all of the time. But this week I had a win!  I confess there was rather a lot to choose from....hahahahaha!

I have been working with a fair bit of the DSP from the Hand Penned pack.  It has a cottage garden feel and a watercolour look which makes it suitable for different types of project.  I also had (on the desk) a leftover Mint Macaron card base and a white label from the Picture This Die.  


I confess to digging around in a drawer for the wooden hearts - they haven't seen the light of day for a year or two, and I'm excited to have found the perfect project for them.  

'Just Because' is a perfect sentiment right now, don't you think?  What better reason than to reach out to someone during lockdown and all this craziness in the world.  The stamp is part of Lovely You item # 152525.  

Finally, several wraps of linen thread - of all the ribbon, in all the world, this is the one I couldn't live without!!

Happy Friday peeps!   Reach out to someone 'just because'.  I guarantee you'll make their day :)


Thursday 16 September 2021

Marmalade Not Cards!

 Good morning crafters!

I was very fortunate to get some lovely oranges from my friend in Kangaroo Valley - thanks Gudula!  She has a fabulous B&B if you are ever going that way. Once we're out of lockdown of course!

Anyway, I made a batch of marmalade.  I've done it several times before, but I always forget how long it takes and how much sticky mess I make.....giggle.  When I was eventually finished it was quite late and honestly, I was exhausted.  So it's been a process and last night I decided the jars needed a little fabric top - well, you've got to go the whole nine yards, right?!

The only fabric available was some of my daughter's pattern making calico, so I set to work stamping and cutting.  I used Memento Ink - it makes a bit of a mess on your hands I can tell you!  But I ironed it and I think it's going to be ok i.e. it won't run.  Much. I think. 


I made the tags using a die cut from Tasteful Labels - boy have I had my value out of that set!  You can see if here.  And the stamp is from the (sadly) retired Fresh Fruit set.

I love it when the crafts collide!

Hava a super day!


Link To Shop: www.stampinup.com.au     In the CHECKOUT screen, enter this month's HOST CODE for an extra something from me for a qualifying order.  You can find the HOST CODE in the side panel on my home page.


Wednesday 15 September 2021

Free As A Bird The World Needs More Card

Following on from yesterday's post, here's a couple more cards in the same style.

This card was great for using up some of the smaller pieces of Designer Series Paper leftover from another project.

What do you think of that little embossed circle?  It's the pop-out from the Picture This die with the Ornate Floral embossing folder.

I actually used the Bird Ballad Designer Series Paper in this card.  The feathers are so pretty.  

Don't you love it when your stamps and die cuts are a perfect match?  The stamp is from Free As A Bird and the die cut is out of the Tasteful Labels kit.

This is the last card - I promise!   I love the Crumb Cake & Blackberry Bliss colour combo.  The DSP is retired now & particularly the one in the top panel was very hard for me to use.  It's from a pack called Something Borrowed and I still have a couple of sheets left that I will probably save forever!!

This design shows how different patterns can work well together when you get the colour and pattern size in harmony.   But in all honesty, I just go with what I like.  Sure we can apply all sorts of design rules, but the most important thing is for you to enjoy what you make.

Leave a comment if you like what you see :)

Happy Hump Day!


Tuesday 14 September 2021

Free As A Bird Just Because Card & Pseudo Spotlighting

 I received a lovely thank you card from one of my craft ladies this week and I loved the way she had used layers and picked out some details creating an effect that was as much art as card....if you know what I mean.  Anyway, thanks Carole, because you inspired me!

Today’s card uses the Picture This die to make three frames for the beautiful Bird Ballad DSP, sadly retired :(


The "birds on a branch" were stamped in Memento Tuxedo Black ink and watercoloured using my Classic Ink pads and an aqua painter.  Definitely my preferred way to watercolour because it's so easy, even I can do it!!  I then cut out the whole image.  

TIP: Stamp your image and give it a few minutes to thoroughly dry.  That way it won't bleed when you watercolour it.  Don't have the brush too wet - I like to blot it on paper towel - otherwise your cardstock will warp as it dries.

The small squares were made by stamping an image and using a 1" square punch to cut them out.  This is a different take on the spotlighting technique, adding interest to the design. 


I stamped the greeting on to the narrow rectangle that came out of the main die cut and used my square punch to create a banner shape at one end.  You can see another idea using spotlighting here.

What stamps have you got that you could try out the pseudo spotlighting technique?

Happy stamping :)


Monday 13 September 2021

Free As A Bird Colour Inspo

 This week I'm making cards with the Free As A Bird set from Stampin' Up!

                  Item 149468 Set of 12 cling stamps

My friend Susie sent me this gorgeous photograph of a parrot, and that provided some inspiration for the colours of my little birdies!

The base card is Coastal Cabana, with a layer of DSP from Expressions in Ink - this one is Pale Papaya.  The birds were stamped using Memento Tuxedo Black ink, and so was the flower.  I coloured the image with Stampin' Write Markers using Coastal Cabana and Bermuda Bay.  The leaves are Old Olive and the branch is Early Espresso.   I wanted the flower to be a little softer in colour so I used an Aqua Painter and the Pale Papaya Classic Ink, and it's popped up using a dimensional.

For the sentiment, I stamped on Basic White and cut out with a die from Tasteful Labels.

If you have a go at a card like this, please leave me a comment below.

Happy Stamping


Thursday 9 September 2021

How to Make A Card Folder

 This week I've been playing with the Free As A Bird stamp set.  When it was first introduced, it had a matching DSP, but as you probably know, Stampin' Up! retires it's DSP at the end of the catalogue and we get gorgeous new papers to play with in the new catty.  That said, this year we got a suite of products called Hand-Penned and I was thrilled to find the DSP goes beautifully with Free As A Bird.  Woo hoo!

I made this cute little card folder, ideal to gift a set of your hand made cards.


The folder is made from a piece of A4 scored at 148mm in a Landscape format, and turned 90 degrees and scored at 155mm from the right side in a Portrait format.


The additional piece of DSP for the top extension measures 297mm x 45mm.

You can watch a video to see how I made the project here.   If you would like to order any of the products I've used in this project, hop over to www.stampinup.com.au and use the current month's host code that you can find on my home page.

Have a crafty day!

Karen

From All of Us Party Puffins

This is my final card for this week’s Party Puffins bonanza.

The whole crew are here to wish someone a happy birthday!  Lots of fussy cutting in this project, but it's very relaxing and I quite enjoyed making it.

I've used a spotty background stamp from the Color & Contour stamp set, which adds a bit of texture to the white panel behind the puffins.  

Hope you've enjoyed seeing the many options for this cute stamp set.  Thanks for stopping by!

Karen

Wednesday 8 September 2021

You're a Star Party Puffin

 Here's Errol (he looks like an Errol) doing a jig with a background of copper stars!  


I've punched out the balloons using copper foil board (embossed before punching), a matt copper cardstock and glimmer paper.  The happy birthday greeting is stamped on Basic White and cut out using the Tasteful Labels Dies - there's a die in that pack to suit just about every greeting!  I cut the mat for the greeting by hand.  The whole thing is adhered to a Night of Navy cardstock base.  Don't forget to add a liner to dark cards so it's easy to write a message inside.

Happy Hump Day!

Karen

Tuesday 7 September 2021

Party Puffins Make A Wish

 Warning....cuteness overload!

You really can use any Designer Series Paper with these happy little puffins.  They work with all sorts of colours and patterns.  The trick is to pick out complementary colours to fill in the images like the cake & fish in this card.  The Pear Pizzazz colour in this spotty DSP doesn't make another appearance, but it is complemented so well in the blue card base and ribbon that it doesn't matter.


And in my second card, it's just a matter of picking the dominant colour in the DSP - in this case it's Calypso Coral. So I chose Pumpkin Pie to make a statement and really set off the Puffins with those cute little candles, which you'll notice I've coloured using the shades of the DSP .  The speckled background ties it all together.


They are such lovely birthday cards for the littlies, don't you think?

Happy stamping :)

Karen


Monday 6 September 2021

Love You Party Puffins!

 What do you think of this background paper?  It's from Expressions in Ink.  It's very soft and pretty, but those gold accents make it feel really special.  I've layered it onto some Gold Foil Board.


The word 'love' is a die cut, it was from a kit, and I can't remember which one....hahahahaha!  But the large heart is cut from Polished Pink cardstock using the Sunshine Wishes dies, long retired, and so pretty I can't part with them.  

It seems that our happy little puffin goes with just about anything.

Tip - if you want to stamp a word precisely into a small area, stamp first, punch second. Like the ‘You’ in the small heart.  That way you'll know that you've got perfect placement and that the punch is the right size for the stamp.  Of course if you're doing a whole lot of the same stamp, then you could also use a Stamparatus.  Well worth the investment if you like to mass produce cards.

Happy Monday! 

Karen

Sunday 5 September 2021

Party Puffins Being Jolly

 Here's another card using the Party Puffins stamp set.  This time I've used the Picture This die - I know I've said this before, but it's so lovely because you get the stitching on the outside of the circles adding a nice detail.  I used the die on the DSP as well - it's more of the retired Birthday Memories. That way, the circles are the perfect size to pop up on dimensionals within the die cut frame.


The base card is Highland Heather.   This card just feels jolly and bright to me!  Perfect for a happy birthday, don't you think?

Happy crafting

Karen

Saturday 4 September 2021

Party Puffins Pack A Punch!

This week I've been playing with the Party Puffins stamp set.  Super cute, and lot's of options for some really fun cards in this set.  

This card was partly a What's on the Desk project because the only thing I added was the stamped Puffin and the card base.  

I had the scrap of DSP - it's retired now but I think it was called Birthday Memories.  I bet lots of you have still got some of that paper....wink wink!  Anyway, I layered it onto a piece of Night of Navy cardstock because I already had the die cut star and the stripped banner.  Then I stamped, coloured with markers and fussy cut the cutie pie puffin.  I'm calling him Errol.  He's popped up on dimensionals because that's how I like to do things.  The greeting is stamped in black - I use Memento or Basic Black from SU.  Add a couple of rhinestones for pizzazz and stick the whole lot onto a piece of Basic White cardstock (half a piece of A4, folded in half).

I've had a ball with this set this week, so check back tomorrow to see what's next!

Have a super weekend.

Karen


Friday 3 September 2021

Dragonfly Garden Meets Expressions In Ink - Card Four

By far, one of my favourites inspired by something I saw on Pinterest.  You can see the original card here.  I love her idea of layering the small dragonfly from the punch over the large one.  And then doing a similar layering technique with the two pieces of twine.  


I decided to stamp the small butterflies in gold on the Basic White cardstock first, then I used the Ornate Floral embossing folder and ran it through the Big Shot.  They're a bit hard to see in the picture, but the detail in the real thing is sweet and the texture so lovely.  

The stitched circle used for the sentiment is what pops out of the Picture This die.  I did a post earlier that shows how I used the whole die here.

I hope you've enjoyed seeing my Dragonfly Garden Meets Expressions in Ink projects this week.  If you'd like further info, leave a comment.  

Have a great week.
Karen

Thursday 2 September 2021

Dragonfly Garden Meets Expressions In Ink - Card Three

Oh my goodness!  How cute is this with the embossing on the white panel?! 

 Its called Ornate Floral & it's a 3D folder so you get a really deep impression.  It's my new favourite! 

I've used the same DSP - Expressions in Ink - and trimmed it with a bit of ribbon, which I think is now retired, but we've got tons of lovely options available here


The sentiment panel was stamped in gold ink with the leaf image from Tasteful Touches.  This set also contains the background stamp I used in card one a couple of posts back.  It's a stunning set!    
TIP - when you use a metallic ink, there's a good chance it's Pigment Ink, which means it's super wet because it's used for heat embossing.  If you don't want to heat emboss, just stamp it carefully so you don't smudge it and set it aside to dry for a few minutes.  You can speed up the drying with your heat tool if you want to, but it's not necessary if you're not in a hurry.


Can you tell how much I love this dragonfly?  The whole set really has stolen my heart!

I love to read your comments, and if you want more details about my projects, let me know.

Happy stamping
Karen