Showing posts with label En Francais. Show all posts

Tuesday, 21 January 2014

Another En Francais

I just stumbled across a photo of a card I made last year, and it uses the En Francais background stamp again.  This time it's used in the more direct sense and I think it creates an elegant backdrop for the flowers from Everything Eleanor.


Hope your week is off to a great start!
Cheers
Karen

Saturday, 18 January 2014

Playing with Background Stamps

Background stamps are so useful and versatile, but how often do you just pull them out to use as a "background"?

Why not make a feature of them occasionally?

Here's 5 different cards I've made using En Francais.  Order it here.
Each card showcases the stamp in a creative way and hopefully gives you ideas on how to extend your stamps so you get more out of them.

 This card was made using the flourish from Everything Eleanor.  Look closely and you'll see the image is slightly darker in places.  I first inked up the flourish using Pool Party ink, then I inked up En Francais with Marina Mist ink.  I "kissed" the two stamps together and the result is the marbled effect on the flourish.
 This card was made by inking En Francais in Basic Black ink and stamping directly onto Designer Series Paper.  To ensure the stamp shows up well, I chose a paper with a small pattern in a light colour.
 Looks complicated?  Well, it's not!  I stamped En Francais in Real Red onto a piece of Pool Party cardstock.  Then I used my hexagon punch to cut out about 10 or 11 shapes.  Tip:  Pay attention to the direction of the pattern - I wanted all my words to be the right way up!!   Next, I laid each hexagon onto a piece of Real Red card stock that measured 9.5cm x 13.8cm in a diagonal pattern.  I glued them all on with snail adhesive.  Then I ran the whole thing through the Big Shot with the polka dots embossing folder.
 Tags are really in right now and I've started by decorating a plain white one using En Francais inked with Pistachio Pudding.  You can then add any layers or embellishments that you have available.
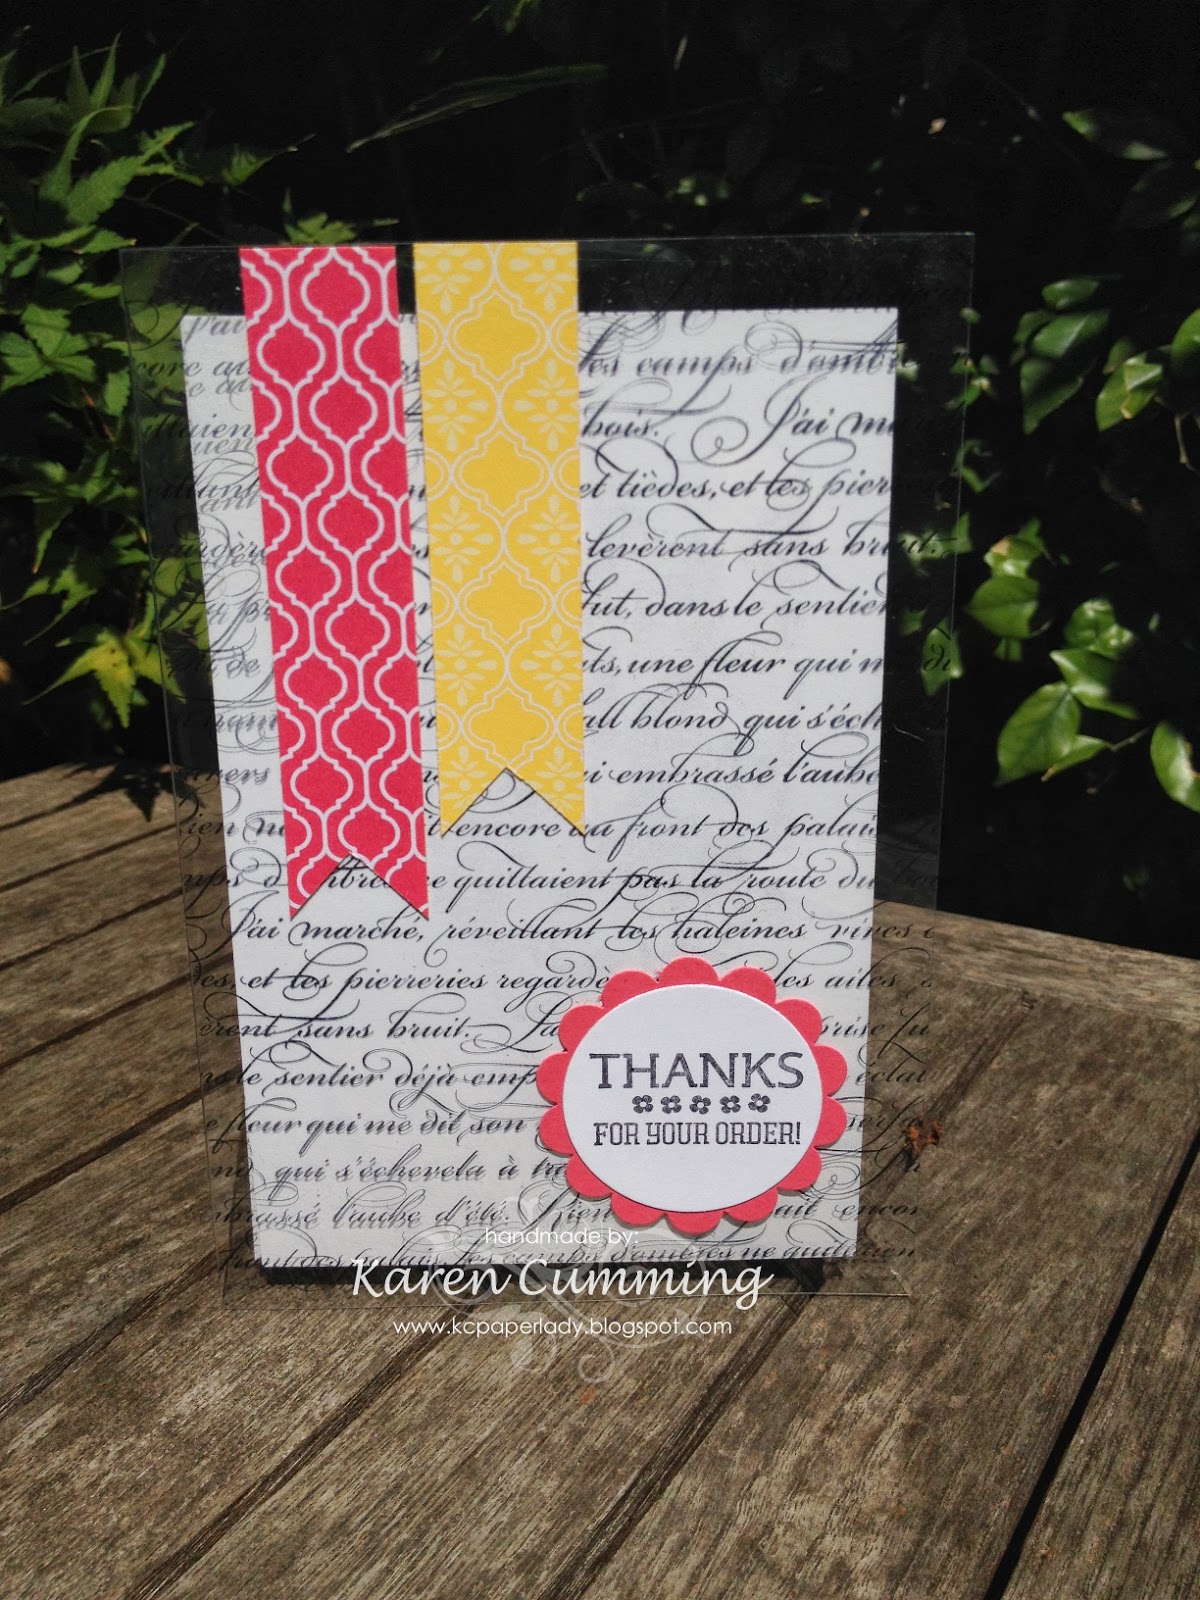
This last one is a bit harder to see, but En Francais was inked with Black StazOn and stamped onto a window sheet, or piece of acetate - dig out those old OHT's at the back of the drawer! I used Whisper White card stock on the inside to create the note area and it's stuck to the acetate sheet behind the banners.

Note:  Working with vellum and acetate is tricky when it comes to glue.  You can either buy some vellum glue dots - they're quite good, but I don't think you ever get a truly invisible fix.  Or you can choose to add adhesive only in places where you know it will be covered by embellishments - this can be hard to work out at the start because you almost have to design the project backwards.

Anyway, I hope this may give you some ideas for expanding your use of background stamps and hopefully you'll find even more ways to use them once you start playing.

Cheers
Karen


Wednesday, 14 August 2013

One of Those Days

I had an "interesting" day today where my patience was repeatedy tested and I was finally forced to stand my ground and over-rule someone whose ability to provide a basic service that was part of their job description was seriously inadequate!  Wow, I feel better now I've got that off my chest!!  Needless to say, it had nothing to do with my business - my service is great AND I know what I'm doing - nor did it have anything to do with paper craft, crafters or anyone I know personally.  Phew!

Here's where I decided to channel my energy - or should I say frustration?!

This is a brand new technique to me!  It's called Retiform and I have Karen Barber to thank for it.  I was about to play along with a challenge and her card just called out to me. I loved hers so much that I've used the same colours: Baked Brown Sugar & Pool Party, but I also added So Saffron and have used different stamps: Everything Eleanor & En Francais.

I think this would make a great class and I'm absolutely sure there are lots of different ways/colours/stamps and looks I could achieve with a bit of fiddling around (in my craft room!). I'll give that some thought and probably add it into the schedule.

So what do you do when you're tested beyond your tolerance level?!

Cheers
Karen
P.S.  Tomorrow I will find out which wedding card was chosen by the customer from this post.  Will you win a prize for guessing correctly?  Leave a comment on that post telling me which card you think my customer will choose to be in the running!


Wednesday, 10 April 2013

Colour Challenge

I made these cards for a colour challenge - Raspberry Ripple, Daffodil Delight & Bashful Blue.

These are definitely not colours I'd choose to put together!  However, they are very bright and cheery and a good playful colour scheme - they would be lovely as a little girls birthday card, or party invitations.

Supplies Used:
Stamp Set - Papillon Potpourri & Perfect Punches
Inks - Raspberry Ripple, Daffodil Delight & Bashful Blue
Cardstock - Whisper White, Daffodil Delight
Ribbon - long since retired
Wide Oval Punch & Framelits - Labels Collection


This card was even quicker to make than the last!   I cut the cardstock to 21 x 10.5cm to get the small square size.   And I stamped the butterflies several times without re-inking to get the different tones.

Stamp Set - Papillon Potpourri, En Francais & Kindness Matters
Inks - Raspberry Ripple, Daffodil Delight & Bashful Blue
Cardstock - Raspberry Ripple, Whisper White & Bashful Blue
Elegant Butterfly & Bitty Butterfly Punch
Framelits - Labels Collection

So, my challenge to you today, is to go make a card with these colours - or choose 3 colours that you wouldn't normally put together and see what you come up with!

Cheerio!
Karen

Thursday, 6 December 2012

Tile us you like us!

This is one of my tiles that I'll have for sale at North Sydney Market on Saturday.   Oooh I love stamping on different materials.


Swing by and say hi!

Cheers
Karen

Monday, 3 September 2012

We Have Lift Off!

The 2012 Annual Catalogue is in full flight!  And didn't we bring it in well at the launch on Saturday?   I'll say.   The punch was flowing, the artichoke dip didn't disappoint, and the Catalogues were everything and more we'd hoped for!

So, with a big thank you to all the ladies who came along and made it a fun afternoon, here's the first of some pics for you.

Late on Friday, getting the goody bags ready.

New product samples for everyone

What's in a goody bag?

New DSP samples this year from "Summer Smooches" & "Be of Good Cheer"

Individual Fridge Magnets

To those of you who couldn't come, I hope you can join us next year.   Feel free to request a catalogue and I'll get one out to you straight away.

Cheers
Karen

Saturday, 2 April 2011

One stamp, two step stamping!

Say that 5 times really quickly!    No, I mean stamp that, but not 5 times, just twice!!  Okay, enough being silly.  What I want to share is some cards I made using a shadow technique.   If you're a regular to my blog and website you'll know that that is the theme of our classes this week.   So if you like these cards, come along and make two others (not pictured), in my fun class next Weds evening.

Strength & Hope Stamp Set

Crumpled Newsprint DSP with Bravo Burgundy Ink swiped across the top

Strength & Hope Stamp Set with En Francais & sponged edges
I hope you find some time to craft today!

Karen