Showing posts with label Stipple Kissing. Show all posts

Tuesday, 20 August 2013

Mojo 307 & JAI 178

No, a whole week hasn't passed already, it's just that last week my card was almost late for Mojo Monday and this week it's really early!   This is the first time I've combined two challenges, how exciting!
 

When I saw this sketch, it said Christmas.....partly because I've been working on some demo samples for my mini launch, so I'm kind of  "in the zone".  And also because I'm growing my stash for the troops - rather well right now as it happens!  Yay me!

And that's where the Just Add Ink challenge comes in, because this week is snowflakes!


So, here we have a couple of my fav things - snowflakes, and traditional Christmas colours.  What could be better (some real snow please!).

Do you like the way the snowflakes are stamped?  It's a technique called Stipple Kissing.  Start by inking your stamp in the lighter colour - I've used Crumb Cake.  Then, using a stipple brush, swipe it gently across the darker ink - Cherry Cobbler, and dab it on top of the stamp.  You can do specific areas as I've done here but it also looks great when it's a bit random and slap dash.   Be sure to breathe all over the stamp to moisten the ink before stamping onto your cardstock.

The rhinestones add a touch of sparkle and for a change I've used the embossed Old Olive cardstock on the de-bossed side, or the side where the image is pushed in.

Supplies used:
Stamp Set - ?? Sneaky Peeky,  Sweet Sentiments
Cardstock - Cherry Cobbler, Crumb Cake, Whisper White, Old Olive
Ink - Crumb Cake, Cherry Cobbler
Paper - ?? Sneaky Peeky
Petals a Plenty embossing folder, ??? Sneaky Peeky Framelits & the Big Shot
Rhinestone jewels, 1 1/4" square punch, stipple brush

What are those gorgeous sneaky peeky products?  You'll find out at the mini launch - email me to book - AND you'll get to use them too!

Cheers
Karen

Friday, 8 March 2013

Stipple Kissing at Stamp University

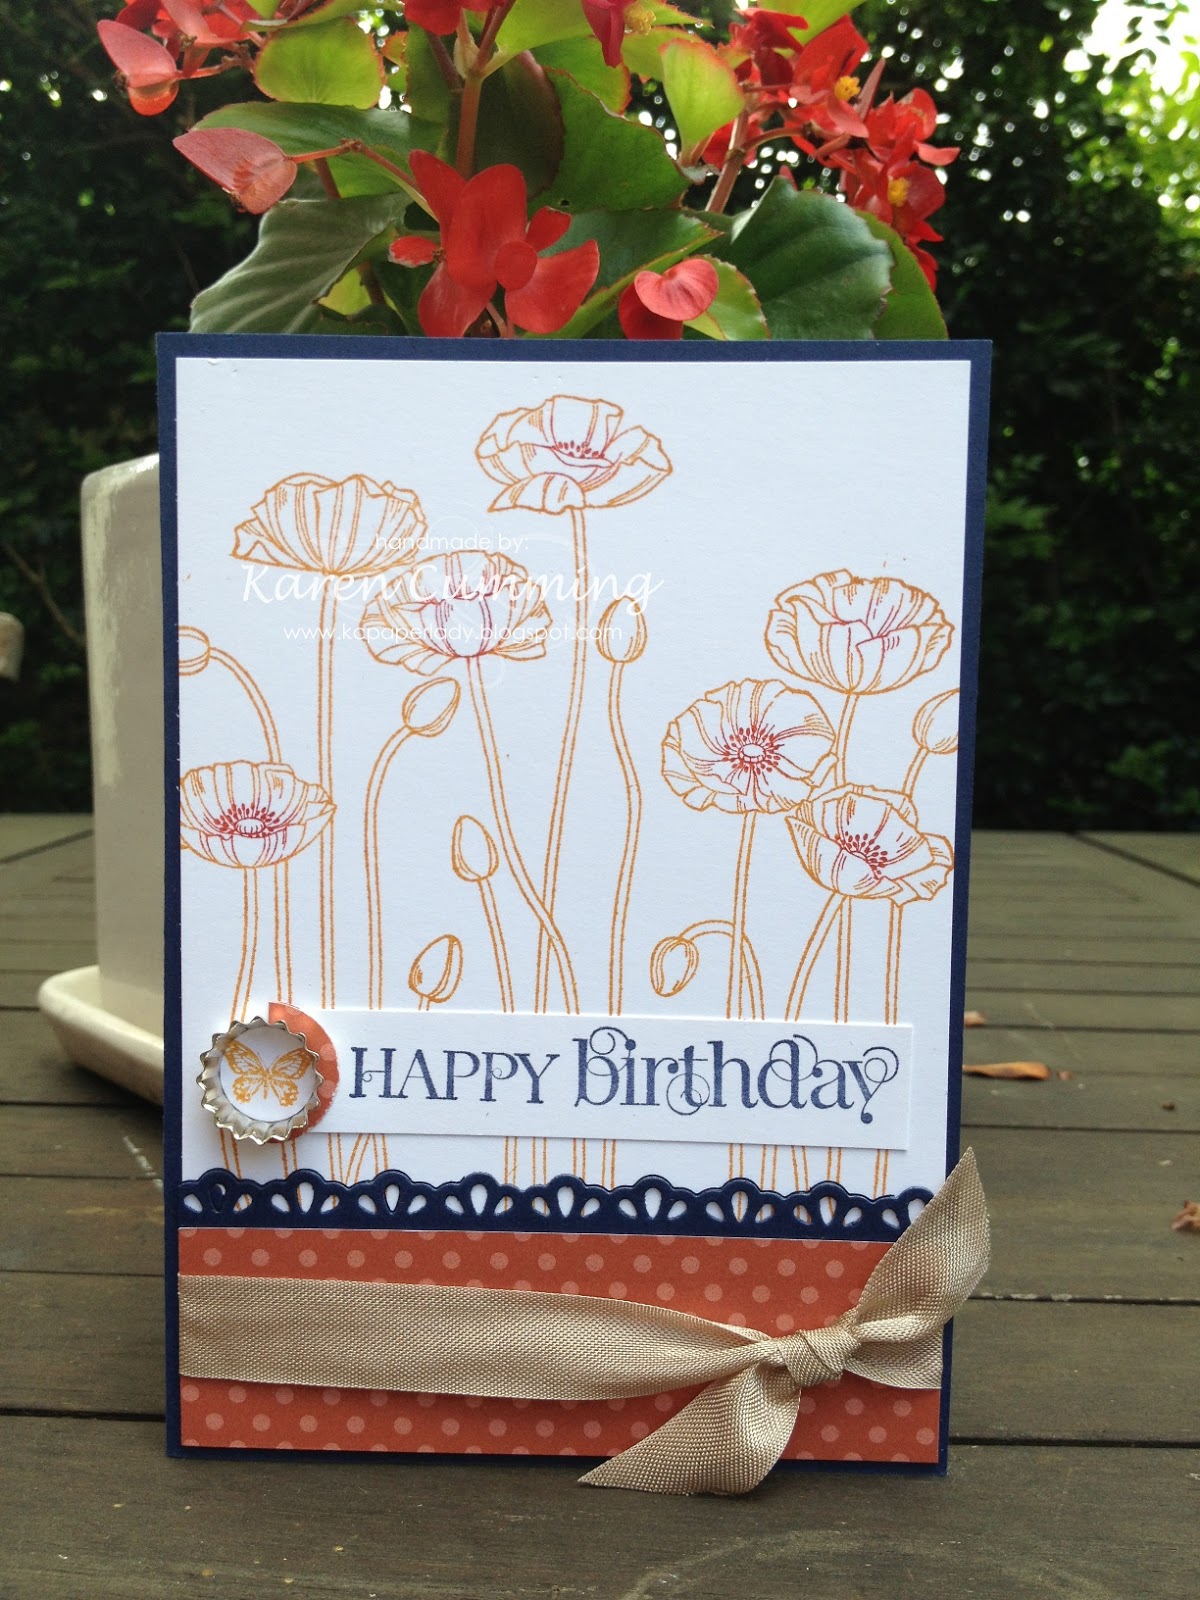
Here's yet another technique we did at Stamp University (boy those ladies were busy!).  This is called Stipple Kissing - cute eh?!

You'll need a stipple brush for this.  You can buy them in craft stores and they come in a variety of sizes.  Think old shaving brush - the kind your dad probably used!  Of course, they were huge, and you can certainly use them, but you'll mostly want something a bit smaller.


Choose two colours of ink. I used More Mustard & Cajun Craze.

Start by inking up your stamp in the lighter colour and then working quickly, dab your stipple brush into the darker ink.  I kind of "swipe" mine across the ink pad.  Then "stipple" (dab or tap) the brush onto the stamp in the areas you want to highlight.  You may need to breathe on the stamp to moisten the ink before you stamp it onto your cardstock.

You can make the effect more dramatic by choosing different colours - Certainly Celery and Perfect Plum look amazing, particularly on large flower images.
After inking the stamp with Certainly Celery, the stipple brush was dabbed randomly all over the flower in Perfect Plum.
 
Or you can be more considered and stipple focal points like the centre of the flower and edges of the petals.

This would also be a great way to make leaves look like they're changing colour in the autumn.

TGIF!  Hope the weekend is lots of fun and you can squeeze in some crafting.
Cheers
Karen