Showing posts with label Dry Embossing. Show all posts

Wednesday, 15 September 2021

Free As A Bird The World Needs More Card

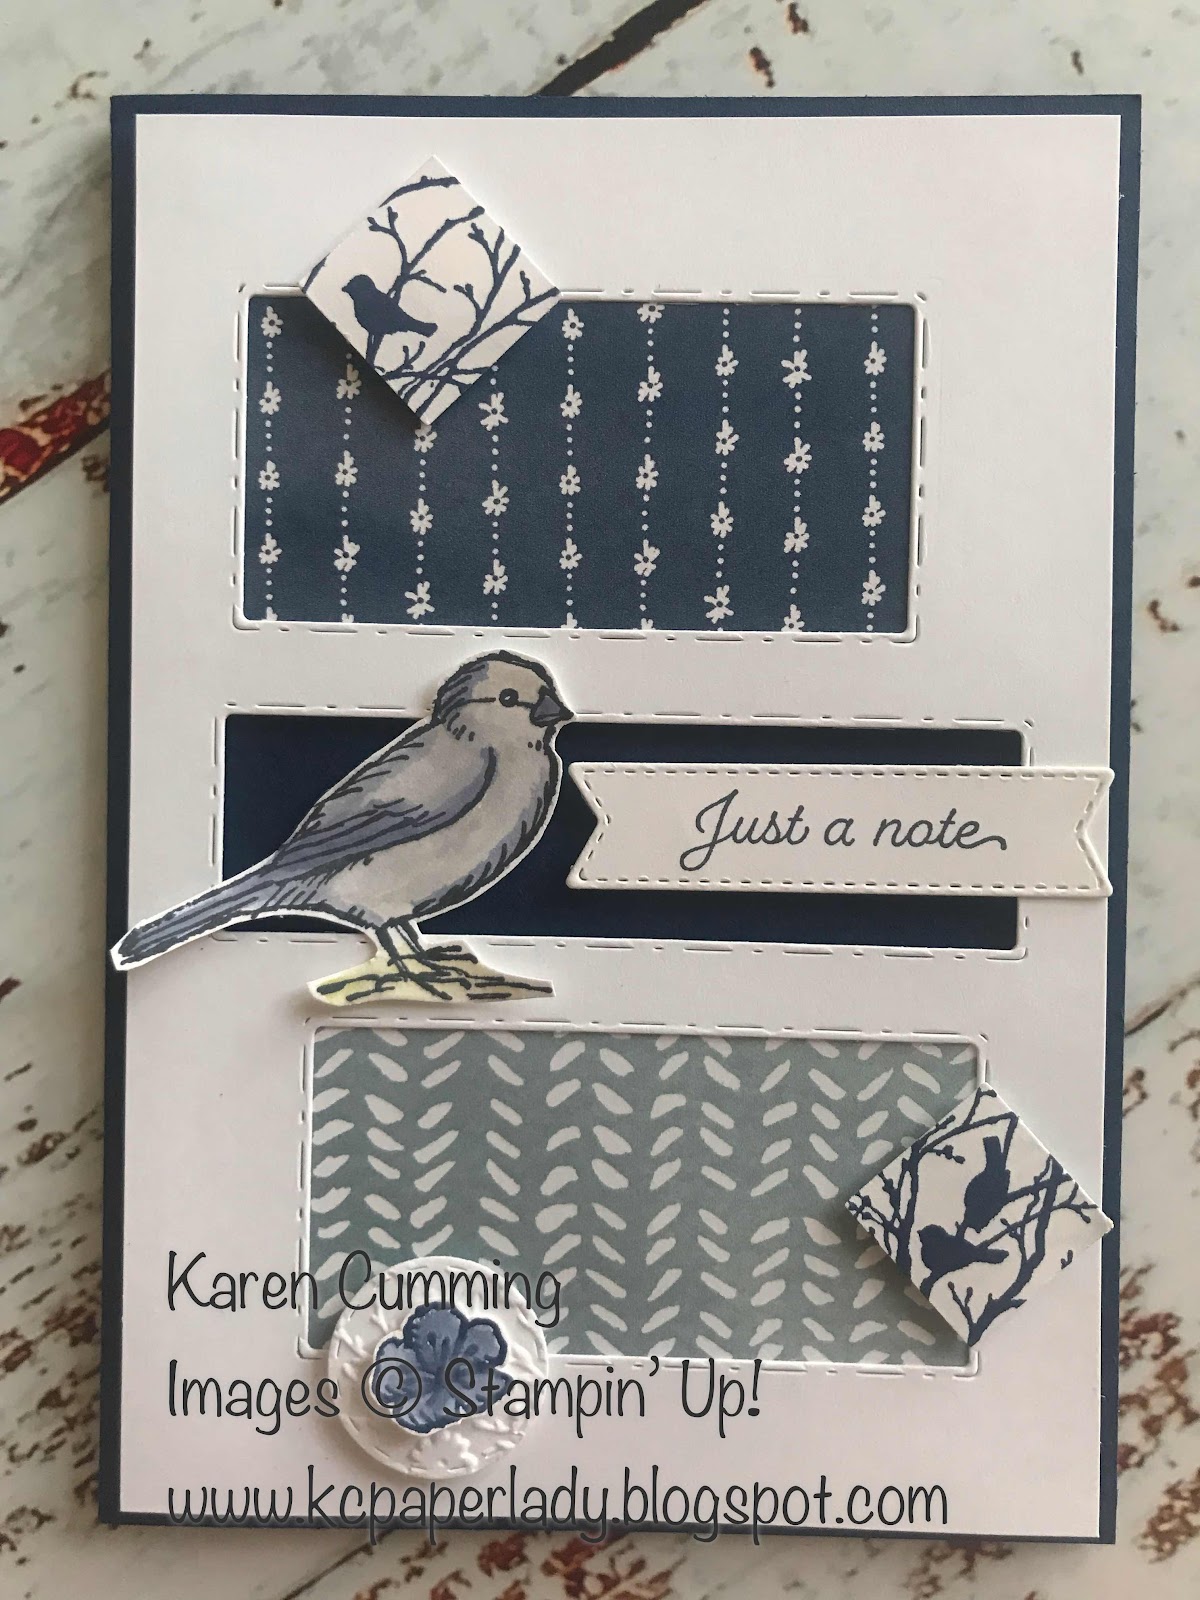
Following on from yesterday's post, here's a couple more cards in the same style.

This card was great for using up some of the smaller pieces of Designer Series Paper leftover from another project.

What do you think of that little embossed circle?  It's the pop-out from the Picture This die with the Ornate Floral embossing folder.

I actually used the Bird Ballad Designer Series Paper in this card.  The feathers are so pretty.  

Don't you love it when your stamps and die cuts are a perfect match?  The stamp is from Free As A Bird and the die cut is out of the Tasteful Labels kit.

This is the last card - I promise!   I love the Crumb Cake & Blackberry Bliss colour combo.  The DSP is retired now & particularly the one in the top panel was very hard for me to use.  It's from a pack called Something Borrowed and I still have a couple of sheets left that I will probably save forever!!

This design shows how different patterns can work well together when you get the colour and pattern size in harmony.   But in all honesty, I just go with what I like.  Sure we can apply all sorts of design rules, but the most important thing is for you to enjoy what you make.

Leave a comment if you like what you see :)

Happy Hump Day!


Tuesday, 10 September 2013

Mixed Bunch for Mojo Monday

Hi there!  Yes it's Mojo Monday again (actually, it was yesterday), maybe that's why I'm not feeling my mojo today...aha!

So, what did I do....

It's a bit plain, me thinks.  But I do like the colours, the flowers and the ribbon detail.  It's also a bit grainy which may be the light so my apologies for the quality of the pic, but as it's now almost dark, it's too late to take another!

Supplies used:
Stamp Set - Mixed Bunch & Label Love
Cardstock - Whisper White, Midnight Muse, Rich Razzleberry
Ink:  Midnight Muse, Soft Sky, Rich Razzleberry
Big Shot & Petals a Plenty Embossing Folder
Artisan Label Punch
Rhinestone jewels
Organza Ribbon
Polka Dot Ribbon (R)

Hope you are having a super day, and that if you're in Sydney you are safely away from the fires and avoiding the wind!
Cheers
Karen

Thursday, 1 August 2013

Simply Stars

This stamp set was Convention freebie - yay!  And this is a super simple card with a bit of embossing and some sparkle.

A little tip, when embossing with Whisper White, use Tab 1 as instructed on the Multi-Purpose Platform to get this crushed effect.  However, if you don't like the look, you can use no tabs and because the rollers don't squeeze the "sandwich" quite so hard, you'll find your cardstock doesn't crush.  I don't have this occur with coloured or vanilla card stock, but you should play around with your machine for the look you want.

The stars were stamped and punched using our retired star punches.  If you've still got yours, you can keep using them!

Supplies used:
Stamp Set: Simply Stars
Cardstock: Night of Navy
Ink: Island Indigo, Marina Mist, Tempting Turquoise, Pool Party
Large & Small Star Punches
Stripes Embossing Folder & Big Shot
Rhinestones Basic Jewels

Cheers
Karen

Friday, 12 April 2013

Mojo Monday 288

This is my card for this week's Mojo Monday sketch.
I love this colour combo with Artistic Etchings. It lends itself to vintage style and is quite soft and lovely.

After embossing the Very Vanilla cardstock in the Big Shot, I've used a sponge to rub over the embossing with crumb cake ink on it.  It just highlights the raised image nicely.

The sentiment is from a set that's only available to demonstrators - I think we were given it as a freebie at Convention last year - and as there was a graphic on the stamp I chose to ink only the word using a marker.  This is a great way to get partial images from larger stamps.  Simply use a marker on the bits you want, then breathe on the stamp to moisten the ink before stamping onto cardstock.

The medallion was stamped in Early Espresso.  But notice how it's so much lighter than the Eifel Tower?  That's because I stamped it on scrap first then stamped again onto Very Vanilla without reinking.  You can usually get 3, possibly 4 stamps out of one inking giving you 4 tones of the same colour, and a great way to add depth and interest to your projects.

When cutting multiple "flag" or "banner" ends in DSP, put all the pieces on top of eachother and cut at the same time.  That way they'll look uniform when you go to line them up.

Stamp Set
Artistic Etchings (Item #121478 wood or #120573 clear)
Workshop Words Too (demonstrators only)
Cardstock
Crumb Cake, Early Espresso & Very Vanilla. You can buy these individually but did you know they also come in an assorted pack?  20 sheets of A4, 2 each of 10 colours for only $11.95 Item #121699.
Ink
Crumb Cake #126975
Early Espresso #126974
Designer Series Paper
First Edition #121878
Accessories
2 3/8 Scallop Circle Punch #119854
1 3/8" Circle Punch #119860
1 1/4" Circle Punch #119861
Corner Rounder Punch #119871
Big Shot #113439 with Vintage Wallpaper Embossing Folder #120175

I'm taking a short break from PaperLady to tour Tassie so while I've set up a few projects to post, they may be interspersed with some of my travels.   I'll try to find things with a crafty bent that I think you'd like to see.

Happy Friday!
Karen


Wednesday, 16 January 2013

Insomniacs Team January 2013 Challenge

I made this card for a team challenge.  It uses products from the upcoming mini catalogue and Sale-a-bration   brochure.


Supplies used:
Stamps: Tiny Tags
Ink: Island Indigo
Cardstock: Whisper White, Coordinations Primrose Petals, Island Indigo & Pool Party
Framelits - Hearts a Flutter, Adorning Accents & Honeycomb embossing folders
Jewelry Tag Punch & small heart punch
Sycamore Street Ribbon & buttons from Sale-a-bration.
Rhinestone jewels.

The honeycomb embossing folder was used on the Coordination cardstock which is a special paper with a white core.  This means that when it's dry embossed you can sand it to reveal the lovely centre.  It's great for achieving depth and texture at the same time!  Love that!

Goodness, it's mid week already!   Quick, go make something!
Cheers
Karen

Tuesday, 15 January 2013

Best of Everything

This is a cheery little card for a summer thank you!


Supplies:
Stamps - Best of Everything & Itty Bitty Banners
Cardstock - Whisper White & Lucky Limeade
DSP - Bashful Blue basics
Ink - Pumpkin Pie, Perfect Plum & Rich Razzleberry
Itty Bitty Banners Framelits and Delicate Designs Embossing Folder
Two Step Bird Punch
Rhinestones jewels

I hand cut the flower stems and the leaves are from the branch in the Two Step Bird Punch.  I just punched one branch and cut off the individual leaves.

Hope you like it!
Cheers
Karen

Saturday, 22 December 2012

12 Days of Christmas - Day 11 Happy Hanukkah Card

My project for today is a quick one.


I've clear embossed the medallion.  To do this, stamp in the classic ink first, then use your Stamp-a-majig to realign the image and stamp again in Versamark.  Add your powder, heat & watch the majic happen.

Supplies Used:
Stamp Set: Jewish Celebrations
Cardstock: Whisper White & Marina Mist
Ink: Night of Navy & Versamark
Embossing folders:  Dots, Petals a Plenty, Chevron & Elegant Lines
Clear embossing powder, heat tool, Stamp-a-majig
Rhinestone Jewel

3 more sleeps!
Cheers
Karen

Monday, 17 September 2012

Monsters Galore!

I was playing with the Make a Monster set today as it will be featured in my classes this week.

Thought I'd share this cute card with you.


I stamped the monsters onto Whisper White cardstock then used Stampin' Up!'s watercolour pencils to colour them in.  I didn't use an aqua painter because the images should really be stamped on watercolour paper for it to work properly, but I'm happy with how they turned out.

The most time consuming part was cutting them out, but it's relaxing and who doesn't need that ?!

I still have some spaces in this weeks classes if you'd like to come along and try out this stamp set for yourself.  And before you ask, no, this isn't the project!

Supplies Used:
Stamp Sets:Make a Monster  & Calendar Alphabet (R)
Cardstock: Crumb Cake, Whisper White, Elegant Eggplant
Ink: Poppy Parade, Garden Green & Elegant Eggplant
Watercolour Pencils
Brights Buttons
Spots Embossing Folder & Big Shot
Raffia

Cheers
Karen

Monday, 21 November 2011

There's a Buzz in the Air

The Summer Mini is due out on December 1st.....I can hardly wait to show you.  Here's a little lookie at a couple of projects I made with one of the stamp sets:


Quite pretty I think!   And oh so simple.  A quick one layer card with the sentiment stamped twice in 2 colours then punched out and raised on dimensionals.   A little silver clip from the Clips Asst pack adds a nice detail and the ribbon, well, I just love the ruffles!  There's a smidgen of yellow behind the decorative label.....it's bleach.  It was intentional, I assure you.  I'm planning a class on that technique coming soon.


This heart is from the same set as the stamped image above.  I did a bit of spotlighting to highlight the bird and butterfly.  Not sure if you can see the little pearls in the centre of some of the flowers, they are so delicate.  Organza ribbon, a crocheted flower & an Antique Brad.....need I say more?  The colours are Poppy Parade (red), Baja Breeze (blue) and So Saffron.  Not a colour combo I would choose but the Color Coach told me to do it, so I figured I'd better try! 

Right, I'm off to the beach for breakfast, hope you have a nice day planned....see ya!
Karen

Monday, 24 October 2011

Pink Ribbon Day

Today's a day for remembering those we've lost to breast cancer and for sending hope and prayers to those who are dealing with this dreadful disease.  

Be thoughtful and thankful today.
karen

Monday, 26 September 2011

Another Christmas sample

I really like the simplicity of this card.   I can't claim the original design, it came from Michelle Martin who does absolutely gorgeous projects.   Thanks for the inspiration Michelle!

Anyway, here's how to do it:
I used aluminium foil to make the baubles with the ornament punch and then ran them through the Big Shot with the Petals a Plenty embossing folder.   If you stick your foil to cardstock using multipurpose adhesive sheets you can do a 12"x12" page in one go which makes it a quick way to do lots at once.  Otherwise it's a bit fiddly to do one at a time - although it is a good project for all those off-cuts of adhesive sheets (I have tons already!).

The rest is elf-explanatory.......pardon the Chrissy pun!


Have a great week.   As you read this I will be relaxing on a beach somewhere north of here!

Karen

Tuesday, 26 July 2011

Dry Embossing

Emboss simply means to raise something.  In craft we emboss in several different ways.  The term dry embossing refers to using a stylus and a stencil, a scoring tool & ruler or an embossing system like the Big Shot with various patterned embossing folders.   The latter being the simplest - and the most effective.

We make the distinction of "dry" embossing because in papercraft, heat embossing is very widely used so to simply say "emboss" can be confusing.

I was using up scraps last night from the leftovers of a creative session and here's what I made;


The size of this first card was determined by the dry embossed piece I had leftover.  I used the Petals a Plenty die with the Big Shot.   Can you see how the DSP is embossed as well?   I stuck it to the cardstock before running it through the Big Shot so that both ends have that lovely raised finish.   Because there's a pinch point in the embossing folders - and it doesn't matter which end of the folder, you basically get a little ridge around the edges - I used the ribbon to cover it up.....cheeky, eh?    To add some glam, the Dazzling Diamonds were adhered using a glue pen. 

Here's another angle that may show the glitter a little better.


Supplies:  Stamp Set: Well Scripted.
Cardstock:  Sahara Sand, Pacific Point
DSP: Blueberry Crisp
Ink:  Night of Navy
Wide oval punch, Petals a Plenty EBF & Big Shot, Colour Spritzer & Sponge
Dazzing Diamonds


This next card has two types of dry embossing.


Can you pick them?   The DSP was embossed as was the flower using the Big Shot.  It may be hard to see on the paper because I've used the negative, or the side that is pushed in.   The second type of dry embossing was done with a scoring system - I can't name it because it's not SU and we don't currently have them (I wish we did, it's great!). 

I didn't have any brads or buttons in the right red and it really needed the colour introduced a second time to look balanced.  So, I used my Crop-a-dile to punch 3 small circles of cardstock 3/8" each and carefully stuck them to the card with a glue pen.   Then I topped each one with Crystal Effects.  I had intended for them to look shiny, but then I sprayed it all with the spritzer so my CE has a matt finish.


Supplies Used: 
Cardstock: Riding Hood Red, Not Quite Navy, Bashful Blue, Sahara Sand
DSP: Blueberry Crisp
Ink:  Not Quite Navy - in the Colour Spritzer tool
Petals a Plenty, Flower Burst Embosslit & Big Shot
Linen Thread, Crystal Effects.
Ribbon is not available in Not Quite Navy so I pleated a piece of cardstock instead.


Happy crafting.  Leave me a comment - I love reading them!
Karen