Showing posts with label Top Note. Show all posts

Monday, 21 January 2013

Note Card Holder

I have it on good authority that note cards & stationery are on trend items in the craft world this year.  Yay!  Don't you love receiving a little note, just because?  Very few of us - me included - actually hand write notes these days, but it is such a personal and special touch that I think we should bring it back! 

Anyway, who doesn't need a few little note cards stashed away for a quick thank you, a coffee invite, or just to make someone smile who needs a cheery hello?  It's like sending a hug through the mail.

This would make a lovely gift.  And it's a great way to re purpose the boxes that the Stampin' Spots come in.  It fits our note cards and envelopes perfectly.   I put 5 inside but you could probably fit a few more.
I used a paper piecing technique with the Top Note die and the Big Shot for the top of the box.  You can do this a couple of ways, but basically I cut a piece of scrap cardstock slightly bigger than the Top Note.  Cover that in adhesive like our Multi Purpose Adhesive sheets.  Peel off the backing and stick your precut squares of DSP on top.  Make sure you get the edges lined up so there are no gaps.  The easiest way to do this is to punch out your DSP with a square punch.  Once it's all stuck, run it through the Big Shot with your die and you have a quilted accent piece.

The trick to making a set like this is to choose a pack of coordinating paper and stick with the colours.  That also makes the task quicker, and if you choose something with a good variety of patterns, you can showcase that allowing you to minimise decorations and embellishments.
Each notecard uses a different pattern of the same DSP.  They all have the same embellishments, just stamped in different colours and the placement varies slightly.


Supplies:
Stamps: Apothecary Art, Collage Curios,
Cardstock: Whisper White Note Cards & Envelopes (item 107311 page 160), Marina Mist
Ink: Bravo Burgundy, Always Artichoke, Marina Mist, Tangerine Tango
DSP: Paisley Petals
Big Shot, Framelits Labels Collection, Top Note Die & Honeycomb embossing folder
1" circle punch, Itty Bitty Punch pack - the flower, Modern Label Punch
Marina Mist Satin Ribbon (R) and Antique Brad
Spritzer bottle with ink & rubbing alcohol solution - I used Marina Mist.
White gel pen.
Re positionable adhesive.
Stamp-a-majig,  stamp positioner.

Thanks for popping by!
Cheers
Karen

Tuesday, 27 March 2012

Easter Basket

Every year I make some sort of easter basket.  This one started out as Box #2 for the Big Shot - you need one of these!!


I used the Top Note, also for the Big Shot.   Remember the green Top Note frame I used yesterday?  Well today I used the die cut to make this little box.   I've added some gorgeous DSP from Bella Rose, now retired, but still a favourite.

The pink scallop strip is a sneaky peaky at the edgelit that's coming in the Autumn-Winter mini available April 1st.  It has cute 'bumps' on each scallop.

Guess where those Riding Hood Red Boho Blossoms came from.......yep, they are the flowers from the stencil I used yesterday as well. 

Oh it's so satisfying to use up EVERYTHING!

Happy Tuesday!
Karen

Monday, 26 March 2012

When negative is good

Think positive, stay positive, look on the bright side, the glass is half full.  This is me.  However, when we're crafting, we can overlook the negative side of things........and it's a shame when we do.
What is she talking about?  Well, everytime you die cut a shape with your Big Shot - you need one of these - or you punch out a shape with your punches, you are left with a negative, or the bit of cardstock that the shape came out of. 

But look what you can do with it.......


The frame on this card was made by attaching the negative from a Top Note die cut to my card front with a bit of low-tack tape (I use drafting tape).  Then I used a sponge and Pink Pirouette ink to define the frame.  I like to dab all the way around the shape so I get an even colour, then I go back over it building up the colour as I go until happy with the results.  I gradually get lighter towards the middle and actually left some of the cardstock white in the centre.

Next, I got my scrap of cardstock that I'd punched repeatedly with the Boho Blossom punch for a previous project.  I used a dauber with Cherry Cobbler & Wisteria Wonder to stencil the flowers.   Once done with that, I used some leftover punched flowers as masks and stamped the flourish from Vintage Vogue in Pear Pizzazz.  


Tip:  A sponge is a piece of sponge - I like the soft, light ones from SU.  I cut them into wedges & staple a piece of cardstock to the top. It acts like a handle & makes it easy to see which colour it's for.
A dauber is one of those little plastic things with foam on the end that you can put on your finger.

The green punched flowers were the ones I used as masks.  I liked that some of them had ink on them so I used them to highlight 3 of the stencilled flowers and added rhinestones for bling.

Do you like the sentiment frame?   Well, it's the Decorative Label punched twice.  The Wisteria Wonder one is just the two shorter ends cut off and stuck behind the oval stamped image.

So, there you have it.   Hope you find some time today to craft.  Make it a Monday to remember!
Cheers
Karen

Friday, 23 December 2011

Blink & you've missed it!

2011 that is!  Well, slight exaggeration, but it sure went by in a flash.

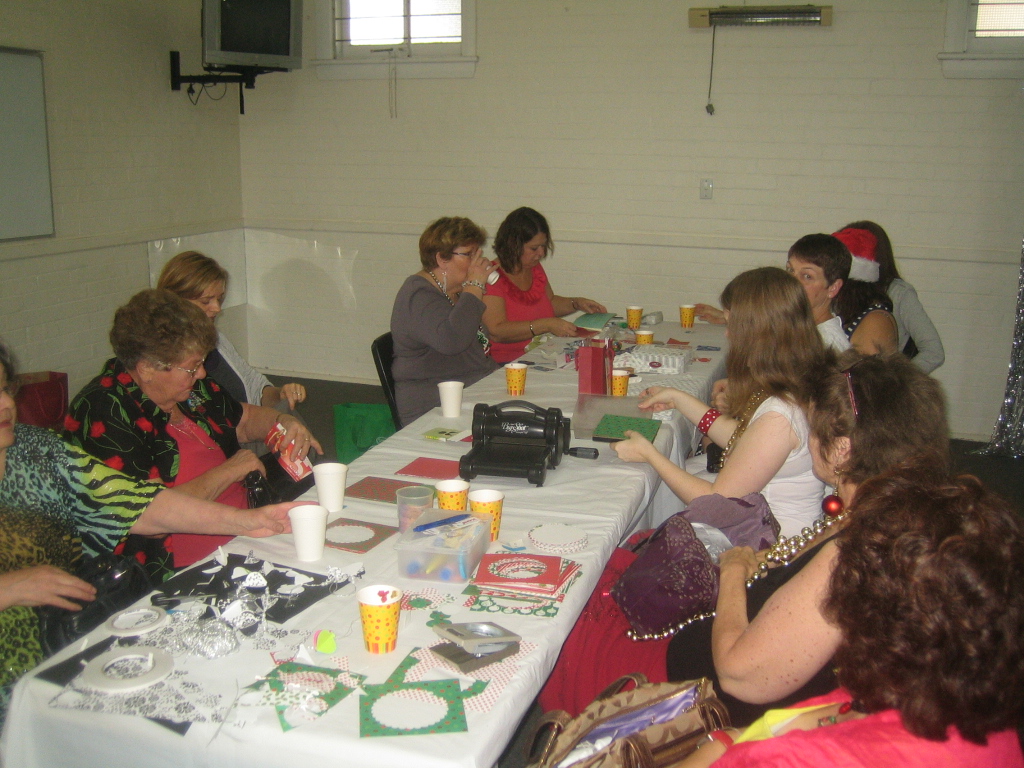
Last Saturday was our PaperLady Christmas party.   I chose to combine all classes & club this year and we had a ball.......well that's no surprise!   There was a little bit of crafting done (thanks ladies for helping me use the Big Shot to get a lot of scallop circles made for ornaments), a lot of laughs while we played games, and of course, the required sharing of treats.  It was a lovely way to round off our year.  

Here we are just getting started.  Who's that in disguise?


Gloria went all out with the Christmas jewellery, while Michelle chose Christmas colours from her wardrobe.


Avril wouldn't miss an opportunity to craft, even at a party!


Is that Susie underneath the bling?!


No one could deny that Wendy was the best-Christmas-dressed!  Yes, she won the Elf award for Christmas spirit.


Kristen however, forgot......well, actually she didn't read the email (by her own admission), so she was the recipient of the Grinch award!
Nice face!


It's no party without the Big Shot - that's it, centre stage.


And of course, every good shin-dig has a line up at the buffet table


what nice ladies they are, patiently waiting their turn


Gloria trying to convince us that she should get an elf award too!


So, that's it for 2011.   Lot's of lovely crafting done, new friendships made, a shared joke or two and lots of fun had by all.

Oh, and by the way, the Elf & Grinch are the genius ideas of Brisbane demonstrator Vicki Hodgman.  If I can find her blog, I'll pop back later with a link for you.

I look forward to sharing more craft adventures in our classes & club during 2012.

Cheers
Karen

Tuesday, 18 October 2011

Simple Thank You Cards

It's getting harder and harder to make a card without the Big Shot!!  Who knew?!
These cards are really simple and use the Top Note & the Tulips Embossing Folder.
I'm loving that Mocha Morning Specialty paper - this one is flocked in black.  It goes so nicely with everything! 


The ribbon is the new ruffled one in Lucky Limeade. 


The cardstock colours are Calypso Coral, Island Indigo & Wisteria Wonder.    I printed the message on Whisper White cardstock then ran it through the Big Shot with the Top Note.


Have a lovely day.
Karen