Wednesday, 20 May 2015

Labelling Ink Pads

Did you know that Stampin' Up! Classic Ink Pads come with labels so they're easy to identify?


If you're looking at the ink pads like this, then you won't have a problem.  But if they're stored in a whirly-gig thingy then you can't actually tell what's what without removing them from the shelf.

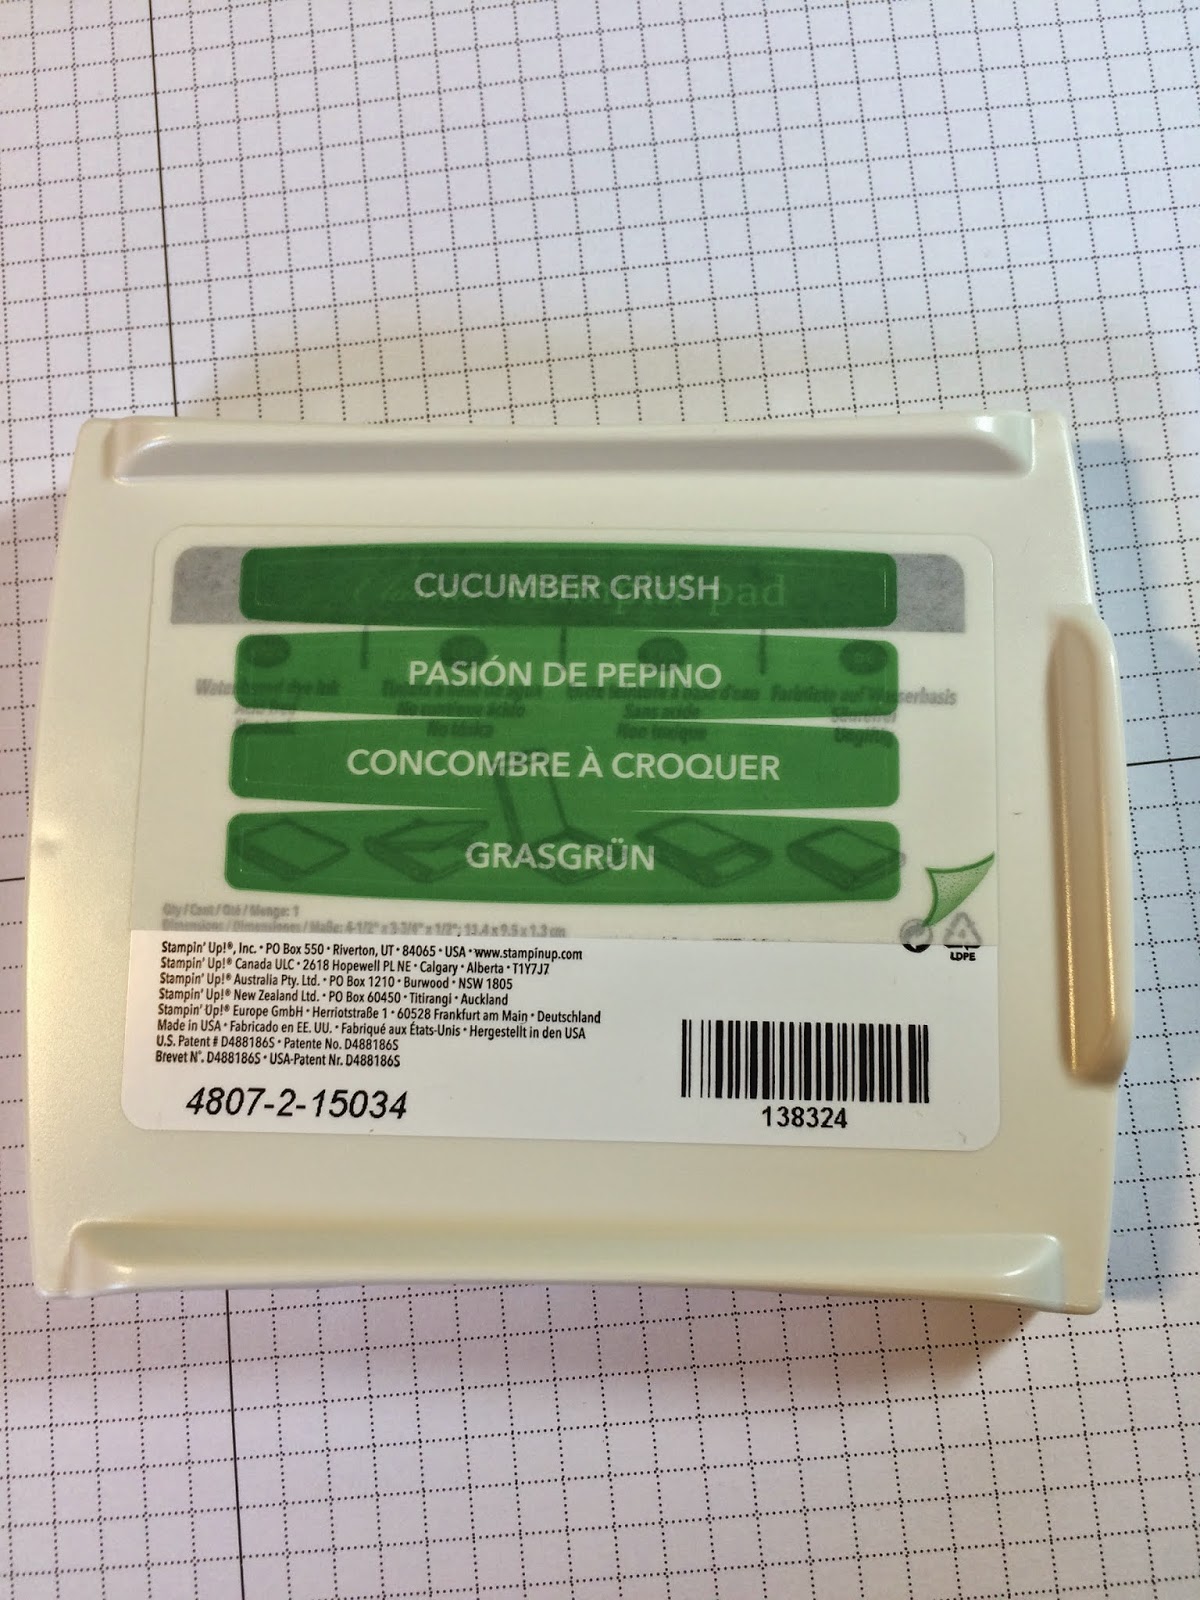
So Stampin' Up! has attached sticky labels to the bottom of the casing.


Simply remove the label and you can choose the appropriate one - or the one you like the sound of ;) -

then adhere it to the end of the case.

Once the ink pad is open, it can be difficult to tell which colour is which, so this little tip came from Convention;  cut the ends off one of the other labels and affix it inside the casing.


That way, if you're using more than one colour at a time (mostly, I know!), you'll not mix up your colours.

Voila!  Enjoy using your labelled ink pads.
Cheers
Karen

Wednesday, 25 March 2015

Competition

Last week's class had a focus on using ALL the stamps in one set.....yes, tricky right?! Well, I issued a challenge to break out a stamp set you've not used for a while (or a brand new one you've NEVER used...haha, like that would happen!), make a project with it using all or the majority of the stamps in the set, and send me a pic. My independent judges will choose a winner and you'll win a prize......the Good Greeting Stamp set is up for grabs.......so get crafty, have a go and send me a pic...you can email/text it or PM me on FaceBook. Good Luck! The sample for inspiration uses Butterfly Basics from Stampin' Up! But you can choose any set, any company any colours. Go for it! 


Competition open to Australian residents only.
Happy crafting!
Karen

Monday, 26 January 2015

Photopolymer Stamps & Staining

Happy Australia Day everyone!

It's a bit rainy here but nice to have a cool change.  We're off to the cricket this afternoon so let's hope it clears up.

I just wanted to pop in with a bit of Photopolymer information for you.

These stamps behave a little differently to traditional rubber stamps.  Basically, they're clear so they're easy to use for perfect placement, especially when you want to layer your images.  But they do stain easily when using inks that have red pigment in them - so reds, pinks and some purples.  The best thing to do is clean them immediately after using these colours, AND most importantly, get comfortable with a bit of staining!! It doesn't affect the stamps' performance in any way, so get over it!!


You can see the slight pinky tinge on these stamps because I used them with red ink.  And this is after cleaning with baby wipes.  You get quite good results using Stampin' Mist and you can also get more of the staining off with StazOn cleaner, although over time it can damage photopolymer.

These stamps have only had blue and brown ink on them so there's no evidence of the ink colour at all.

Ok, hope that helps you feel a bit more relaxed about using your photopolymer stamps.  It's always good to know that it's not your technique causing the problem!!  

So, get out there and stamp something fabulous.
Cheers
Karen


Friday, 16 January 2015

Sheltering Tree & Layering Stamped Images.

This new stamp set, Sheltering Tree is in the Occasions catalogue and is a great example of a two-step or multi-laying stamping technique.

In photopolymer, the images are crisp and easy to get perfect placement without the use of a stamp positioner tool.  Don't worry, I haven't abandoned my faithful Stamp-a-majig, it's still my go to for most of my stamps when using this technique.


The colours I've used are Soft Suede for the trunk and greeting, Wild Wasabi for the leaves, Pear Pizzazz for the grass, Marina Mist for the swing and card mat, and Daffodil Delight for the blossom and ribbon.

So easy, and so lovely!

Have a lovely day!
Karen

Wednesday, 14 January 2015

Best Day Ever

I've been absent for a while, I know.    I have a note!

But seriously, here's a card I just whipped up.  This is my first attempt with the new Chalkboard Paper and Chalk ink.  I'm really happy with the way the stamps have come out so beautiful and crisp, yet they really look like chalk on a blackboard.


Supplies:  Stamp Set - Best Day Ever (Sale-a-Bration freebie), Whisper White CS, Pool Party CS, Chalkboard Paper, ColorBox chalk ink pad, Pink Pirouette ribbon, Pool Party bakers twine, Small Heart Punch, Stamp-a-majig, Snail adhesive and paper trimmer.

I've received a huge stash of new stuff from the current Occasions Catalogue released last week, and of course it's Sale-a-Bration again.

So pop back, and I'll show you some more things to (hopefully) inspire you.

Cheers
Karen

Friday, 21 November 2014

Weekly Deals 19 November 2014

With Christmas fast approaching, pick up a couple of banner kits at bargain prices and really jazz up your home decor this year.


Order online here.

Happy Friday!
Karen

Monday, 10 November 2014

Crazy Prices on Designer Series Paper

There's a lot of Designer Series Papers on sale in the Clearance Rack right now.  You can check them out online here.

But here's a little sticky-beak to wet your appetite.  Keep in mind that these are retired, however they would normally be $18.95 a pack (12 sheets of 12" x 12" double-sided).  It's a great opportunity to stack up on beautiful quality papers at a fraction of the usual cost.


Email me if you'd like to order, or go straight to my online store.
Cheers
Karen

Sunday, 9 November 2014

Weekly Deals 5 November

More cute stuff this week available at great savings:

These journals are divine.  They have 60 pages of patterned Designer Series Paper that is so lovely to write on, add photos, or just stick in bits and pieces that you want to keep.

 I used mine on our recent holiday to Italy & Croatia.

And who can resist a punch and edgelits that are on sale?  Now's the time to grow your stash.

Buy online in my store.   Just select Weekly Deals from the menu on the left, or email/phone and I'll order for you.

Happy days
Karen

Thursday, 23 October 2014

Silhouettes Class Last Night.

We had a great class last night doing a couple of different silhouette techniques.

This first card uses Serene Silhouettes stamped in black over a background of Crushed Curry ink using one of the stamps from Work of Art.  It's so simple, and you can dress it up in many different ways.

Here's a different look using Tangerine Tango and another stamp from the Serene Silhouettes.


Our second card was all about creating a silhouette using a die cut and a frame.


Cutting frames can be quite tricky if you're not good with a ruler and a craft knife.  Enter the Stampin' Trimmer.

This clever cutting tool gives you the ability to cut frames from any size of cardstock up to 30.5cm (12").

And with the point on the cutting handle/blade you can be sure that your measurements are spot on every time.

Also don't forget to check out this week's weekly deals:

Let me know if you'd more info on anything you've seen here or if you'd like to place an order.

You can also order online here.

Happy Thursday.....on the slide down to the weekend now, yay!!
Karen

Friday, 17 October 2014

Bloom with Hope and Blendabilities

These are the easiest markers to work with......


Love this simple gift card.  It's such a pretty stamp set.  The Blendabilities colour is Coastal Cabana. I like to colour images using the darkest marker first (they come in sets of 3, so it's easy to get it right first time!).

If you'd like a copy of the current catalogue, give me a call or send an email.  Visit the contact page here.  You can also shop online here.

Have a lovely weekend.
Cheers
Karen

Wednesday, 1 October 2014

Weekly Deals - New Today 1 October 2014

This week's deals are below.......
Think I may have to order some of those boxes - they're a great size and you get 3 in a pack....Yay! The finished box is 15.2cm x 15.2cm and 11.5cm high, so it will hold quite a lot of goodies.
 
I decorated this one with a band of Designer Series Paper (Nordic Noel 135822) - I used Snail adhesive (104332) to attach it.  The Fancy Foil Vellum (133363) is a lovely overlay (also comes in stripes and hearts, gold and silver) and our  Burlap ribbon (132140) which makes a fabulous bow.

Call or email me to order, or go direct to my online store here.

Happy Wednesday
Karen

Wednesday, 17 September 2014

Weekly Deals

This week's deals are available in my online store here.  Get them online at these prices until Tuesday 23 September at 11:50pm.  Don't miss out!


Cheers
Karen

Monday, 15 September 2014

Sneak Peek at this Weeks Card Making Class

This Thursday evening one of our projects is a Tri-Fold card.  This is one take on a Tri-Fold design that I absolutely love.  The idea comes from Mandyb on SCS.


If you 'd like to join in, please email me as soon as possible to book your place at the craft table.
Thursday 18 September, 7:15 - 9:15pm in Lilyfield.  Address supplied on booking.

Cheers
Karen

Friday, 12 September 2014

Hot Diggity Dog

I'm not  a fan of cutesy cards and paper craft projects so I was a bit surprised at myself for buying this stamp set......does that show a lack of self control?!

That said, I do like the little dog's heads and was quite pleased with the way my cards turned out.
I named this little guy Scottie.  I've used the Lullaby Designer Series Paper (#133695).  Isn't it cute?  Love the colours in this one - Baked Brown Sugar, Coastal Cabana, Pistachio Pudding & Hello Honey.  I stamped Scottie with Chocolate Chip ink and coloured his sweater with Coastal Cabana and Hello Honey.    To make perfect layers for a Thinlits card, check out a great video on Youtube from Jan Tinklenberg.

The back of the circle looks like this......
And the back of the card has a panel of Whisper White card stock to write a greeting.

My second card is more traditional in shape:
To make the ground/grass, I used a stamp from Work of Art. one of my favourite sets right now.  The paws were from my craft stash.  Totally cute right?!  Just wish I could remember where I bought them.  Something tells me I've had them for years just hanging around waiting for the right project.....giggle.

Happy Hot Diggity Dog Friday.
Karen


Monday, 30 June 2014

Scrapbook-On-The-Go Part 2

Here's a few more pages.  Again quite plain, but also nice as the journal already had pages that are made of designer series paper so with a bit of washi and some journaling I can get away without a time consuming fussy look. 


My pocket has a little bit of rope attached that I recycled from a clothing label. As I bought the shorts on the holiday it's a little memory as well as a great embellishment. 
This picture shows the pocket I made before we left home. It's attached with sticky strip and I used a punch to make a space so you can easily remove the contents - in this case, a map. 

Back with more tomorrow.  
Cheers
Karen 


Friday, 27 June 2014

Smash Book Beginnings

Here's the first few pages of my diary/smash book for our trip to Italy & Croatia. 


Not much happens on a plane so our luggage receipts, a "wake me up for food" sticker and a flattened JD bottle top are my only offerings. And no I didn't bring a hammer or my Big Shot... I hit it with my shoe!!


One of the nice things about the "This and That" journal is that some pages have ready made pockets.  This one is great for a postcard and blurb about the hotel.  


I couldn't fit this gorgeous picture in so folded it in half. 

A ready made mat was used for journaling. 

So that's the first bit.....if you're a traditional scrap booker you will think its plain. But my goal is only to diarise and keep bits I collect along the way.  

Back later with more. 
Cheers
Karen


Scrapbooking On-The-Go

With the arrival of Project Life at Stampin'Up! I finally feel that there is a scrapbook option for me. That said, I thought I'd start even easier with a home made on-the-go "smash book" for our holiday in Italy & Croatia. 

I always collect bits and pieces - ticket stubs, restaurant cards, menus, maps and brochures when I'm on holiday with the intention of creating a scrap book when I get home.  This NEVER happens! All I end up with is a shoe box full of stuff!  It has to change I told myself.  So here's what I'm doing;

Before we left home I grabbed some supplies.....

This & That album from the Epic Day collection. 
Epic Day coordinating stickers (they match the colour scheme)
Epic Day Washi Tape
Pre stamped images in matching colours
Punched flowers, banners, stars etc
Made tags for journaling 
Snail
Double sided tape
Glue dots
Scissors
Corner rounder punch
A couple of pens in coordinating colours for journaling.

I also made some pockets using Epic Day designer series paper and pre attached sticky strip to the back of the flaps so I can insert them wherever I like and use them to hold maps or things i'd like to be able to lift out and look at.  

Another consideration for this trip is that I don't want to print photos so wherever possible I'll use brochures to illustrate the places we visit. 

My main goal is to go home with a diary of our trip completed that has all the memorabilia stuck in.  It's ready for the bookshelf if I achieve my goal!

Pop back over the next week to see my progress. 

Ciao for now!
Karen