Showing posts with label Watercolouring. Show all posts

Tuesday, 14 September 2021

Free As A Bird Just Because Card & Pseudo Spotlighting

 I received a lovely thank you card from one of my craft ladies this week and I loved the way she had used layers and picked out some details creating an effect that was as much art as card....if you know what I mean.  Anyway, thanks Carole, because you inspired me!

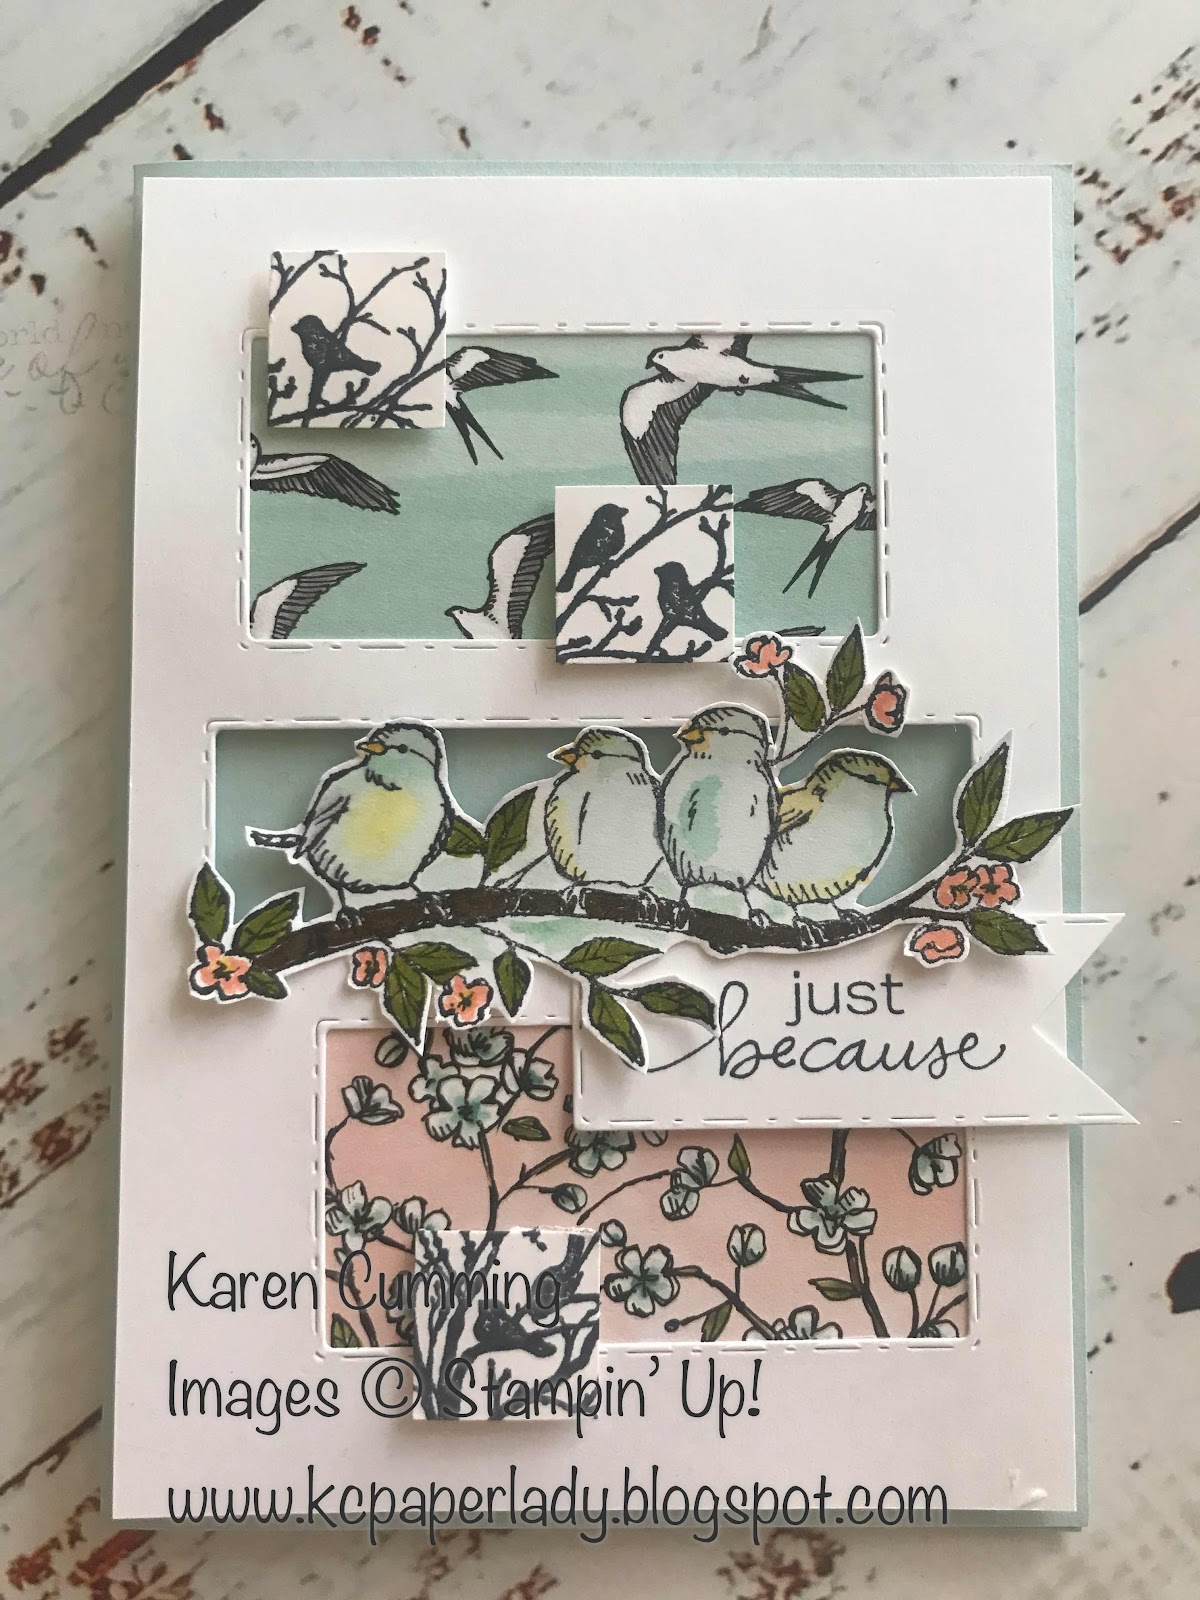
Today’s card uses the Picture This die to make three frames for the beautiful Bird Ballad DSP, sadly retired :(


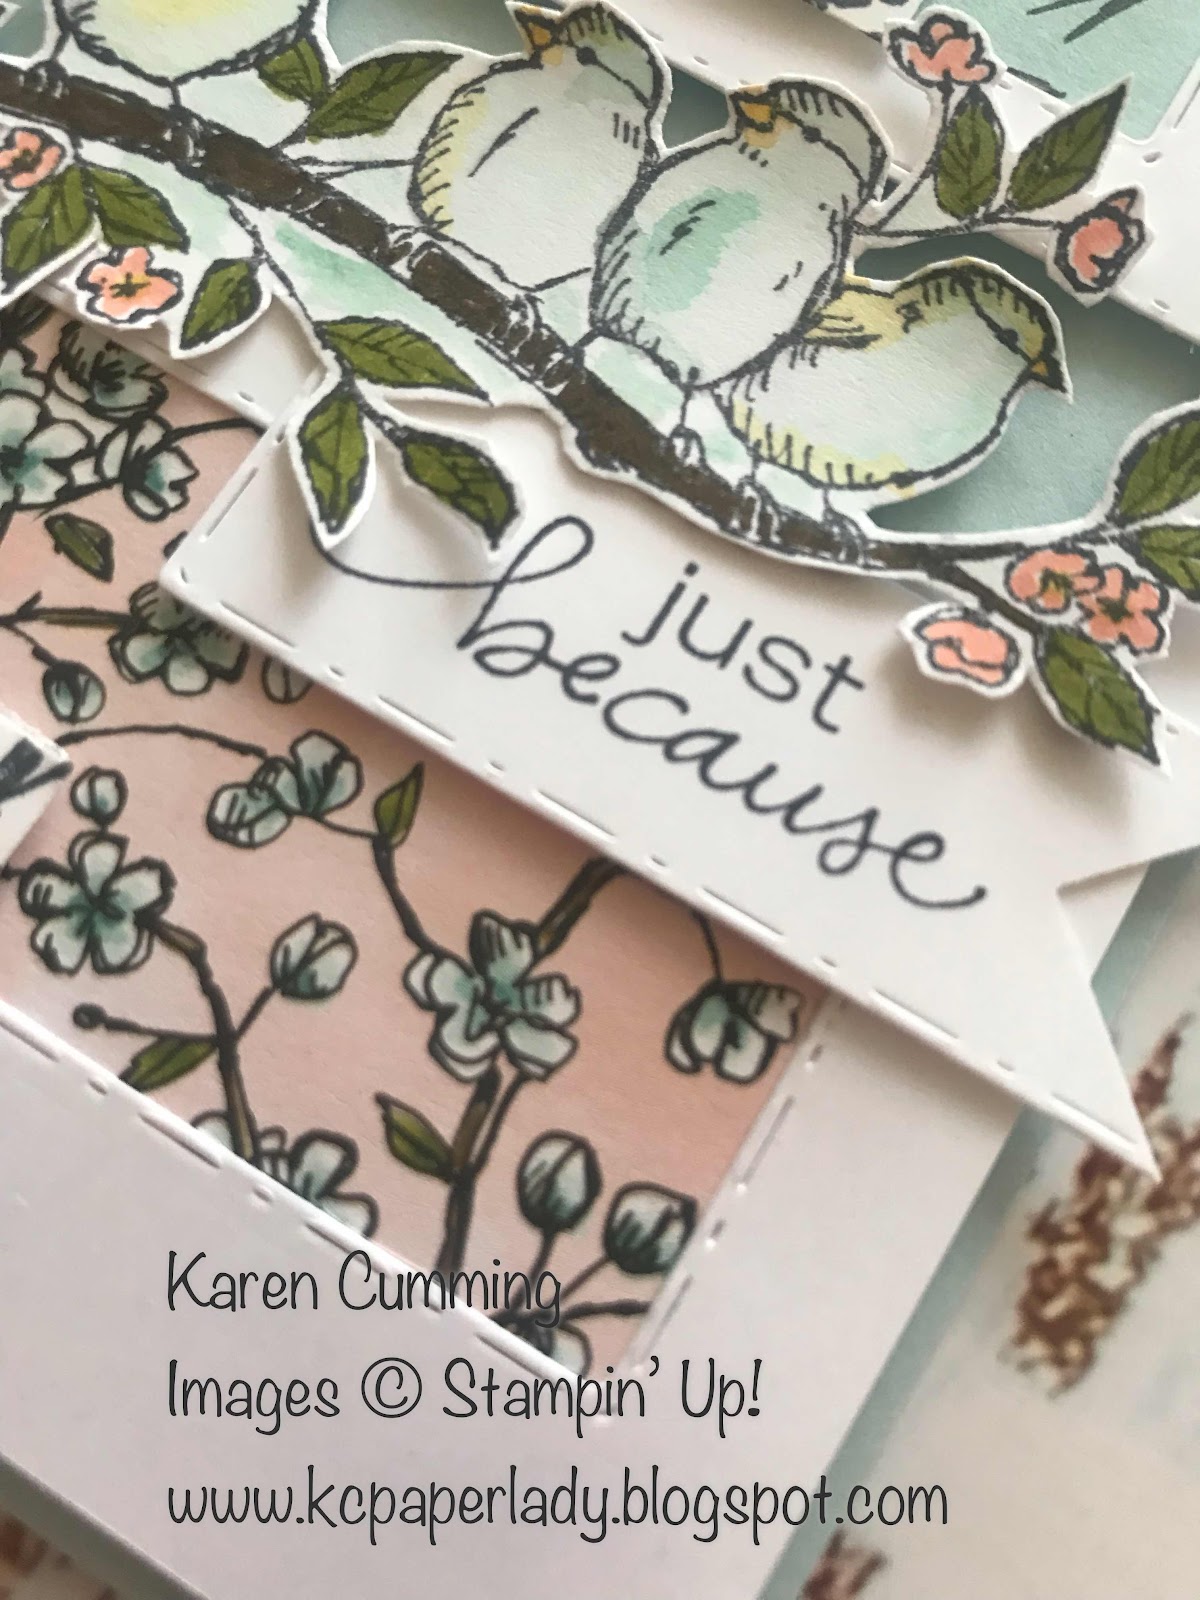
The "birds on a branch" were stamped in Memento Tuxedo Black ink and watercoloured using my Classic Ink pads and an aqua painter.  Definitely my preferred way to watercolour because it's so easy, even I can do it!!  I then cut out the whole image.  
TIP: Stamp your image and give it a few minutes to thoroughly dry.  That way it won't bleed when you watercolour it.  Don't have the brush too wet - I like to blot it on paper towel - otherwise your cardstock will warp as it dries.

The small squares were made by stamping an image and using a 1" square punch to cut them out.  This is a different take on the spotlighting technique, adding interest to the design. 


I stamped the greeting on to the narrow rectangle that came out of the main die cut and used my square punch to create a banner shape at one end.  You can see another idea using spotlighting here.
What stamps have you got that you could try out the pseudo spotlighting technique?

Happy stamping :)


Monday, 13 September 2021

Free As A Bird Colour Inspo

 This week I'm making cards with the Free As A Bird set from Stampin' Up!

                  Item 149468 Set of 12 cling stamps

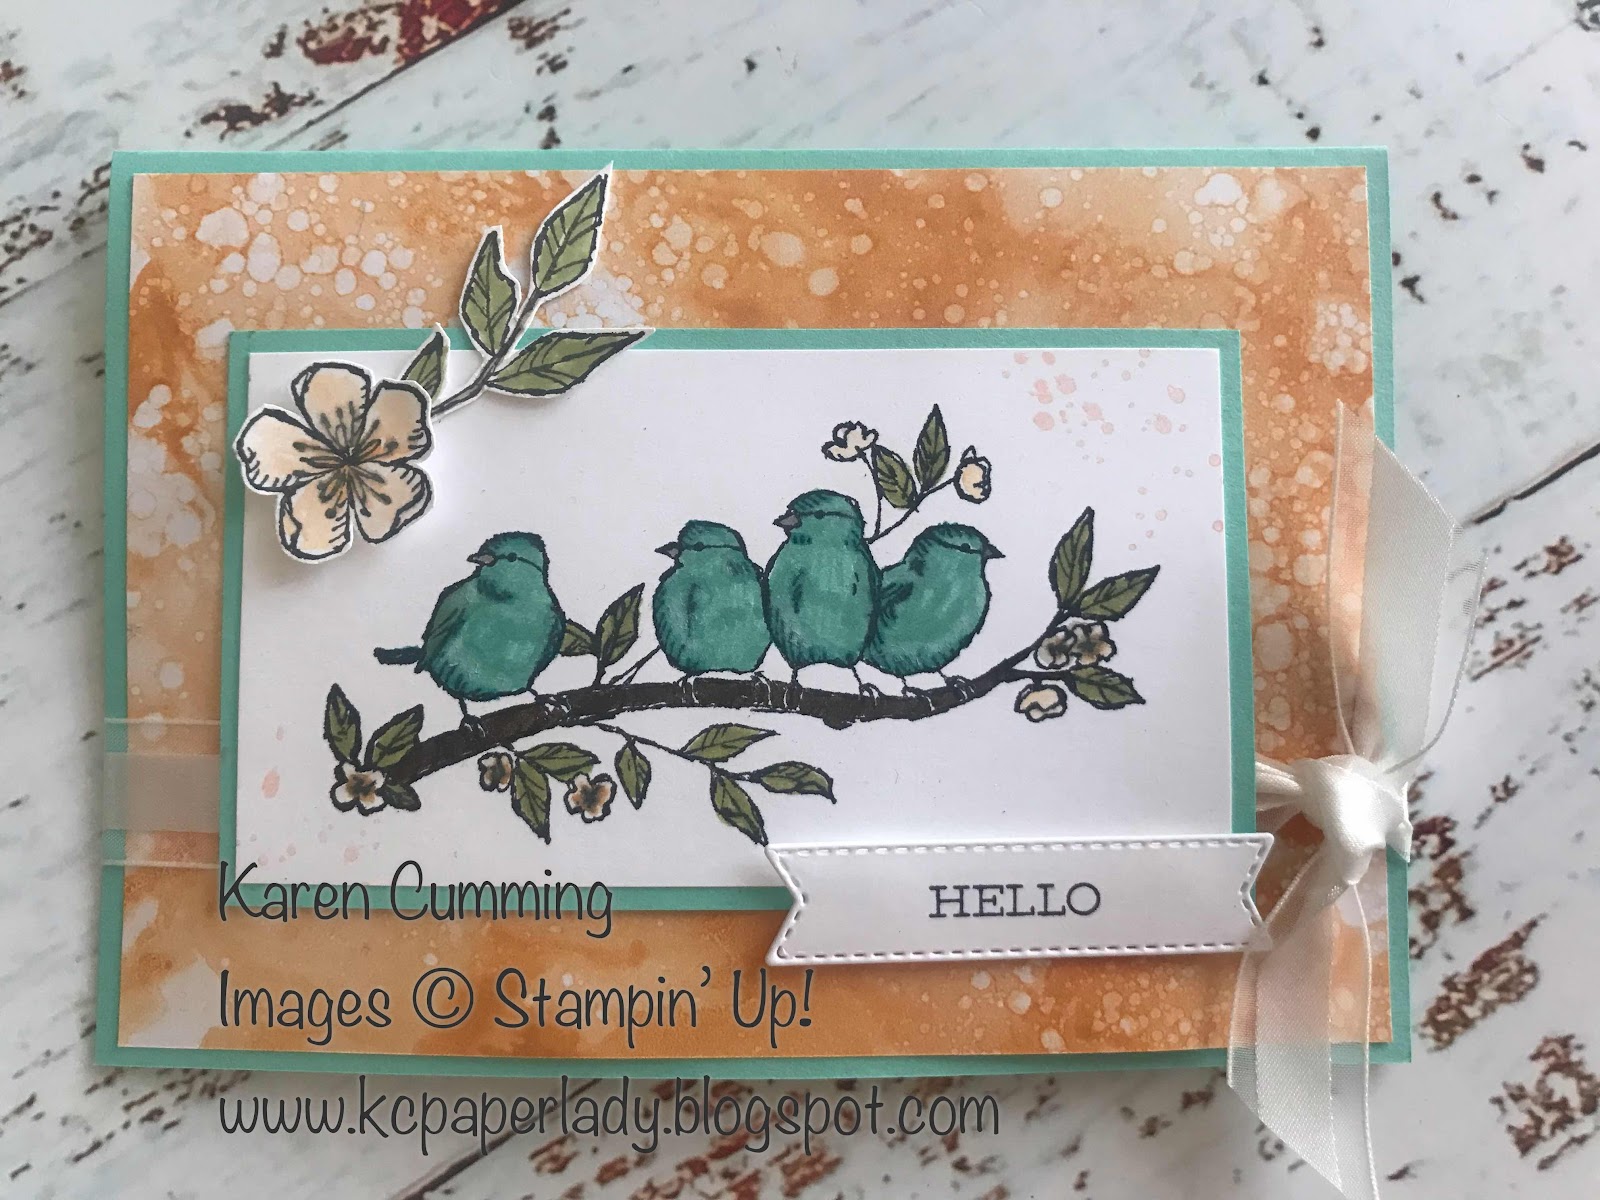
My friend Susie sent me this gorgeous photograph of a parrot, and that provided some inspiration for the colours of my little birdies!

The base card is Coastal Cabana, with a layer of DSP from Expressions in Ink - this one is Pale Papaya.  The birds were stamped using Memento Tuxedo Black ink, and so was the flower.  I coloured the image with Stampin' Write Markers using Coastal Cabana and Bermuda Bay.  The leaves are Old Olive and the branch is Early Espresso.   I wanted the flower to be a little softer in colour so I used an Aqua Painter and the Pale Papaya Classic Ink, and it's popped up using a dimensional.

For the sentiment, I stamped on Basic White and cut out with a die from Tasteful Labels.

If you have a go at a card like this, please leave me a comment below.

Happy Stamping


Saturday, 12 November 2016

Watercolour Words Stamp Set

This gorgeous photopolymer set features in my November technique class.  What's photopolymer? It's a transparent material that makes is easy to line up images for creating unique stamped projects.

I love this set because it is suitable for a lot of different occasions with it's different sentiments.  The font is really lovely, and it has a watercolour feel even when you simply stamp it with ink.

But by adding watercolouring to the images - especially the flowers, you can create something really eye catching - and that's what you'll learn in my class.  Visit the class page for more information.

And while I've got you here, take a closer look at the picture.  This is the cover of the stamp set box that you get when you purchase these stamps.  It shows you which are the best blocks to use with the stamps and this makes gathering supplies so much easier.

So, there you have it, another gorgeous stamp set from Stampin' Up!  Please email me to join in the class, but be quick, there's only a couple of spots left.
Happy Crafting
Karen x

Thursday, 25 October 2012

Pleasant Poppies

Thought I'd have another go with this stamp and the wash technique over the embossing.

This is the same technique as my last post but I've used a wash made of Marina Mist mixed with isocol and I put it in the chamber of an aqua painter which makes it easy to use.  You can also use this method to get spotches of ink onto your projects - I'll show you that tomorrow!

Then I went over the blue with a Pumpkin Pie wash made using water only.  

What do you think?

Hope you are having a good week and now looking forward to another weekend!
Cheers
Karen

Tuesday, 1 May 2012

Mojo Monday 239

This week's Mojo sketch could be round or square. I chose square because for some reason I always think it's easier.


This is a very simple card.  The watercolouring took the longest and that was only a minute or so!   I've used Melon Mambo & Old Olive with an aqua painter.


This is the same card with a vellum overlay on the watercolouring.  Doesn't it soften the Melon Mambo?  It's almost Pink Pirouette.   The reason I wanted to put vellum over the top was to disguise the watercolour paper.   I didn't like the way it looked so creamy against the white of the organza ribbon.  It's a bit hard to tell through the camera, so you'll just have to trust me!

Supplies used:  Stamp Set:  Bordering on Romance & Fresh Cuts (R) (greeting only)
Cardstock:  Whisper White, Watercolour paper & Vellum
Ink:  Staz On, Melon Mambo, Old Olive & Daffodil Delight
White Organza Ribbon,
Designer Label Punch, Corner Rounder Punch
Vellum Tape

Did you use your mojo today?
Karen


Tuesday, 23 November 2010

Mojo Monday 166

Another week, another Mojo.  


This sketch lends itself to the set we got at Regionals, and since I'm really falling for the watercolouring technique, I thought I'd like to continue with it.


Supplies used:
Stamp Set:  Every Moment
Cardstock:  Very Vanilla, Soft Suede, Watercolour paper
Paper:  DSP Kaleidoscope (R)
Ink:  Soft Suede, Baja Breeze, Certainly Celery, Pumpkin Pie for beak and feet
Ribbon:  Baja Breeze Striped Grosgrain (R)
Jewels:  Basic Pearls
Aqua painter, Sponge dauber, Snail, Dimensionals, Wide Oval Punch

If you'd like to learn watercolouring the easy way, call me to book a workshop.  All it takes is you and a few friends!
I also hold watercolouring classes a couple of times a year.

Stamp happy all day long.
Karen

Monday, 22 November 2010

Regionals 2010

On Saturday I attended my second Regional event in Sydney.  This was the first year that it was held at the Sofitel Sydney Wentworth Hotel.  Great location.  So easy to get to and very spacious and comfortable.  I was also really lucky to have Tracy come along with me.  We had such a good time and it was really nice to share it with someone this time around.  The last time I "went with someone" was when I was in San Diego and my upline Veronica took me along to the Anaheim Convention Centre.  Sydney isn't as big of course, but the creativity and ideas were flowing all the same.

The day started early with us arriving at about 8.30am to register and get our pack of make n take goodies.  The stamp set was "Every Moment" and we also had a pack of prepared cardstock, ribbon, and bits and pieces for each project - 4 in total.    We then started to exchange our swaps with other demonstrators.  I was really proud of Tracy who made lovely swaps (I still don't have one Trace so please save me one), and happily exchanged hers for some innovative ideas by other demonstrators and guests.  I will take some pics and post them for you later in the week.   Once settled in the conference room with around 200 other people the training got underway and it was full on till lunch time.   After lunch, there was more training and some great info from SU training facilitator Sophie about the new Smooch Spritz and ways to mix our inks for even more colour choices than you see in the IB&C.  Watch this space!  I think we'll do a class!

So without further ado, here's some pics:


Make n Take Projects

Watercolouring was the main technique of the day

Every Moment Stamp Set has these gorgeous daisies

And how cute is the little bird in the bull rushes?!


Tracy and me with Donna from the U.S. home office in Utah

Yummy lunch

Even yummier dessert


If you like what you see and want to go with me next year, put your hand up!    I'll post some swap pics tomorrow.

Hope your week is off to a good start.

Karen