Showing posts with label Pleasant Poppies. Show all posts

Monday, 11 March 2013

Island Indigo Gift Set

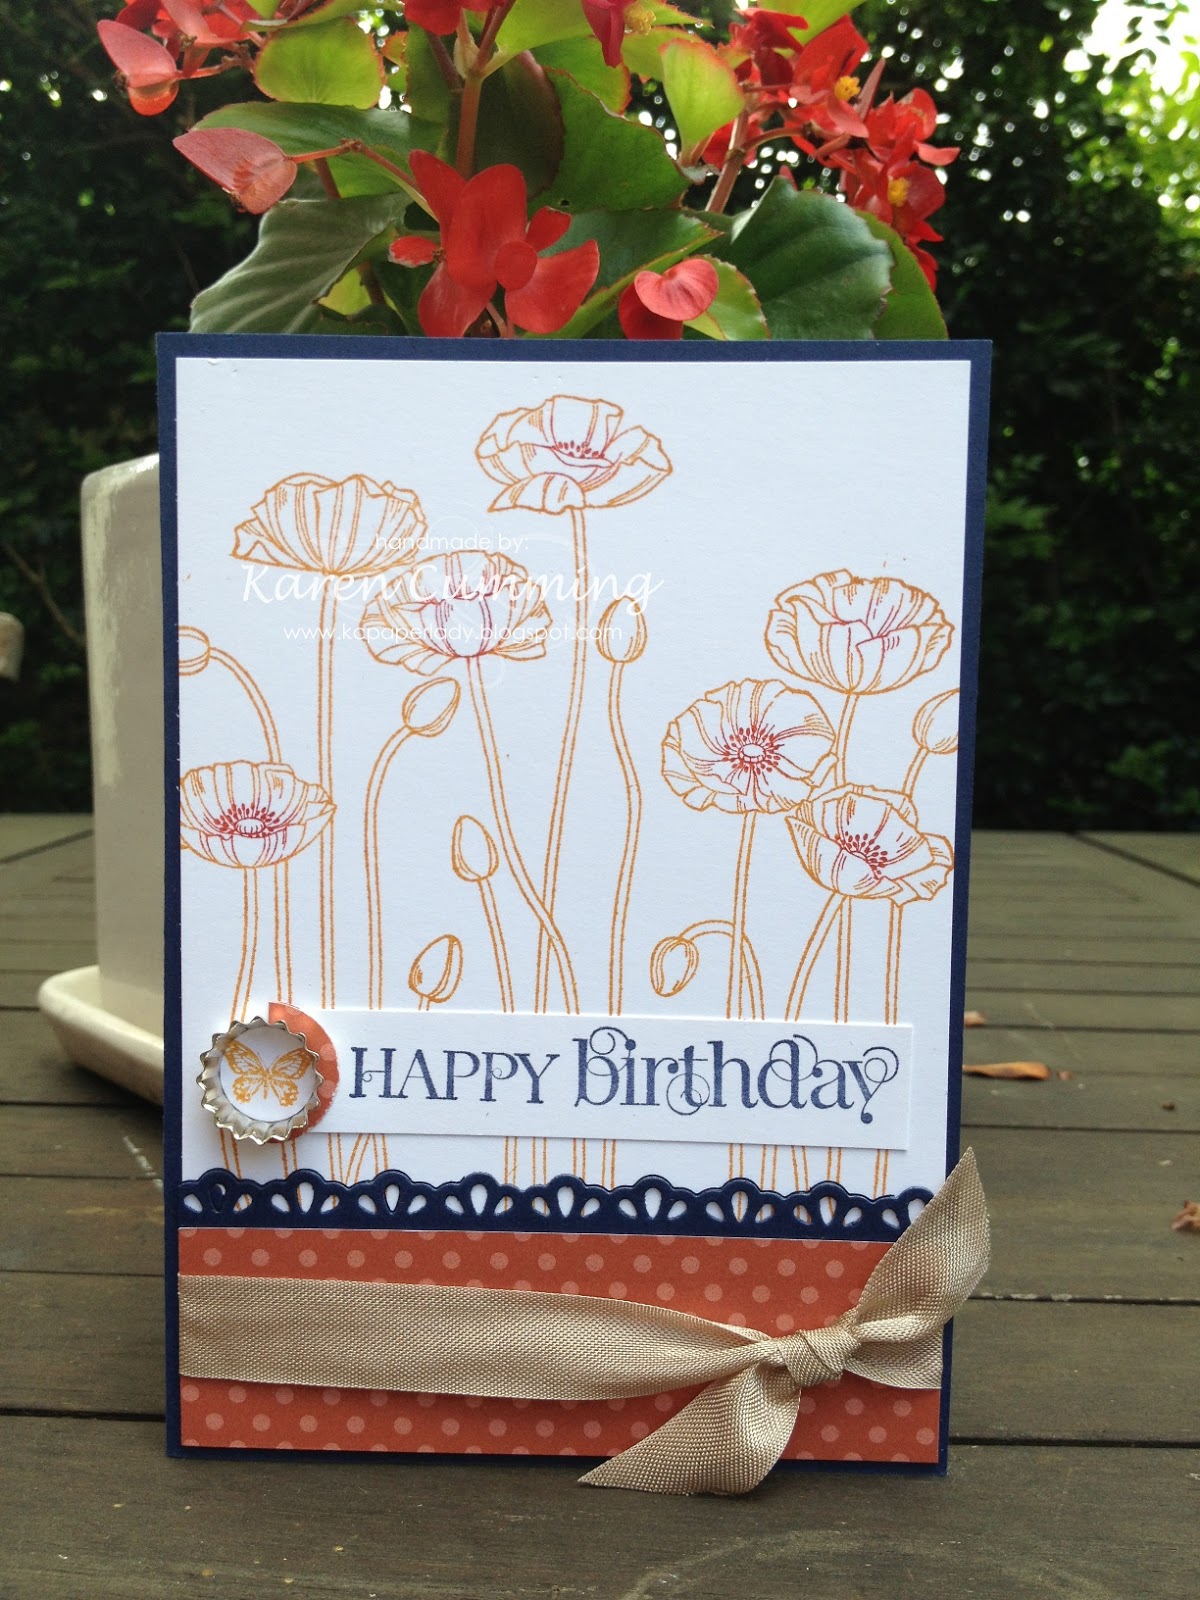
We made a card in class last month that I wanted to use in a gift set.   It uses the Pleasant Poppies stamp in Island Indigo.

Here's what I added to make it a set:
The white paper bag with string handles was stamped randomly by inking up one of the poppies from the Pleasant Poppies stamp (C-129499) with a marker.  I've used Island Indigo and Calypso Coral.  I added a few butterflies along the bottom from the Papillon Potpourri set (C-123759).  The DSP was a piece from the Festival of Prints in the Holiday catty (2012).  It's the perfect size to make a pocket that holds the card. 
I made the flower using the Fun Flowers die and the Big Shot.  The DSP is from Summer Smooches & the brad is from last years designer printed pack.
This cute little bag/box is a CASE from the current catty.  Inside are tea lights for the gift (see below).  It uses the Fancy Favor die and more DSP from Summer Smooches.   I've attached a paper clip as a closer and the heart was punched with Calypso Coral.  The "ribbon" is made from white cardstock stamped with Happy Birthday out of the Curly Cute set.  You make loops of different sizes and attach them all together, wrapping another small piece to make the centre of the "bow".

Here's the whole ensemble.......
.....complete with bird cage gift and Calypso Coral coloured tea light.  So cute! 

Wishing you a great start to the week!
Cheers
Karen

Friday, 8 March 2013

Stipple Kissing at Stamp University

Here's yet another technique we did at Stamp University (boy those ladies were busy!).  This is called Stipple Kissing - cute eh?!

You'll need a stipple brush for this.  You can buy them in craft stores and they come in a variety of sizes.  Think old shaving brush - the kind your dad probably used!  Of course, they were huge, and you can certainly use them, but you'll mostly want something a bit smaller.


Choose two colours of ink. I used More Mustard & Cajun Craze.

Start by inking up your stamp in the lighter colour and then working quickly, dab your stipple brush into the darker ink.  I kind of "swipe" mine across the ink pad.  Then "stipple" (dab or tap) the brush onto the stamp in the areas you want to highlight.  You may need to breathe on the stamp to moisten the ink before you stamp it onto your cardstock.

You can make the effect more dramatic by choosing different colours - Certainly Celery and Perfect Plum look amazing, particularly on large flower images.
After inking the stamp with Certainly Celery, the stipple brush was dabbed randomly all over the flower in Perfect Plum.
 
Or you can be more considered and stipple focal points like the centre of the flower and edges of the petals.

This would also be a great way to make leaves look like they're changing colour in the autumn.

TGIF!  Hope the weekend is lots of fun and you can squeeze in some crafting.
Cheers
Karen

Thursday, 21 February 2013

Shining the Spotlight on Pleasant Poppies

The Spotlighting technique is a great way to focus attention on one aspect of an image.

It works particularly well with large stamps and you can also spotlight more than one area.

This card uses the Pleasant Poppies background stamp in Garden Green ink.   I've stamped the image a second time on a piece of scrap and coloured it with markers, punched it out and mounted it on dimensionals.   The ribbon was an afterthought because I had an ink stain! 

Happy days!
Karen