Showing posts with label Tips. Show all posts

Thursday, 2 September 2021

Dragonfly Garden Meets Expressions In Ink - Card Three

Oh my goodness!  How cute is this with the embossing on the white panel?! 

 Its called Ornate Floral & it's a 3D folder so you get a really deep impression.  It's my new favourite! 

I've used the same DSP - Expressions in Ink - and trimmed it with a bit of ribbon, which I think is now retired, but we've got tons of lovely options available here. 
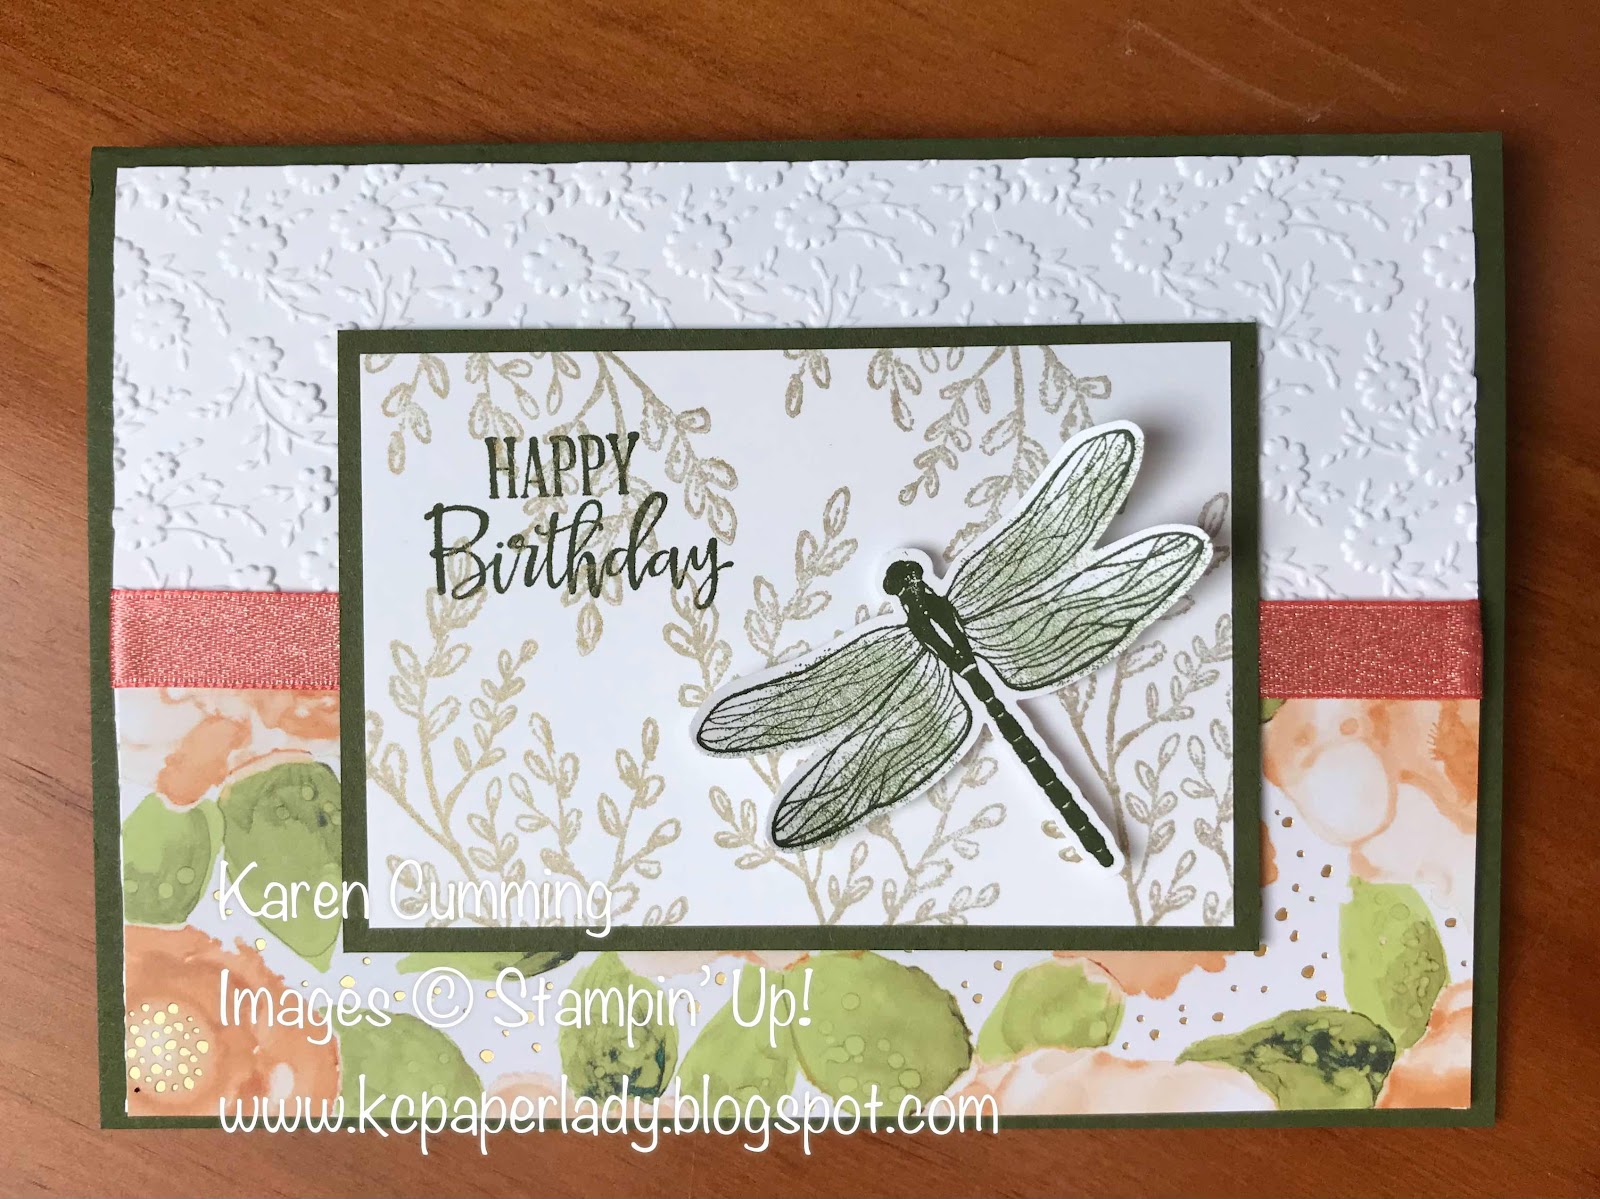

The sentiment panel was stamped in gold ink with the leaf image from Tasteful Touches.  This set also contains the background stamp I used in card one a couple of posts back.  It's a stunning set!    
TIP - when you use a metallic ink, there's a good chance it's Pigment Ink, which means it's super wet because it's used for heat embossing.  If you don't want to heat emboss, just stamp it carefully so you don't smudge it and set it aside to dry for a few minutes.  You can speed up the drying with your heat tool if you want to, but it's not necessary if you're not in a hurry.
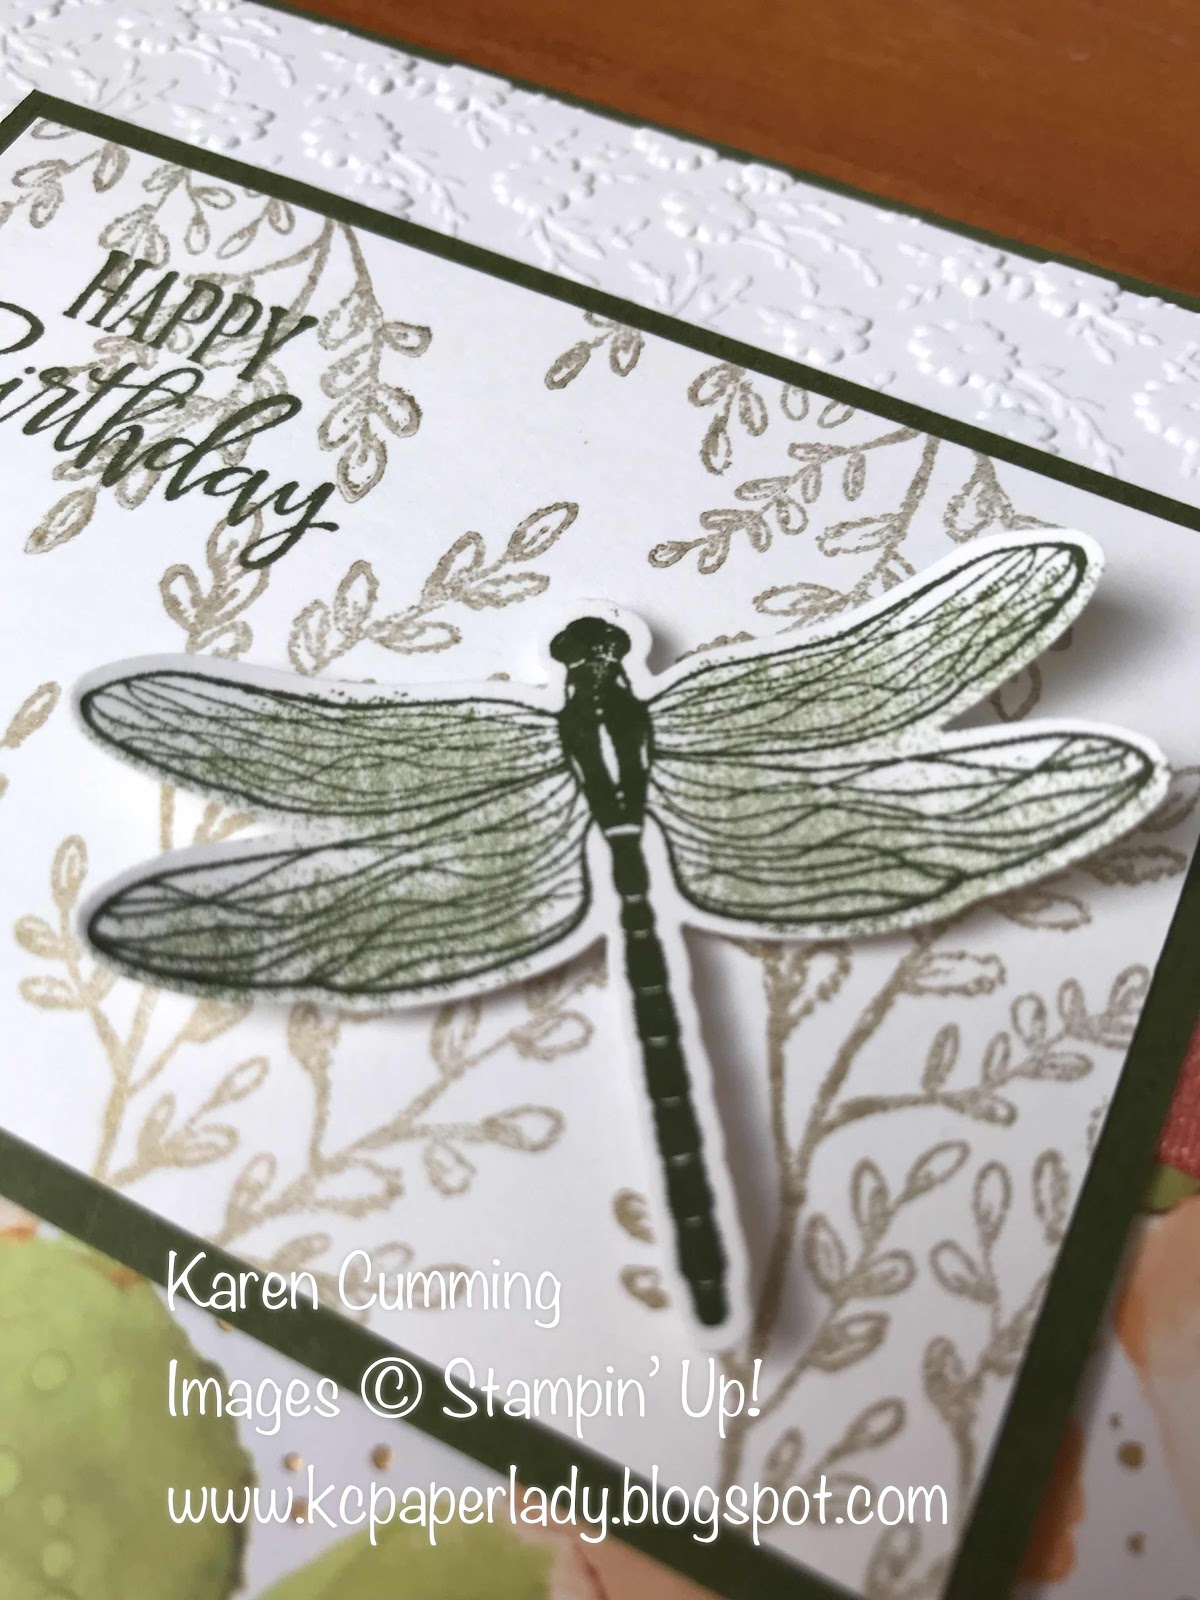

Can you tell how much I love this dragonfly?  The whole set really has stolen my heart!

I love to read your comments, and if you want more details about my projects, let me know.

Happy stamping
Karen


Wednesday, 20 May 2015

Labelling Ink Pads

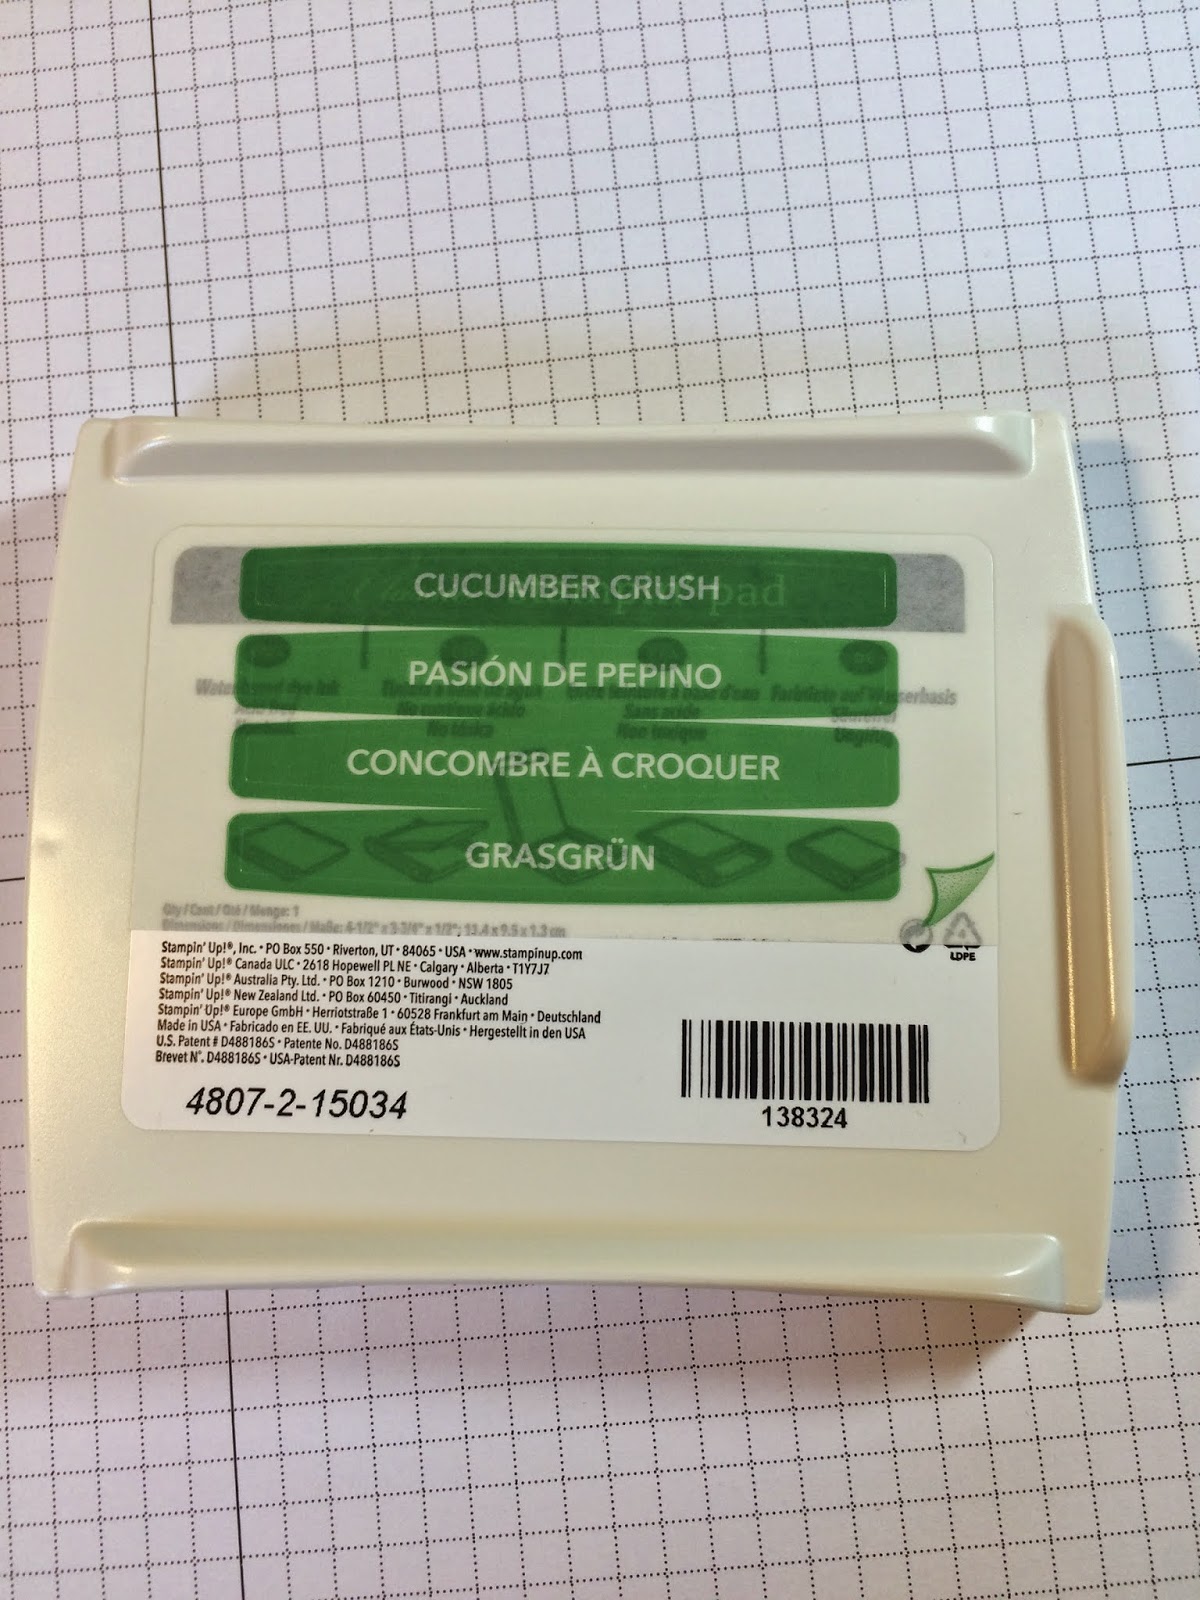
Did you know that Stampin' Up! Classic Ink Pads come with labels so they're easy to identify?


If you're looking at the ink pads like this, then you won't have a problem.  But if they're stored in a whirly-gig thingy then you can't actually tell what's what without removing them from the shelf.

So Stampin' Up! has attached sticky labels to the bottom of the casing.


Simply remove the label and you can choose the appropriate one - or the one you like the sound of ;) -

then adhere it to the end of the case.

Once the ink pad is open, it can be difficult to tell which colour is which, so this little tip came from Convention;  cut the ends off one of the other labels and affix it inside the casing.


That way, if you're using more than one colour at a time (mostly, I know!), you'll not mix up your colours.

Voila!  Enjoy using your labelled ink pads.
Cheers
Karen

Monday, 30 September 2013

Everything Eleanor and Mocha Morning Specialty

I have a stash of Mocha Morning Specialty Designer Series Paper because I love it so much and couldn't bear to let it go when it retired!

And when I saw this weeks challenge over at Freshly Made Sketches, I actually "saw" the paper in my mind's eye....giggle!  Oh dear, I'm a craftaholic!


Everything Eleanor is becoming a much loved stamp set for me, and I think it goes beautifully with the paper. Of course I've only used the bird and label stamps mainly because the paper already offered so much in terms of pattern, but the stamp set has gorgeous flowers and a stunning flourish as well; plenty of stamping opportunities really!


Tip:  When cutting squares of paper that you want to be of equal size, and equal distance apart, it's a good idea to use a guilotine or cutter that has a guide on it that you can set to the correct dimensions.  That way, you'll know all your pieces are the same size.  Even a millimetre difference can look really out of balance especially when you're using papers and cardstock with a lot of contrast, like these patterns on black.

Everything Eleanor available in wood mount #131987 $63.95 or clear mount #124164 $50.95.  The medallion coordinates with the 2 1/2"circle punch.  
Supplies Used:
Stamp Set: Everything Eleanor & Curly Cute (R)
Cardstock: Basic Black, Very Vanilla
Paper: Mocha Morning Specialty (R)
Ink: Black Staz On, Crumb Cake
2 1/2" Circle Punch, Itty Bitty Flower Punch, 3/4" square punch (any sized square will work).
Pearl Jewels

Thanks for looking!  I hope you find time to craft today.
Cheers
Karen


Tuesday, 17 September 2013

One for the Troops & 52CCT Challenge 21

It's a colour challenge over on 52 {Christmas} Card Throwdown this week:

And this was an easy one for me because I LOVE LOVE LOVE this colour combo!

Banners & flags are on trend right now, and the addition of an embossing folder or too gives this card it's simple but elegant look.  Don't stress about getting your banner ends even, simply use a square punch, just make sure you line up one corner of the square in the centre of one end of your cardstock.

This is also a fantastic way to use up scraps of cardstock.

Tip:  Spend some time running your smaller scraps through your embossing folder and keep them in a bag, box or drawer so you've got them ready for your next "quick" card!

Supplies Used:
Stamp Set:  Greetings of the Season & A Banner Christmas
Cardstock:  Whisper White, Cherry Cobbler & Crumb Cake
Ink:  Cherry Cobbler
Big Shot &embossing folders:  Vintage Wallpaper (R), Square Lattice & Pretty Print.
Bakers Twine & Rhinestone Jewels