Background stamps are so useful and versatile, but how often do you just pull them out to use as a "background"?
Why not make a feature of them occasionally?
Here's 5 different cards I've made using En Francais. Order it here.
Each card showcases the stamp in a creative way and hopefully gives you ideas on how to extend your stamps so you get more out of them.
This card was made using the flourish from Everything Eleanor. Look closely and you'll see the image is slightly darker in places. I first inked up the flourish using Pool Party ink, then I inked up En Francais with Marina Mist ink. I "kissed" the two stamps together and the result is the marbled effect on the flourish.
This card was made by inking En Francais in Basic Black ink and stamping directly onto Designer Series Paper. To ensure the stamp shows up well, I chose a paper with a small pattern in a light colour.
Looks complicated? Well, it's not! I stamped En Francais in Real Red onto a piece of Pool Party cardstock. Then I used my hexagon punch to cut out about 10 or 11 shapes. Tip: Pay attention to the direction of the pattern - I wanted all my words to be the right way up!! Next, I laid each hexagon onto a piece of Real Red card stock that measured 9.5cm x 13.8cm in a diagonal pattern. I glued them all on with snail adhesive. Then I ran the whole thing through the Big Shot with the polka dots embossing folder.
Tags are really in right now and I've started by decorating a plain white one using En Francais inked with Pistachio Pudding. You can then add any layers or embellishments that you have available.
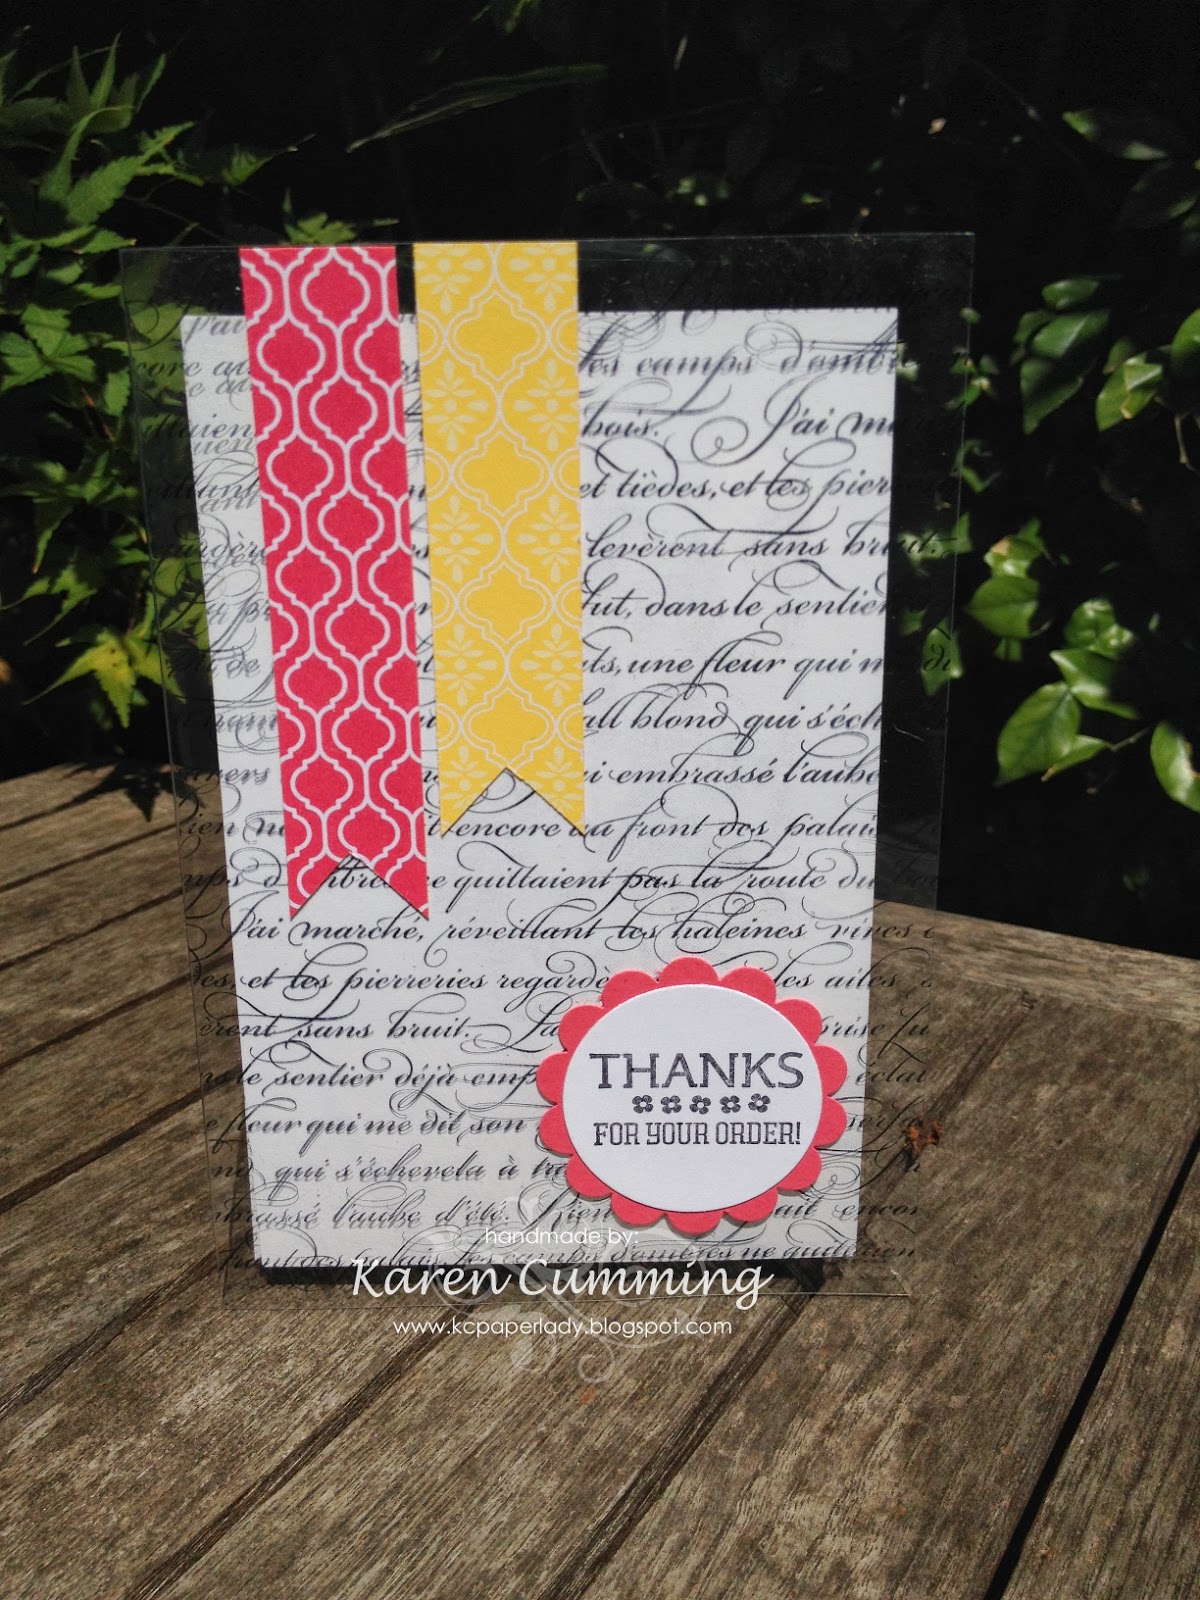
This last one is a bit harder to see, but En Francais was inked with Black StazOn and stamped onto a window sheet, or piece of acetate - dig out those old OHT's at the back of the drawer! I used Whisper White card stock on the inside to create the note area and it's stuck to the acetate sheet behind the banners.
Note: Working with vellum and acetate is tricky when it comes to glue. You can either buy some vellum glue dots - they're quite good, but I don't think you ever get a truly invisible fix. Or you can choose to add adhesive only in places where you know it will be covered by embellishments - this can be hard to work out at the start because you almost have to design the project backwards.
Anyway, I hope this may give you some ideas for expanding your use of background stamps and hopefully you'll find even more ways to use them once you start playing.
Cheers
Karen


No comments:
Post a Comment
I love reading your comments. Thank you for stopping by.